High-quality imagery can do wonders for your website. When used right, images can make your content highly engaging and easier to digest. More importantly, blog posts with images tend to rank better in search engines than those lacking visuals. Therefore, it’s essential to know how to use images on your site adequately.
WordPress enables excellent flexibility when it comes to adding photos to pages and posts. You can format your images and arrange them within your content any way you wish. You can also make your site more visually appealing with features such as photo galleries, headers, and background images.
If you want to learn more about using images on your WordPress site, you’ve come to the right place. In this post, we’ll show you how to fix 16 common image issues in WordPress with clear, step-by-step instructions. Let’s get started!

We Make WordPress Easier for You
Leave migrating your site, installing WordPress, managing security and updates, and optimizing server performance to us. Now you can focus on what matters most — growing your website!
Check Out Plans1. How to Upload Images in WordPress
To upload an image in a WordPress post or page, simply click on the black button with the plus symbol (in this post, we’ll refer to it as the Add Block button). This will ask you to choose a block to insert into your content.
Select the Image button, and a block will appear.
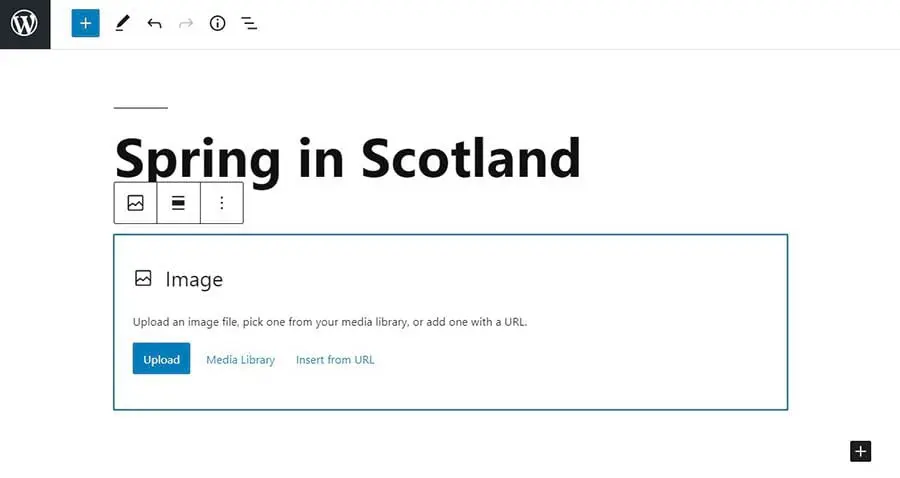
Next, click on the Upload button and select the image you want to add. Select Open, and then you’re done!
2. How to Align an Image to the Left or Right
When you select an image, a toolbar will appear above it. Click on the alignment button and choose Align left or Align right.
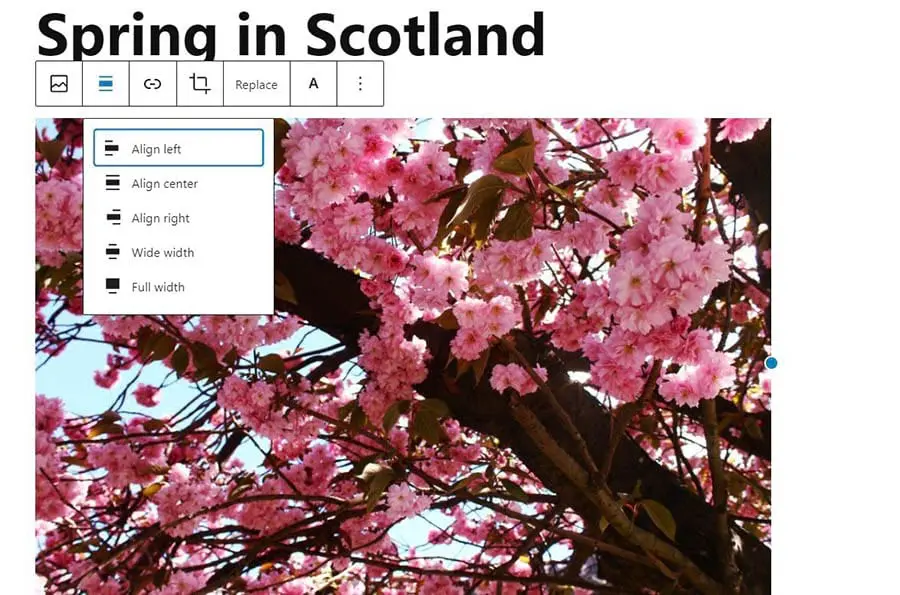
As you can see, this toolbar also gives you other options as well. This includes replacing the image and adding a link to it.
3. How to Add Captions Below Images
To add a caption, simply click on your image, and you’ll see the option to write something below.
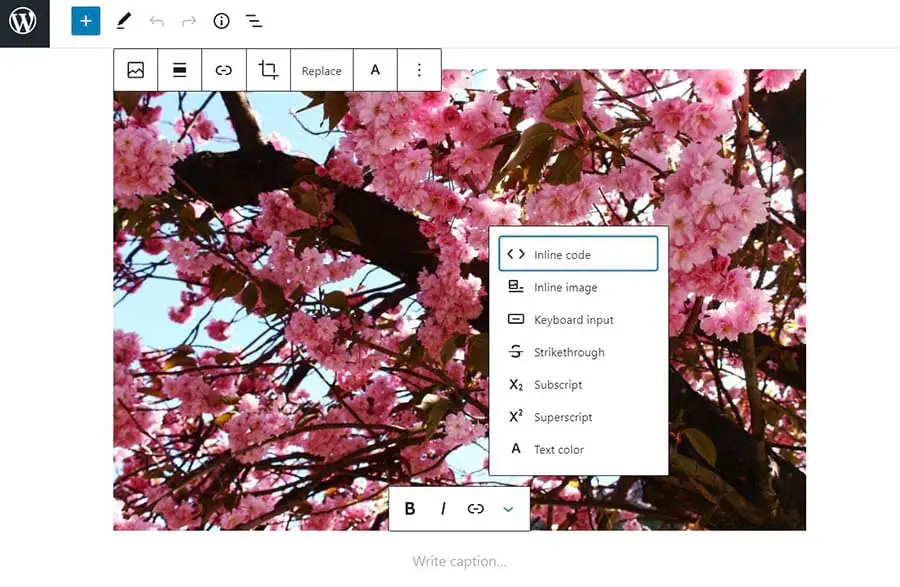
Note that you’ll also get a few styling options for your caption. You can link to another page by clicking on the third button in the caption toolbar.
4. How to Display Images in Columns and Rows
If you want to display images in columns and rows, you can click on the Add Block button and select Gallery from the options. Next, click on Upload in the gallery block, and then select the images you want to add and choose Open.
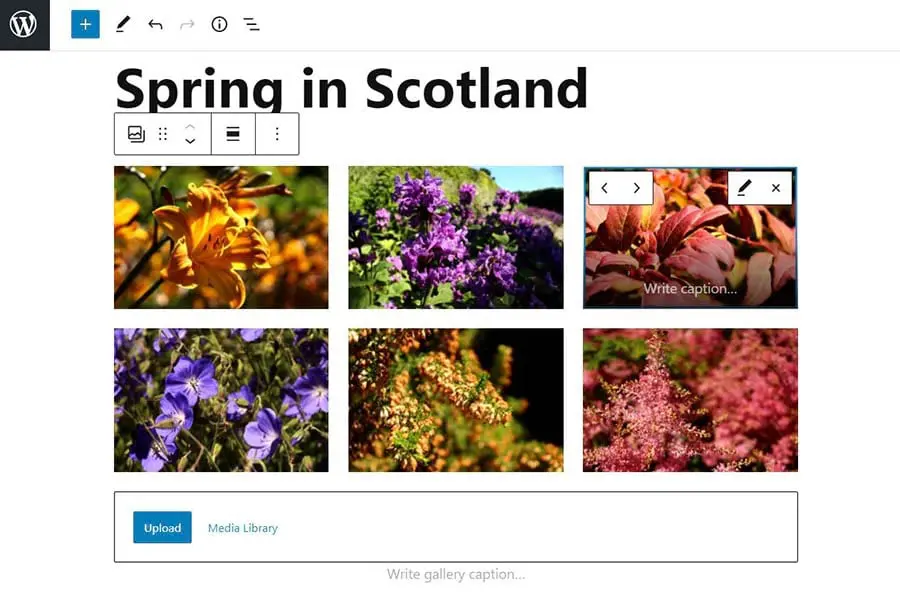
Once your images have been uploaded, you’ll be able to move them around. To do this, you can click on an image and use the arrow buttons. You’ll also see an option to write a caption for your images and the gallery.
5. How to Create Responsive Image Galleries
The default WordPress gallery is very basic. If you use your site to showcase your photography, you might want to consider adding a plugin that lets you build and customize your own image galleries.
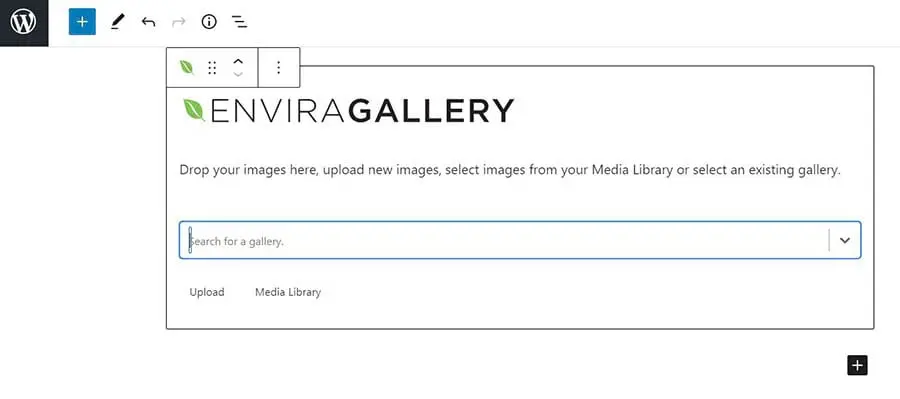
For beautiful responsive galleries, we recommend using the Envira Gallery plugin. After installing and activating the plugin, navigate to Envira Gallery > Add New. There you can create your first gallery, which you can then insert into your posts by selecting the Envira Gallery block.
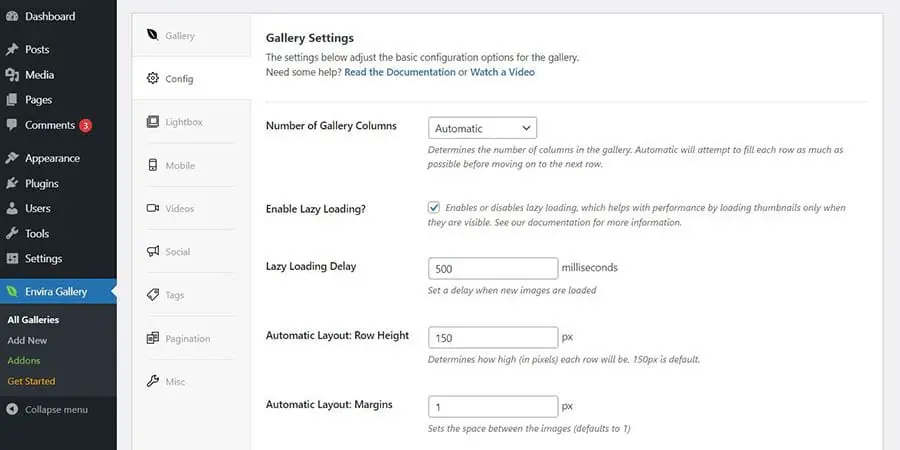
You can start by uploading some photos to your gallery and then clicking on Config to select the number of columns, set the lazy loading delay, and use the other available features.
Remember to name your galleries. This way, you’ll be able to find them more easily when adding them to your posts.
6. How to Set Featured Images for Posts
WordPress lets you select a featured image for your posts. This image will be attributed to your post when it appears in your blog feed. Without a featured image, your post will have a missing thumbnail image. A post thumbnail is a reduced-size picture that appears on your blog’s homepage to help users sort through and identify relevant content.
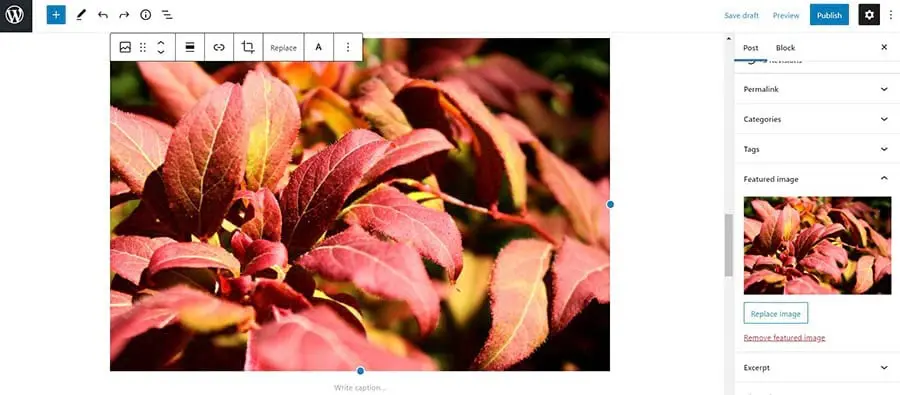
To set a featured image, head to the sidebar on the right, select the Post tab, and navigate to the Featured image section.
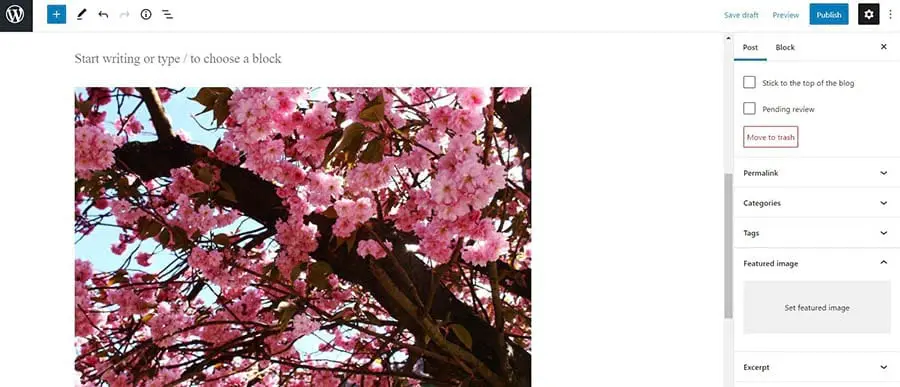
Next, click on Set featured image and upload your image file. Alternatively, you can choose an image that is already uploaded to your site by clicking on the Media Library tab.
7. How to Add Cover Images in Posts and Pages
If you’re writing a long post, you might want to add a wide cover image between different sections so that your content is more digestible. To add a cover image, start by clicking on the Add Block button and typing “cover” into the search bar.
Once you select the Cover button, the block will appear. Click on Upload to add an image from your computer, or select Media Library to choose an image you’ve already uploaded to your site.
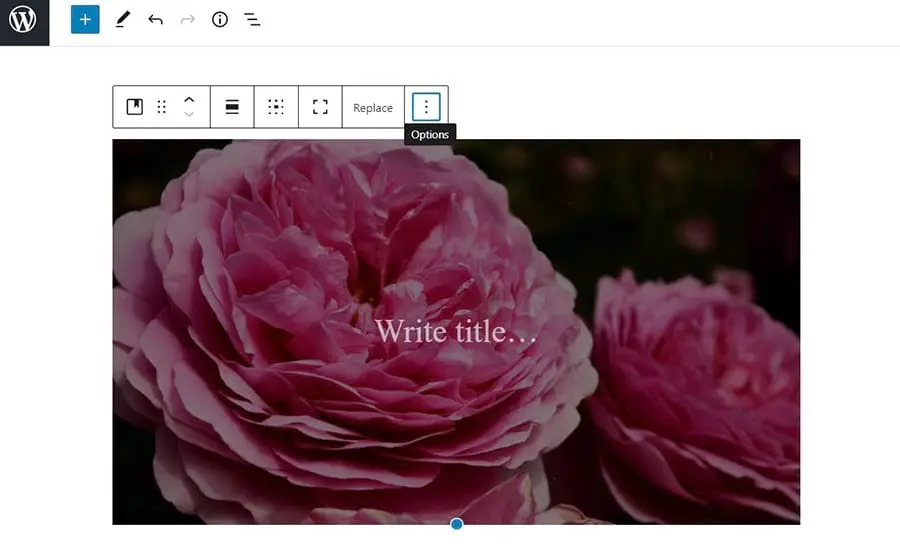
If you want to make some changes to the cover image, you can use the options in the tool section in the post.
8. How to Fix the Featured Image Appearing Twice
Some WordPress themes display the featured images at the top of published posts. This image will not be visible in your post when using the content editor.
Therefore, you might think you have to insert it into your content in addition to setting it as the featured image (as shown in step six). If you do this, you’ll get the same image twice in your live post.
To fix the multiple images problem, simply delete the image from the post editor. Then you can just use the one you selected in the Set featured image box.
9. How to Crop Images
WordPress offers some basic photo editing features. To edit a photo, you can go to your WordPress dashboard and navigate to Media > Library. After you select the image, a window will pop up.
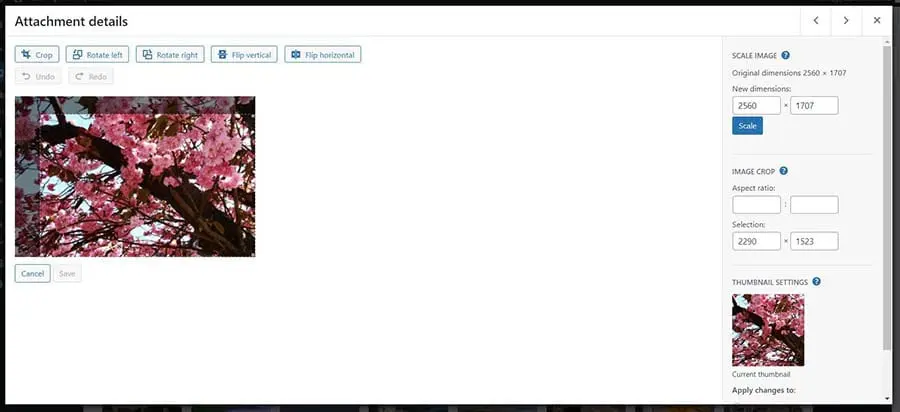
Click on the Edit Image button below the image, and you’ll be taken to a page with editing tools. Select the Crop button at the top, and drag the corners of the box to crop the image to your liking.
Alternatively, you can change the image size by entering the dimensions and aspect ratio in the right sidebar.
At the top, you can find options to rotate and flip the image. Once you’ve finished editing your photo, click on Save. Note that the changes will be applied to the original photo.
10. How to Add Header Images
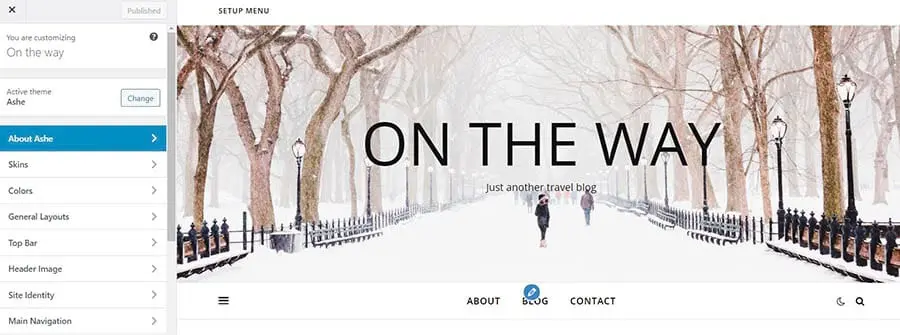
Some WordPress themes feature header images. To change the default header image, go to your dashboard and navigate to Appearance > Customize.
On the customization page, click on Header Image. If you can’t see this option in the menu, it means that your current theme does not support header images.
On the Header Image page, select Add new image to replace the default image in your header.
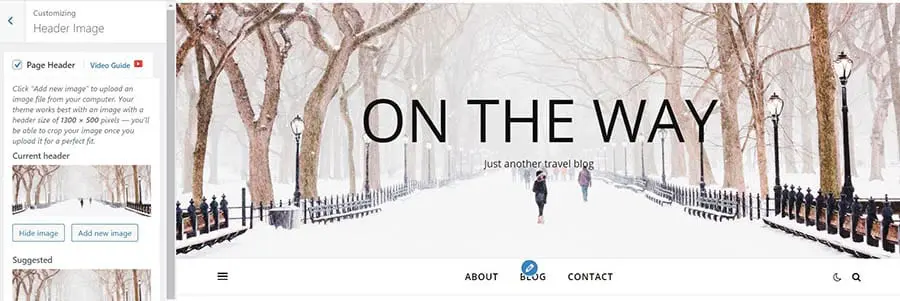
When you’re done, you can click on the Publish button at the top of the screen. This will save your changes.
11. How to Add Background Images
Your WordPress theme might also come with support for background images. To set a one, access the theme’s customization page by navigating to Appearance > Customize from your WordPress dashboard.
Next, click on Colors. Locate Body Background and click on Select image.
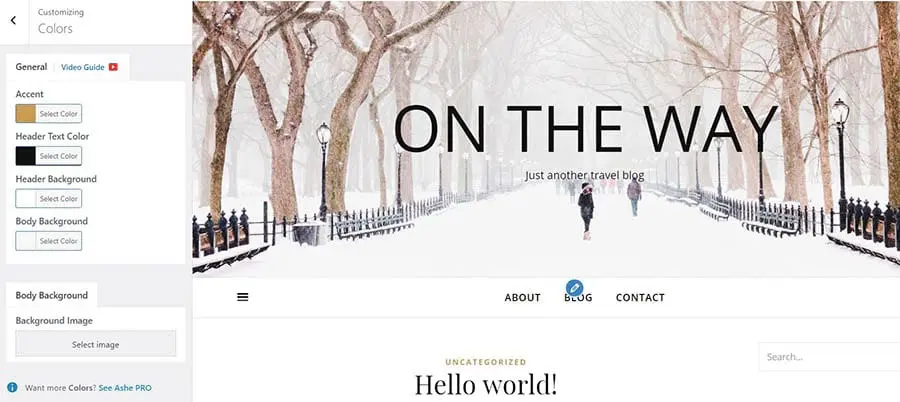
When you set your background image, you’ll get some options for adjusting the preset and image position. Remember to save your changes before exiting.
12. How to Find Free Images for Your WordPress Site
When sourcing images for your posts and pages, we recommend accessing free stock photo sites to avoid copyright infringement. Several sites offer royalty-free images, including Pixabay, Unsplash, Flickr Creative Commons, and Pexels.
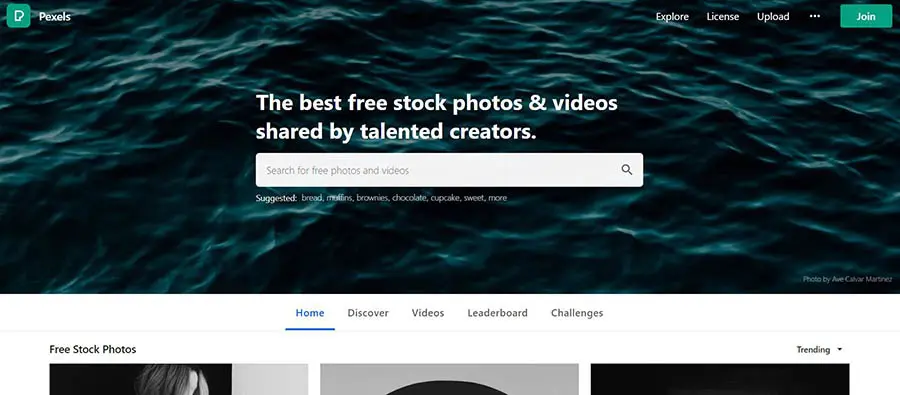
The images available on these sites are free to use. However, it’s always a good idea to credit the photographer or artist with a link in the image caption.
13. How to Tag Images
Tags make it easier to organize and filter photos on your site. However, WordPress currently does not offer an image tagging feature. Therefore, you might want to download a plugin that lets you sort your images with categories and tags.
For categorizing and tagging images, we recommend using the Media Library Assistant plugin. Start by installing and activating the plugin, and then head to Media > Library.
You can see all the photos you’ve uploaded to your WordPress site on the Media Library page. Click on the list view button at the top, then find the photo you want to tag and click on Edit.
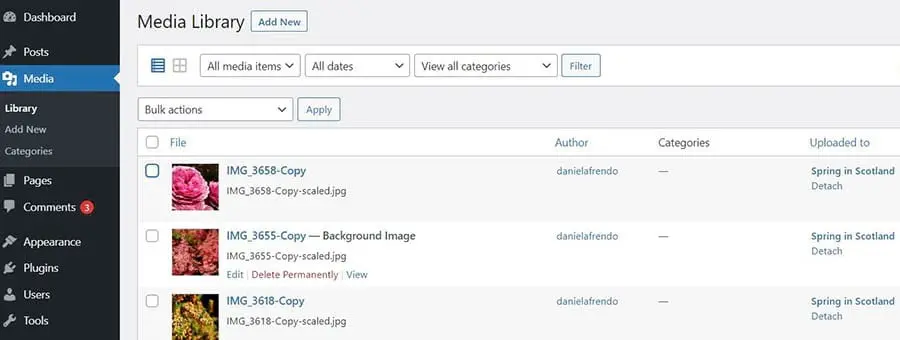
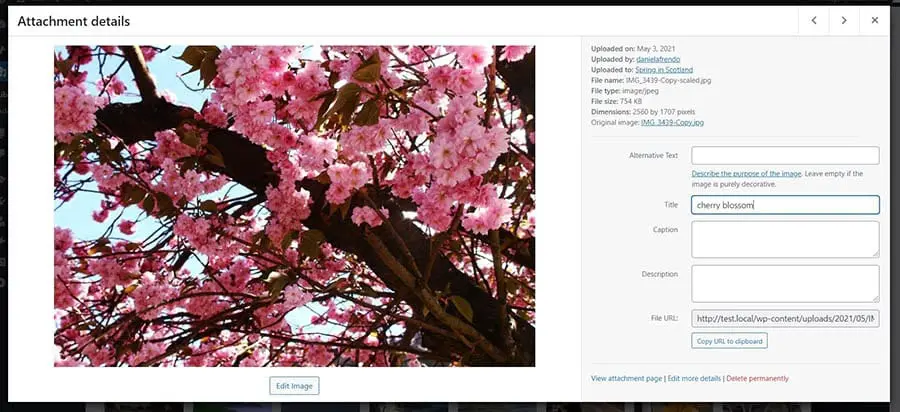
On the Edit Media page, find the Att. Categories and Att. Tags sections on the right-hand side, and start adding categories and tags to your image.
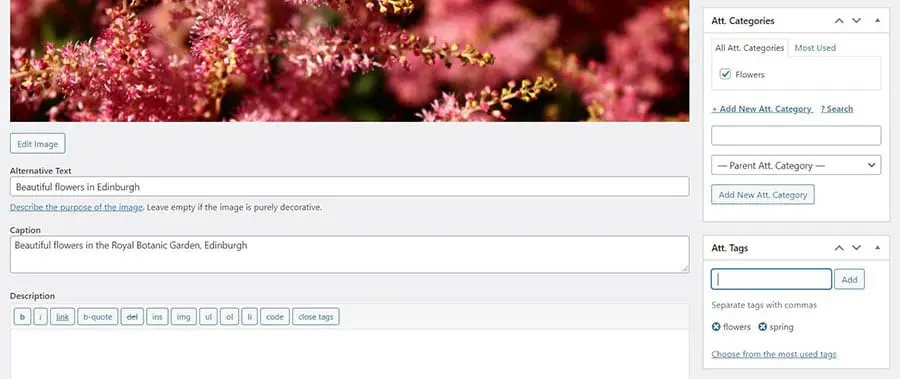
You can also rename your image on this page, write a caption, and add alternative text. When you’re done, click on the Update button on the right to save your changes.
14. How to Import External Images to WordPress
To import external images to WordPress, you’ll need to access your old website’s files directly using a Secure File Transfer Protocol (SFTP) tool such as FileZilla. Locate your site’s root directory, and then go to wp-content/uploads.
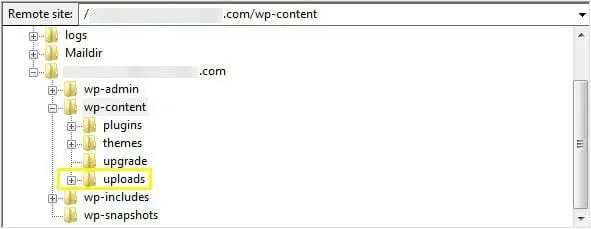
There, you’ll find the media files that you’ve uploaded to your site. Download them to a secure location, and then log in to your new WordPress site. Navigate to wp-content/uploads again, and copy over your media files.
You may still encounter image-related errors after doing this since your image URLs may be pointing back to your old site. If that’s the case, you’ll need to go through and update your image URLs so they point to your new site instead, which can be a time-consuming process.
To avoid that problem, we recommend using a plugin such as Duplicator to move your website between domains or web hosts. You may also benefit from reaching out to your new host for assistance to make sure everything on your site gets transferred over properly.
15. How to Require a Featured Image in Your Posts
If your site has multiple authors, you might want to set a reminder for everyone to select a featured image before publishing a post. To do this, you’ll need to add some custom code to your site.
Before getting started, we recommend backing up your site and creating a child theme. Then you can add the following code at the end of your theme’s functions.php file:
<?php

/**

* Require a featured image to be set before a post can be published.

*/

add_filter( 'wp_insert_post_data', function ( $data, $postarr ) {

$post_id              = $postarr['ID'];

$post_status          = $data['post_status'];

$original_post_status = $postarr['original_post_status'];

if ( $post_id && 'publish' === $post_status && 'publish' !== $original_post_status ) {

$post_type = get_post_type( $post_id );

if ( post_type_supports( $post_type, 'thumbnail' ) && ! has_post_thumbnail( $post_id ) ) {

$data['post_status'] = 'draft';

}

}

return $data;

}, 10, 2 );

add_action( 'admin_notices', function () {

$post = get_post();

if ( 'publish' !== get_post_status( $post->ID ) && ! has_post_thumbnail( $post->ID ) ) { ?>

<div id="message" class="error">

<p>

<strong><?php _e( 'Please set a Featured Image. This post cannot be published without one.' ); ?></strong>

</p>

</div>

<?php

}

} );
Save your changes, and users will be required to add featured images to all post types that support them.
16. How to Set a Default Featured Image
If you want to set a default featured image for those occasions when you can’t find the right photo, the Default Featured Image plugin is a handy tool to have. It lets you choose a photo that will automatically appear as the featured image for posts published without one.
After installing and activating the plugin, navigate to Settings > Media in your dashboard.

Click on the Select default feature image button and choose your photo. Finally, hit Save Changes at the bottom of the page.
Additional WordPress Resources
If you’re new to WordPress, you may run into some common issues while working with images and other content. To help you navigate any WordPress problem you encounter, we’ve put together several how-to guides:
- How to Fix Common WordPress Errors
- How to Troubleshoot the WordPress White Screen of Death
- How to Fix the 500 Internal Server Error in WordPress
- How to Fix Syntax Errors in WordPress
- How to Fix the WordPress Not Sending Email Issue
- How to Fix the Error Establishing a Database Connection in WordPress
- How to Fix WordPress Error 404 Not Found
- How to Fix White Text and Missing Buttons in WordPress Visual Editor
- How to Fix the Sidebar Below Content Error in WordPress
- What to Do When You’re Locked Out of the WordPress Admin Area
- How to Fix the WordPress Memory Exhausted Error By Increasing Your Site’s PHP Memory Limit
- Common WordPress Image Upload Issues and How to Fix Them (5 Methods)
If you’re looking for more WordPress tips and hacks, check out our WordPress Tutorials. This collection of guides will help you set up and design your first WordPress site.
Now You Can Fix That Common Image Issue
Images can improve your site’s User Experience (UX) and increase the visibility of your content in search engine results. Therefore, it’s important to know how to use photos to engage readers with your content.
Fortunately, WordPress makes it easy to upload and manage photos on your site. It lets you crop and customize images, as well as create beautiful photo galleries and headers to make your pages more interesting.
If your business relies on high-quality imagery, you might want to consider using a web hosting service that offers full WordPress support. Our DreamPress plans are perfect for site owners who want to focus on growing their businesses and spend less time troubleshooting errors in WordPress.