
Almost everyone’s (not so) favorite conversation comes up most Friday nights — after you’re already past hungry and moving into hangry mode.
“What do you want for dinner?”
“Hmm, I don’t know. What do you want for dinner?”
Well, the HTTP 500 internal server error is just about as fruitful.
This generic message is what you’ll see when the server has encountered an error it can’t immediately explain.
The process of clearing the 500 internal server error from your website is surprisingly a lot like nailing down Friday’s dinner plan.
It’s all about working your way through possible solutions — pizza, pasta, cereal? — until you solve your server snafu.
In this guide, we’ll cover what the 500 internal server error is, and walk you through some potential causes. Then we’ll give you 10 tips to help you get your website back in working order.
Let’s get started!
Understanding The HTTP 500 Internal Server Error And Why It Matters
As we touched on, the 500 internal server error can be frustratingly nonspecific.
You don’t get many details about it when it happens. In fact, you might not receive any information at all. Despite its name, the problem may not even be a server-related one. It could just as well be an issue with your website or your browser.
An HTTP 500 error usually just means the issue doesn’t match another error code, such as one of the many 300, 400, or even other 500 codes.
Whatever the error means, it’s important you figure it out quickly because when your website goes down, you could be losing out on potential traffic and sales. If it’s offline for a while, it can also negatively impact the search engine optimization (SEO) you’ve worked so hard to perfect.
SEO
Search Engine Optimization (SEO) improves a site’s ranking in search results, which are based on relevance and quality. Optimizing for these factors boosts rankings.
Read MoreIf your site is crawled while it’s offline, there’s a chance that Google may interpret the error as an issue with your website.
This error can also hurt your user experience (UX) by giving visitors the impression that your website is unprofessional, or worse…untrustworthy. Poor UX will not only affect your Google ranking but also cause you to lose customers. After all, you can’t do business if your site isn’t accessible!
The HTTP 500 error can be caused by a lot of different things, which makes it a bit of a chore to sort out. That said, potential causes of the 500 internal server error include:
- Plugin compatibility issues for WordPress websites.
- Corrupted files.
- Coding or syntax errors.
- Exhausted PHP memory limit.
PHP
PHP (Hypertext Preprocessor) is an open-source scripting language used in web development and embeddable in HTML. It powers popular CMSs like WordPress.
Read MoreLuckily, you can solve many of these issues on your own with a little bit of support. (Which we’ll serve up shortly.)
Variations On This 500 Error
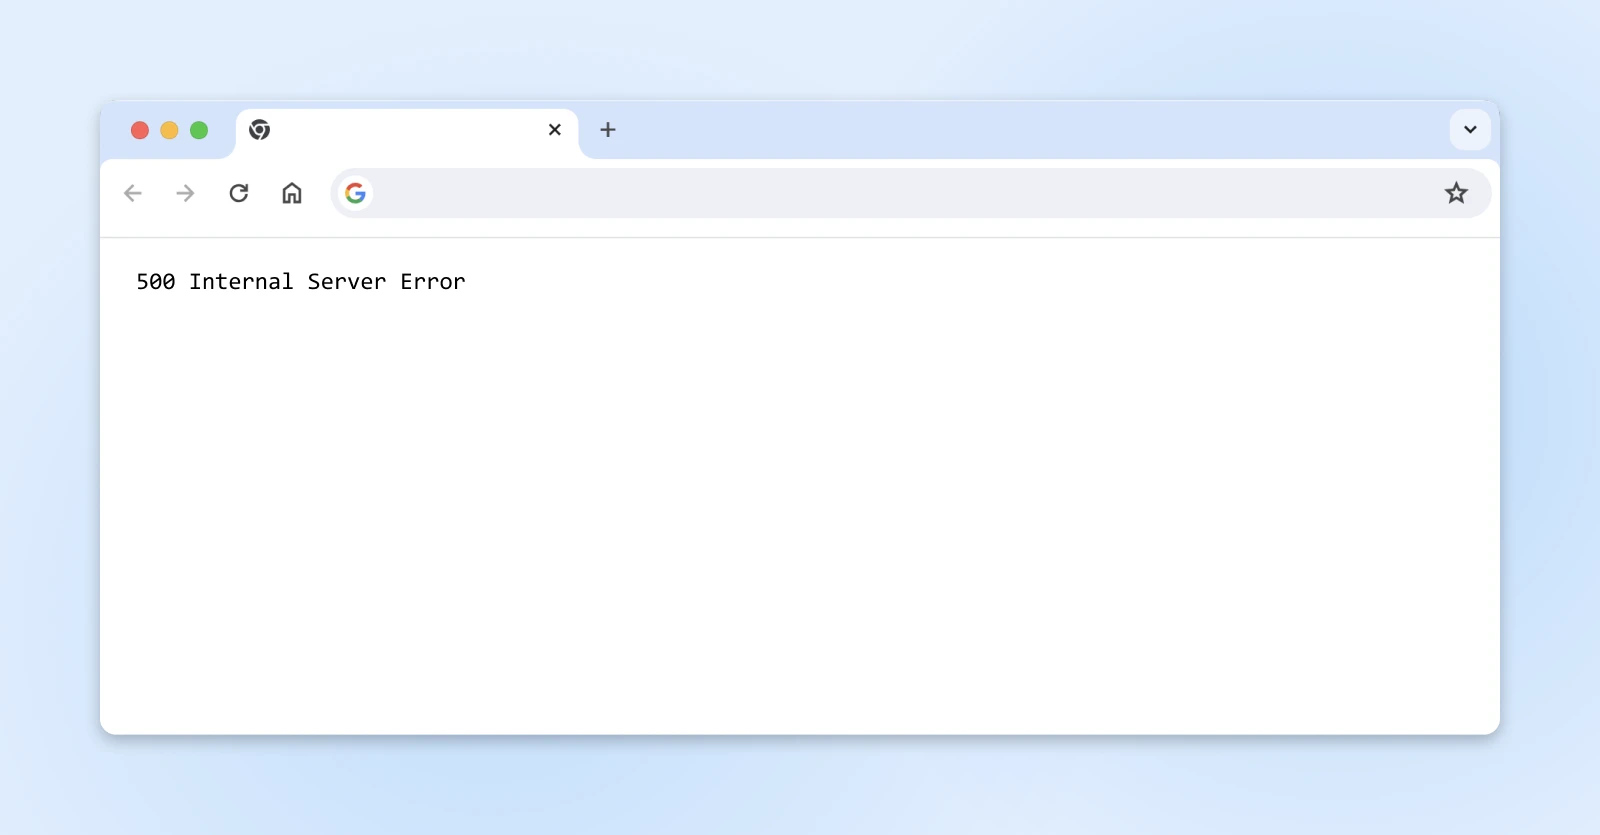
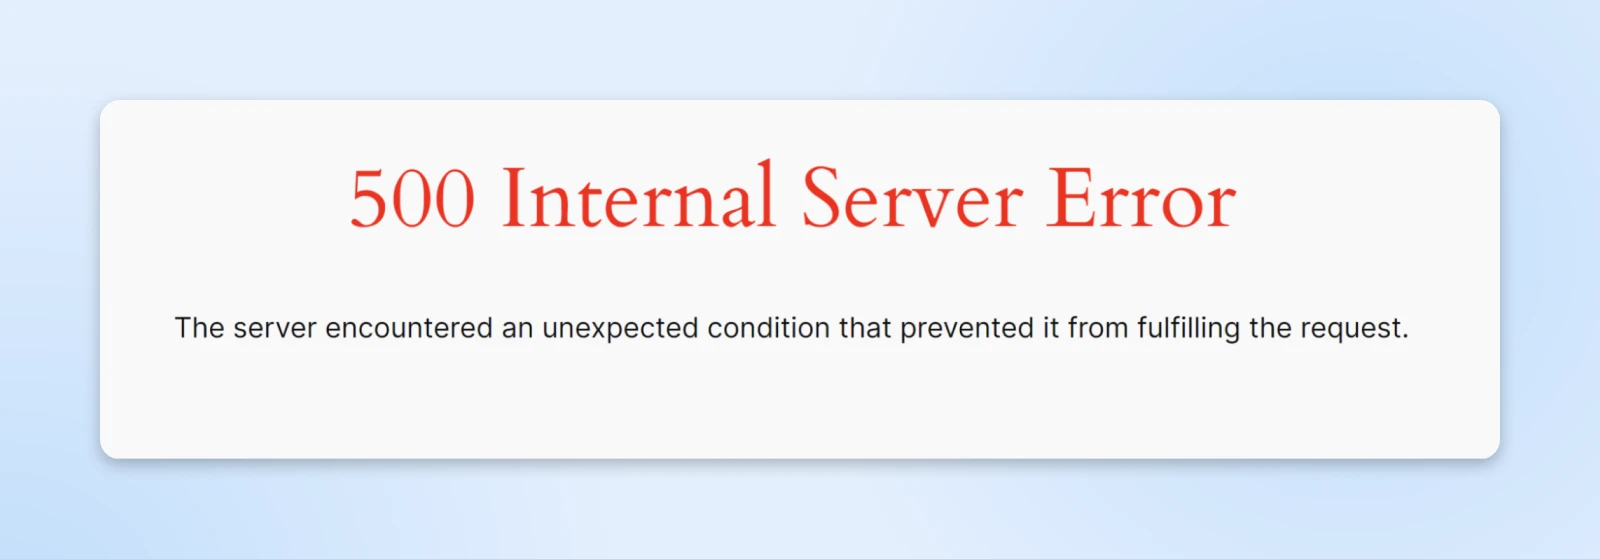
Depending on your operating system, browser, and the cause of the error, there are variations in how 500 errors appear. For example, you might see something like this:
A plain white screen, sometimes referred to as the White Screen of Death (WSoD), can sometimes also indicate a 500 internal server error.
Also, be warned that many site owners have the option to customize their 500 error messages. So you might see this error message in lots of different forms.
10 Ways To Fix The 500 Error Code
Now that you’ve had an introduction to the 500 internal server error, it’s time to discuss how to resolve it.
We’ll start with the more approachable solutions before working up to the more technically complex ones.
1. Try Reloading The Page
Let’s start with the simplest, best-case scenario.
Some situations cause a 500 internal error to clear up on their own within a few minutes.
For example, if you’ve just made changes to a plugin or theme on a WordPress site, or if your host is experiencing unusually heavy traffic, you may see a server error. If this is true in your case, you’re in luck!
A simple page reload should get things back to normal.
So, the first thing you should try is just waiting a minute or two, during which the error might resolve itself. Then, you can try reloading the page by pressing F5 or (command + R if you’re using a Mac).
2. Clear Your Browser Cache
Another potentially quick and easy way to solve the 500 status code is clearing your browser cache. It’s possible the cache became corrupted, which would cause problems when attempting to access any website. And not just your own.
First things first, you might want to check the handy dandy site Down For Everyone Or Just Me. This will let you know if it’s a widespread problem or if you’re the only one having problems.
If you’re alone in your 500 error frustration, the problem could very well be your browser. In this case, try accessing your site from a different browser. If an alternative works, it’s a sign that the issue is with your cache.
In most browsers, you can start the process of clearing your cache by pressing Ctrl + Shift + Delete.
In Google Chrome, you can click on the three vertical dots in the top-right corner. From there, find Clear Browsing Data in the menu, make your selections, and hit the Clear data button.

Once you’ve cleared your browser cache, you can try accessing your website again.
But if you’re still seeing the 500 internal server error, it’s time to move on to more involved fixes.
3. Back Up Your Website
Before diving into tinkering under the hood, it’s always wise to make a backup of your website.
If DreamHost hosts your site, you can take advantage of our one-click backup feature. If not, or if you’re blocked from logging in because of the 500 error, don’t worry. You can still create a manual backup.
To do this, you’ll need to save copies of your website files as well as your databases.
First, track down your Secure File Transfer Protocol (SFTP) credentials in your website hosting account. If you aren’t sure where to find them, ask your host for the details.
Next, download your SFTP client of choice. We like FileZilla. Then, use those credentials you just grabbed to connect to your server.
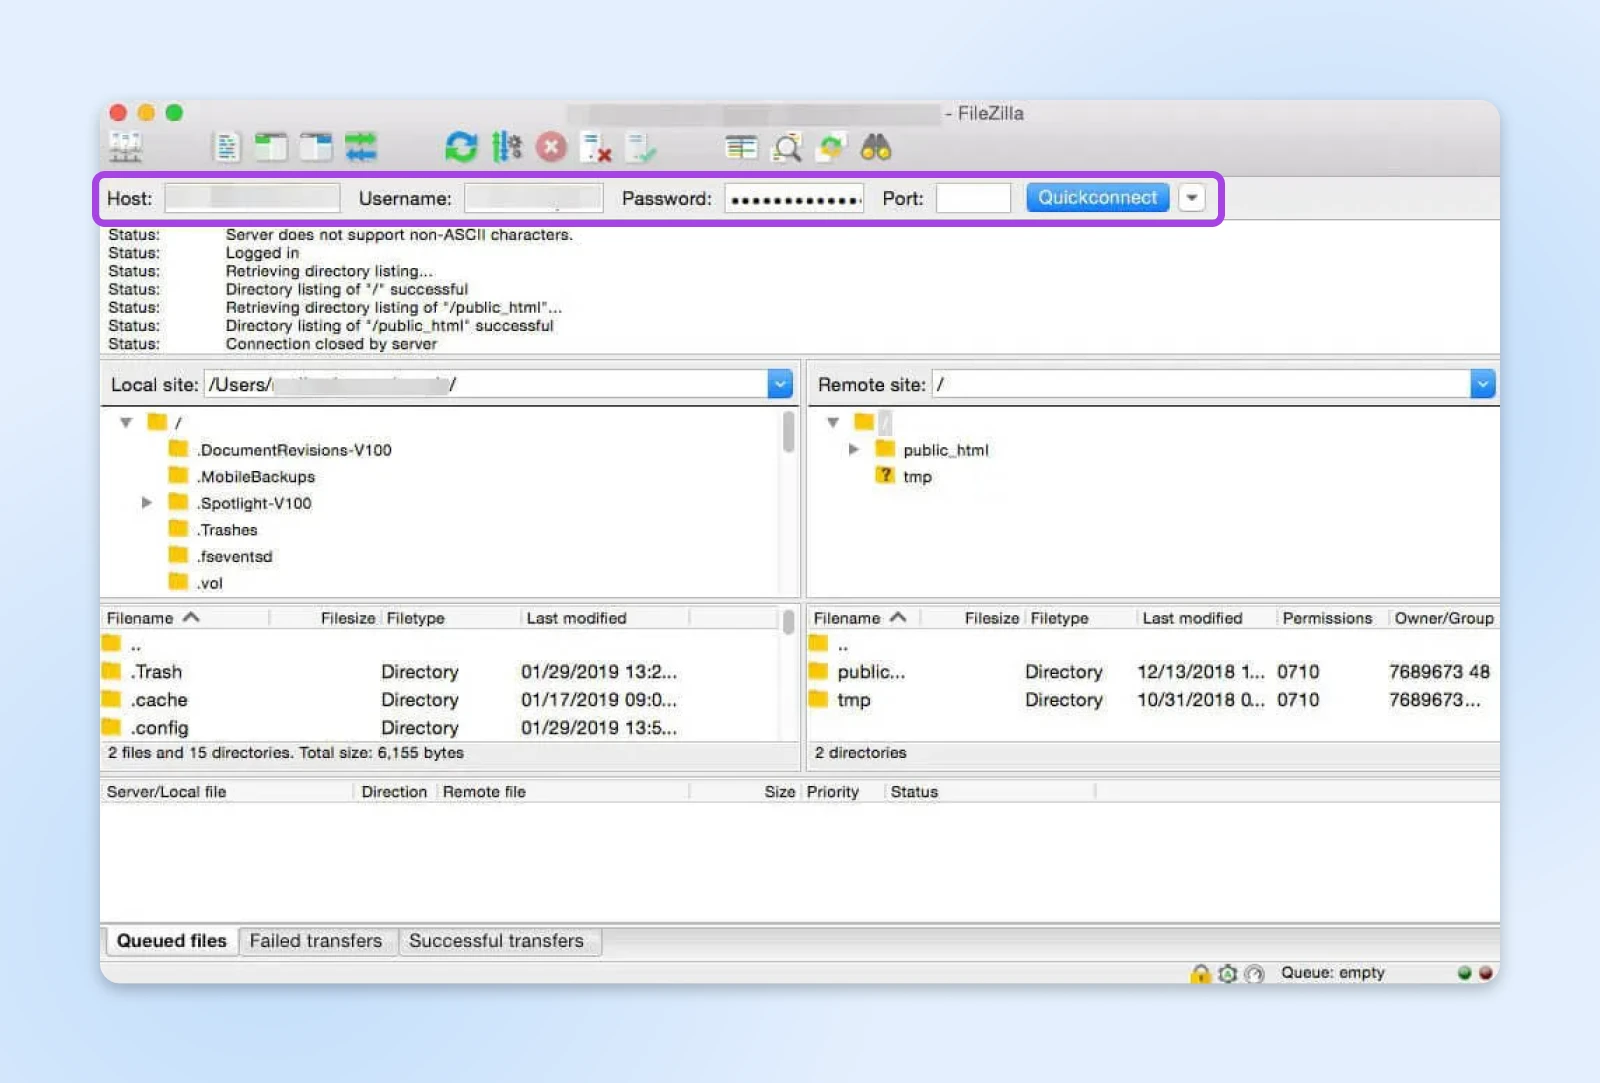
Now, you have to create the folder that will hold your backed-up files inside FileZilla. Right-clicking within the upper left quadrant, choose Create Directory, and name your new file.
Next, you’re going to simply drag the files you want to save from the upper right quadrant to your new folder on the left side. If you aren’t sure what to choose, grab the entire folder that has your site name on it.
The download you’ve initiated will probably take some time, but once you’re done, you can move on to back up your database!
We’ll show you how to do this with WordPress.
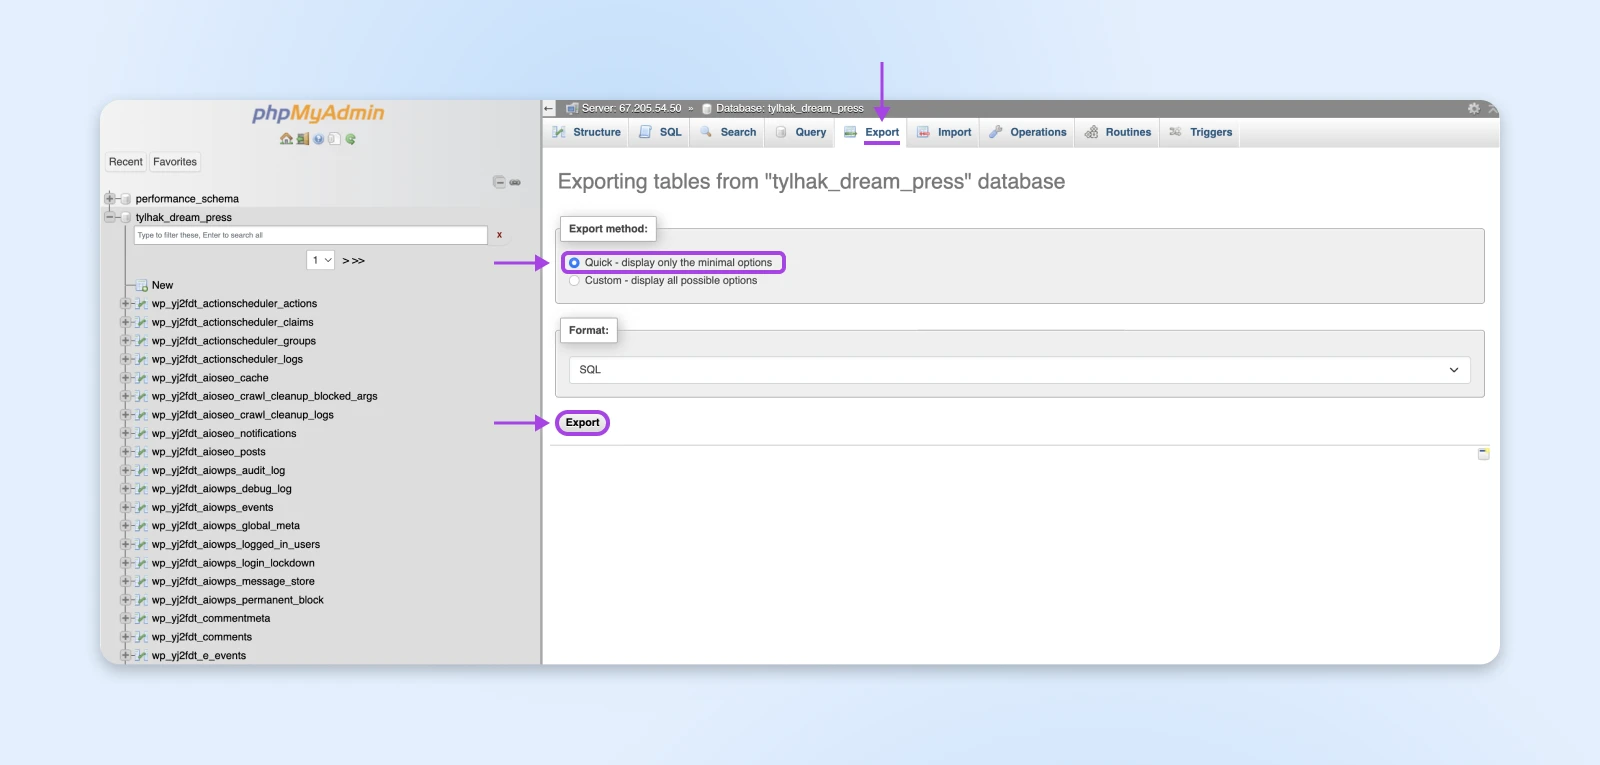
Go back to your host account and find and log into the phpMyAdmin tool. Find and select your website database in the left sidebar. That will open your database.
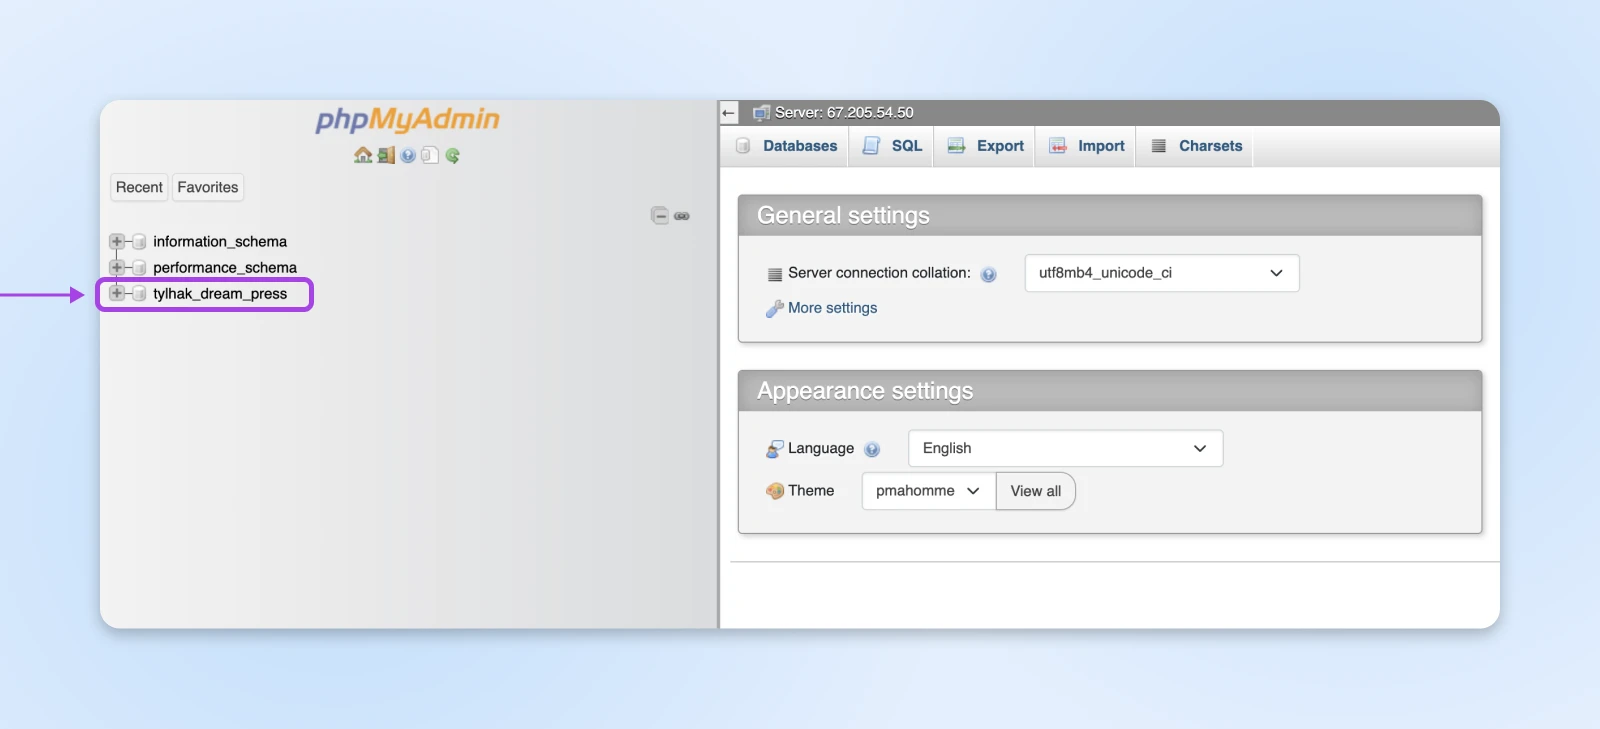
Now, navigate up to the Export tab at the top of your screen. Select the Quick method and hit the Export button.
When your download is done, you’re fully backed up!
4. Access Your Error Logs
Your site’s error logs may provide insight into what’s causing the 500 error. Depending on your host, these logs may be cycled quite often, so you’ll want to take a look as soon as possible — and even then you might not find the information you’re looking for, it’s worth a try!
You can check your error logs by accessing your site’s files via SFTP again and opening the logs file.
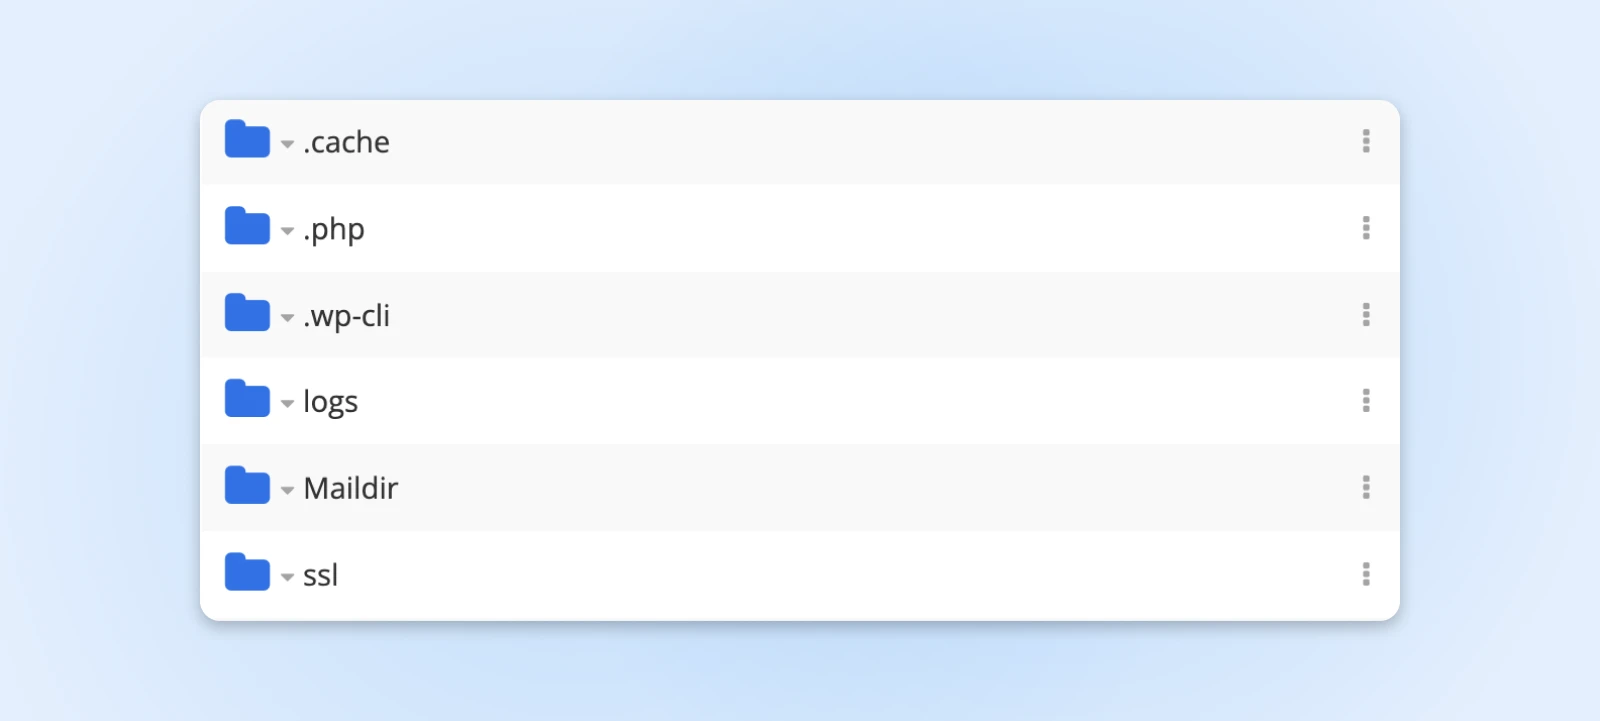
Here, select the site that’s experiencing the error. You may see several directories. Download the one with the most recent date.
You can view log entries by opening the file you just downloaded with your preferred text editor. Hopefully, what you find will provide you with some additional context for the 500 error.
If you’re a WordPress user, another great option is to enable the WordPress debug log. You can do this by connecting to your site via SFTP, opening the file with your site name on it, and finding the wp-config.php file inside.
Within it look for the following line (command + F on Mac or Ctrl+Shift+F on Windows will be helpful here):
define('WP_DEBUG', false);
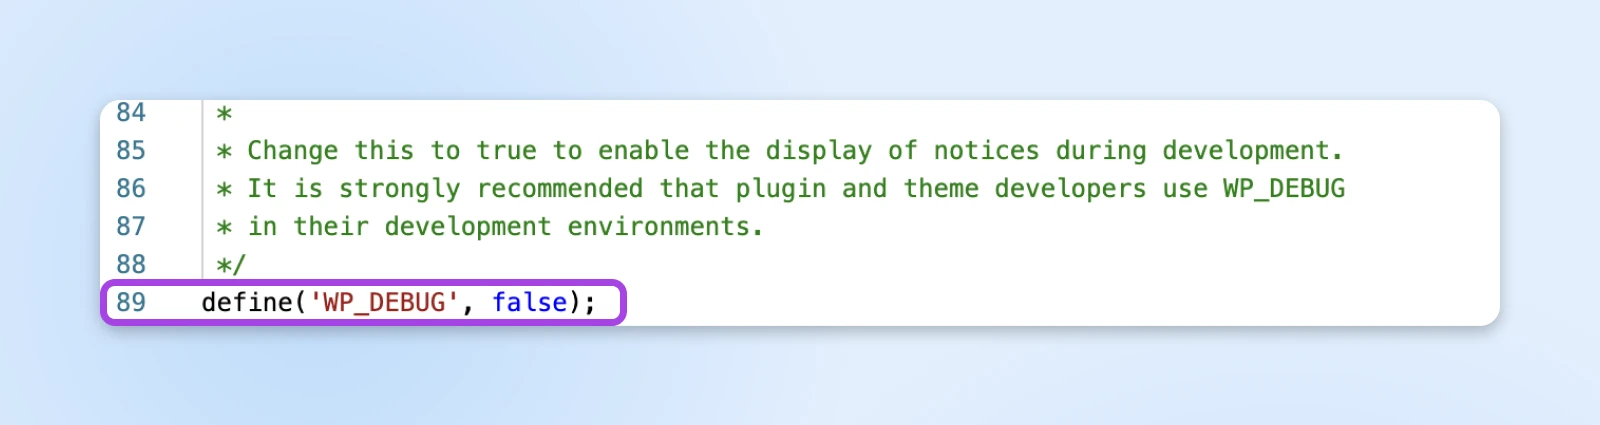
Once you find it, replace it with the following:
define( 'WP_DEBUG', true );
define( 'WP_DEBUG_DISPLAY', false );
define( 'WP_DEBUG_LOG', true );
This will create a debug.log file, which you can find under the /wp-content/ directory. Just be sure to change the WP_DEBUG value back to false when you’re done troubleshooting.
5. Check For “Error Establishing a Database Connection”
If your error is due to a problem establishing a database connection, not only will your site be offline for visitors, but you also won’t be able to access the WordPress admin dashboard either.
Several factors could be responsible for this:
- Incorrect database login credentials.
- A corrupted website database.
- A corrupted website installation file.
Let’s start with incorrect login credentials, as this is a common cause of the database connection error. If you’re a DreamHost user, you can find your database credentials in your panel. Even if you use a different host, you’ll likely follow a similar procedure to this.
Navigate to MySQL Databases and find the one that corresponds to your website under the Database(s) on this server section. Here, you’ll find your database name under the Database heading. The username is listed under the Users Access column.
To find the password, click on the username. On the next screen, scroll down and click on the Show button next to the password field.
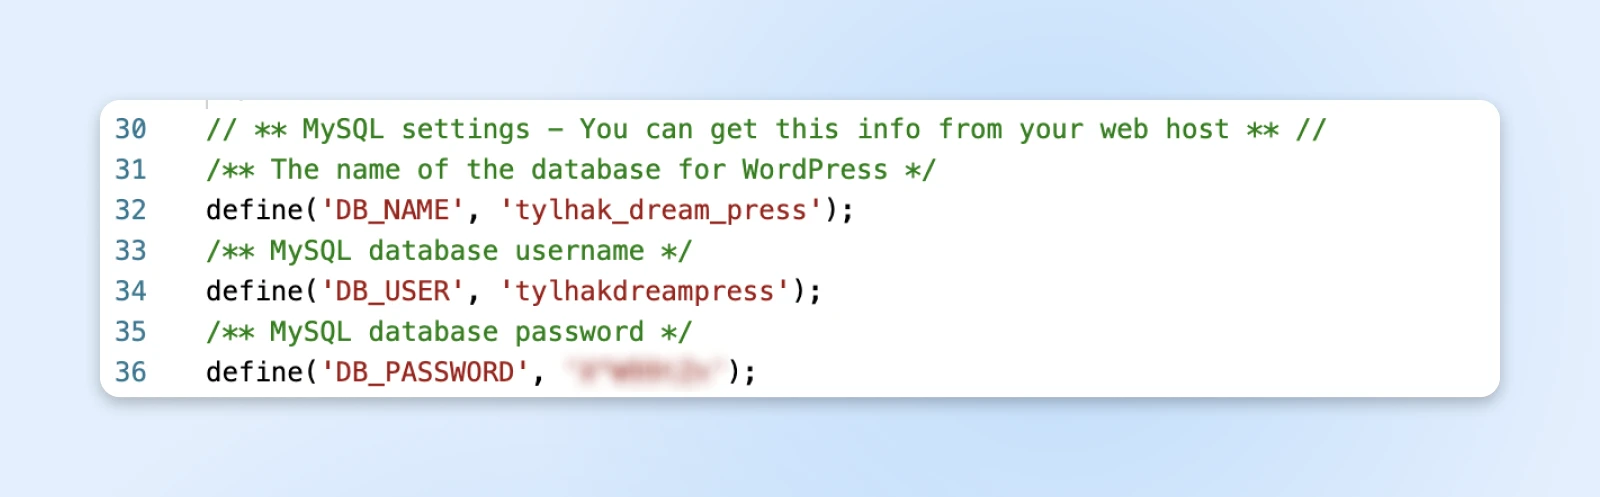
Next, you’ll want to compare these credentials to those in your wp-config.php file.
As you’ll remember from the last step, you can access this file in your site’s main directory via SFTP. Find the file with your site name on it and locate the wp-config.php file inside. Open or download the file and verify that the information under MySQL Settings matches what you found in your panel.
Now, how about if your database is corrupted?
You can quickly repair it by going back to phpMyAdmin. Log in and click on your database in the left panel. Select all of the tables in the database using the Check all box below them. In the dropdown to the right, under Table maintenance, select Repair table. Before moving on, make sure that you have a working backup (see step 3).
Finally, let’s look at how to handle a corrupted website installation file. Going back to our WordPress site as an example, start by downloading a new copy of WordPress and unzipping the file.
Next, access your site files via SFTP, and delete the wp-content folder and the wp-config-sample.php file.
Finally, upload the rest of the files to your site via SFTP, overwriting any existing ones.
The result? You now have a brand new, uncorrupted WordPress installation!
To make sure this update takes effect, clear your browser cache before checking your website again for the error.
6. Look For Permission Errors
If any of your files have permissions set incorrectly, it’ll throw the 500 internal server error. Again, you can check and change these permissions using SFTP.
Inside the file with your site name on it, right-click on any file, and select File permissions (this is called CHMOD with a key icon next to it in DreamHost) to open a new dialogue window. In this window, you can check and, if necessary, set new permissions for the file.
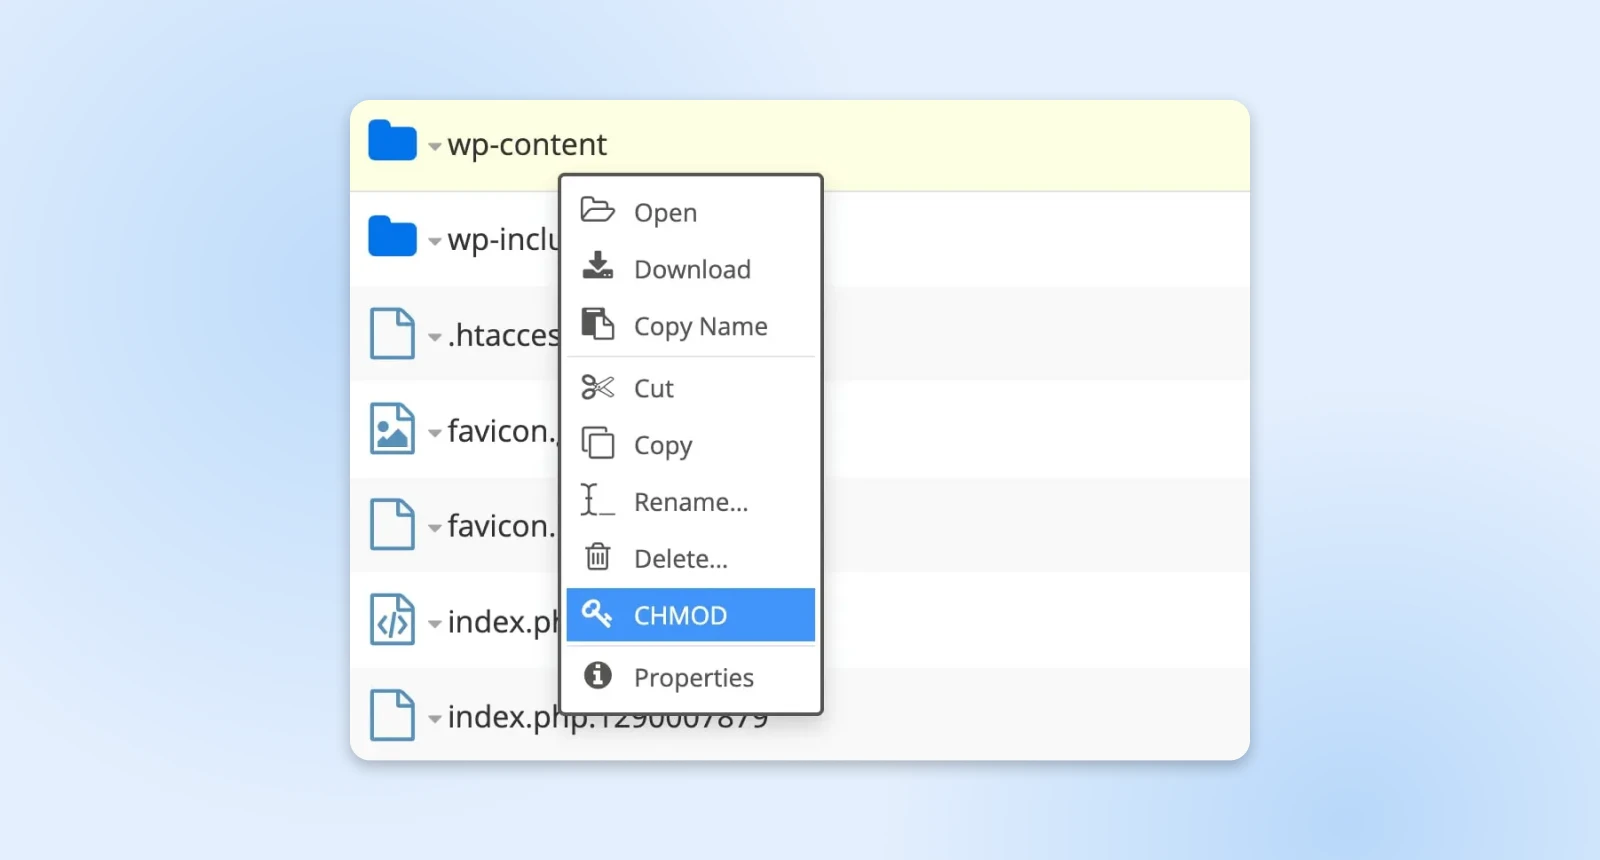
Typically, you’ll want to set files to 644 and directories and executables to 755.
If you’re unsure about the correct values, you should check with your host.
7. Increase Your PHP Memory Limit
Another reason you might see the 500 internal server error is if you’ve exceeded your server’s PHP memory limit. There are several ways to increase your limit, and they all involve using SFTP.
Before you try increasing your memory limit, you may want to start by seeing what it’s currently set to.
For WordPress websites, You can do this through the WordPress admin dashboard. Keep in mind that, with some variations of the 500 error, you won’t be able to access the dashboard. If that’s the case, you may have to skip this step.
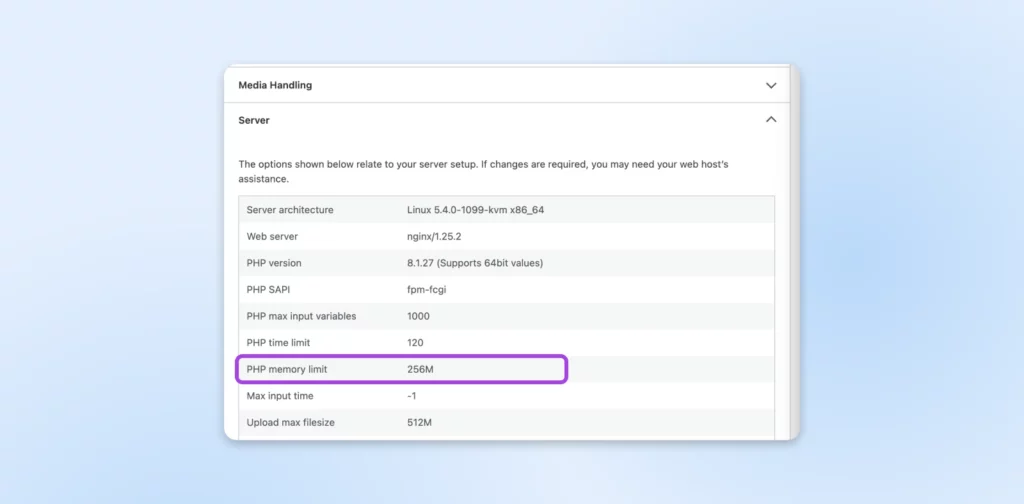
From your WordPress dashboard, navigate to Tools > Site Health.

Click on Info at the top of the screen to land on the Site Health Info page, and scroll down to the Server section. Click in to see your PHP memory limit.
To increase the PHP memory limit, there are a few files you can edit. One is the .htaccess file, typically located in your site’s root directory, which you can navigate to via SFTP. (Note: Hosting plans that use Nginx may not use a .htaccess file. If that’s the case, you can skip this step.)
Open the file and add the following code:
php_value memory_limit xxxM
You can replace the “xxx” with your desired amount of memory. Usually, 256M is plenty.
You can also increase your memory limit by editing your php.ini file. You should be able to find this file also in your root directory. If not, you can go ahead and create one. Add or update its code to the following:
memory_limit = xxxM
Once you edit your php.ini file, make sure to also adjust your wp-config.php file. While these limits are technically separate, the PHP limit cannot be lower than the WP memory limit.
To fix this, add the following code to the top of your wp-config.php file:
define('WP_MEMORY_LIMIT', 'xxxM');
If this resolves the 500 error, your next task will be to figure out what is causing the memory limit exhaustion.
It could be a problematic plugin or theme, if you’re on WordPress. For help finding the exact server diagnostics, you might want to contact your host.
8. Check For Problems With Your .htaccess File
The .htaccess file we’ve mentioned several times is one of your core website files. This file contains your server’s rules, so it could also be causing the HTTP error 500.
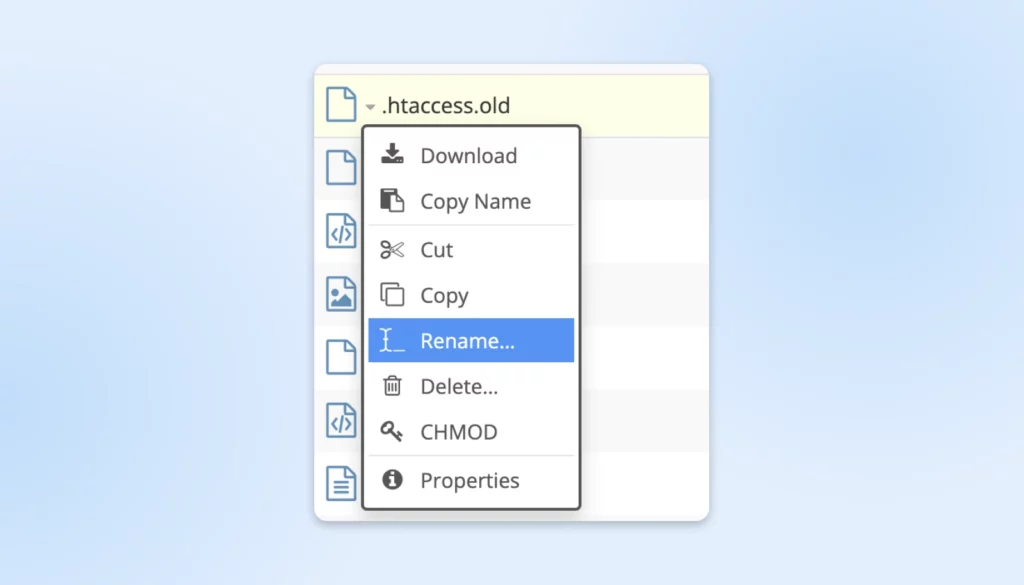
If your .htaccess file has become corrupted, you’ll want to go ahead and create a fresh one.
Start by logging into your site via SFTP and finding your .htaccess file. Rename the file to .htaccess_old.
Now, create a new .htaccess file in your text editor and paste in the following:
# BEGIN WordPress
RewriteEngine On
RewriteRule .* - [E=HTTP_AUTHORIZATION:%{HTTP:Authorization}]
RewriteBase /
RewriteRule ^index.php$ - [L]
RewriteCond %{REQUEST_FILENAME} !-f
RewriteCond %{REQUEST_FILENAME} !-d
RewriteRule . /index.php [L]
# END WordPress
Upload your newly created .htaccess file to your website. After that, refresh your browser and see if the error message appears.
9. Look For Coding Or Syntax Errors In Your CGI/Perl Script
If you’re running Common Gateway Interface (CGI) scripts, any coding or syntax errors you’ve made could result in a 500 error. To unearth potential issues with your CGI scripts, log into your site using Secure Shell (SSH). Here’s how to do that with DreamHost.
Once you’ve logged in, you can troubleshoot your CGI with this command:
[server]$ ./cgi_name.cgi
In this case, the terminal should return a general error message and the line number where the culprit can be found. From there, you, or your development resources, can work your coding magic!
When working with CGI, there are a few best practices to keep in mind to avoid problems.
First, it’s wise to use a plain text editor to ensure that you maintain the ASCII format. When you upload scripts, you should also be able to select ASCII mode in your FTP client.
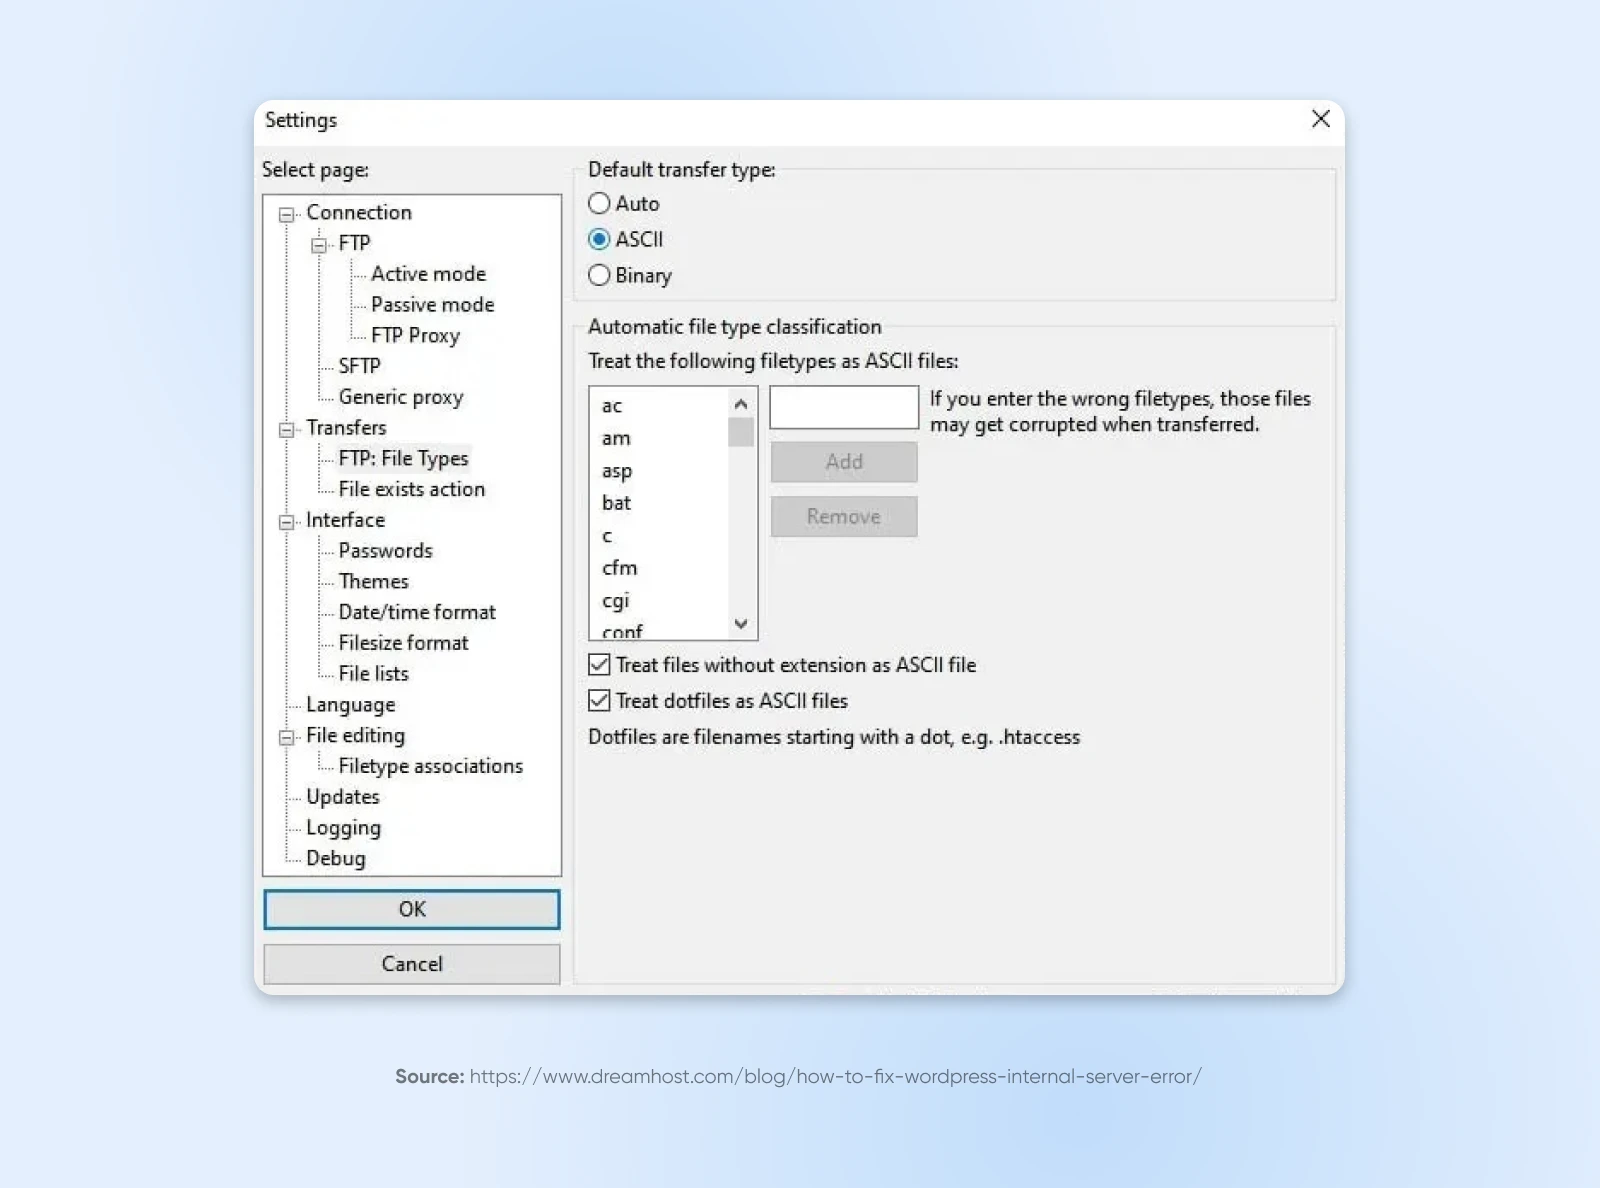
Finally, if necessary, upload to the cgi-bin directory on your server.
Then, you can double-check your files’ permissions once you’ve uploaded them.
10. Finally, Ask Your Web Host About Potential Server Issues
If all else fails, there may actually be a server issue, which only your host can confirm. Unfortunately, if your host’s server is experiencing a problem, you may have to wait out some website downtime.
If you’re a DreamHost client, you can check the DreamHost status page. This resource provides you with all the information on each of our services.
If you run into any problems while trying to repair the 500 internal server error as a DreamHost customer, you can always reach out to our tech support team. They’re ready and waiting to lend you a hand!
If you’ve followed the tips in this guide, you’ll already have plenty of valuable information to help the technician work through your issue even faster!
What Other Website Errors Can We Help With?
Want to learn more about fixing errors, server and otherwise, on your website? We’ve put together a lot of tutorials on how to fix the most common types of errors we hear about.
Here’s a wide selection of resources for you:
- DNS Server Not Responding Error? Here’s How To Fix It
- How To Resolve The ERR_CONNECTION_REFUSED Error
- 9 Tactics For Fixing The 504 Gateway Timeout Error
- 502 Bad Gateway Error: What It Is And How To Fix It
- How To Fix: 400 Bad Request Error
- How To Fix The ERR_SSL_PROTOCOL_ERROR
- How To Fix The 503 Error In WordPress
- How To Fix The ERR_CONNECTION_TIMED_OUT Error
- Your Guide To Fixing The 405 Method Not Allowed Error
Keep Your Website On Track With DreamHost
While having to sort out a 500 internal server error isn’t exactly fun, hopefully, you’ve seen it’s also not as painful as you might imagine. With a little patience and the tips we’ve provided, you should be able to make some progress on getting your website back online.
Running into errors like this one is inevitable as a website owner. And the truth is, no matter how savvy you are, it’s always going to be easier to get back up and running when you have a really helpful, reliable hosting provider. (That’s us.)
DreamHost has a variety of hosting options that provide powerful features to keep your site secure and successful — as well as experienced website builders, managers, and other professionals who can make sure your site rarely gets off track in the first place.

