Whether it’s selling vintage treasures or making millions from digital products, setting up your own online store can be really exciting. What’s more, you don’t need to be a tech expert to get started.
In fact, all you need is a WordPress site equipped with WooCommerce. This powerful plugin turns your site into an e-commerce store faster than you can say “ka-ching.”
Of course, there’s still a small learning curve involved. To help you get started, we’ve compiled a complete introductory guide.
Keep reading to learn why WooCommerce is so easy to use and how to set up your own store, configure products, start taking payments, and customizing your site.
What Is WooCommerce?
WooCommerce
WooCommerce is a WordPress plugin designed for e-commerce needs. This tool can enable website owners to start selling products in a flexible, customizable online store.
Read MoreWooCommerce is a popular, free plugin that allows you to create an online store on your WordPress site.
First launched in 2011, WooCommerce was later acquired by Automattic in 2015, essentially making it the officially supported WordPress e-commerce plugin. Since then, it has seen pretty rapid growth.
According to statistics collected by Barn2, WooCommerce powers almost 41% of all e-commerce websites. This makes it the most popular e-commerce solution by far, almost double its closest competitor (Shopify).
Why WooCommerce Is The Ideal Choice For Your Online Store
So, what is all the hubbub about? To understand why WooCommerce is so popular, it’s worth taking a closer look at what this plugin offers.
For a start, WooCommerce is easy to install and configure. Using the basic free plugin on default settings, you can set up a store in less than an hour.
At the same time, WooCommerce offers loads of control for more experienced sellers. You can play around with product costs, item details, shipping fees, taxes, stock levels, images, and much more.
You can also tailor the checkout process to suit your needs, thanks to customizable carts, geolocation features, and several different payment gateways.
WooCommerce is also very scalable. As your site grows over time, the plugin makes it easy to add powerful features and expand your store.
WooCommerce Vs. Other E-commerce Solutions
This all looks great on paper, but you might be wondering how WooCommerce stacks up against the competition.
Based on popularity, the two closest competitors are Shopify (a standalone e-commerce platform) and Magento (a Content Management System or CMS).
Content Management System (CMS)
A Content Management System (CMS) is a software or application that provides a user-friendly interface for you to design, create, manage, and publish content.
Read MoreLet’s compare WooCommerce to these major players on three key factors:
Pricing
WooCommerce is an open-source e-commerce platform that is 100% free. While you can extend the core platform with premium add-ons, the only necessary expense is web hosting, which starts at just $2.95 per month with DreamHost.
In contrast, Shopify and Magento charge monthly fees plus transaction fees. That adds up over time and can really cut into your profits.
Ease Of Use
You only need a basic understanding of WordPress to set up an online store using WooCommerce. The admin area allows drag-and-drop building and editing.
Shopify also offers an intuitive dashboard, but customization can get complicated. Meanwhile, configuring a Magento store requires more technical knowledge.
Features
You name it, WooCommerce has it: secure checkout, shipping calculators, product management, coupon codes, customer reviews, robust reporting, and more.
Shopify and Magento both offer similar functionality, but popular extensions and apps often come at extra cost. Most WooCommerce extensions are free, and even premium extensions tend to be affordable.
The bottom line: WooCommerce beats its closest competitors on pricing, while matching features. Plus, you get all the benefits of WordPress.
How To Set Up A Store With WooCommerce (5-Step Guide)
If you decide to launch your new venture with WooCommerce, the next step is to set up your store.
As we mentioned, WooCommerce is pretty easy to install and configure. But if you would feel more confident with a little guidance, here’s a complete step-by-step tutorial:
Step 1: Install The WooCommerce Plugin
The first step toward building your online business is to install WooCommerce.
Start by logging in to your WordPress site and selecting Plugins > Add New Plugin in the left sidebar.

Use the search bar to find WooCommerce in the official Plugin Directory. The one you want should be the first result.
Click the Install Now button.

Once the installation process is complete, activate the plugin. You will then see a WooCommerce appear in the left sidebar. This is where you’ll manage all your store settings.
Step 2: Follow The Setup Wizard
If you open WooCommerce from the sidebar, the plugin will encourage you to launch the setup wizard.
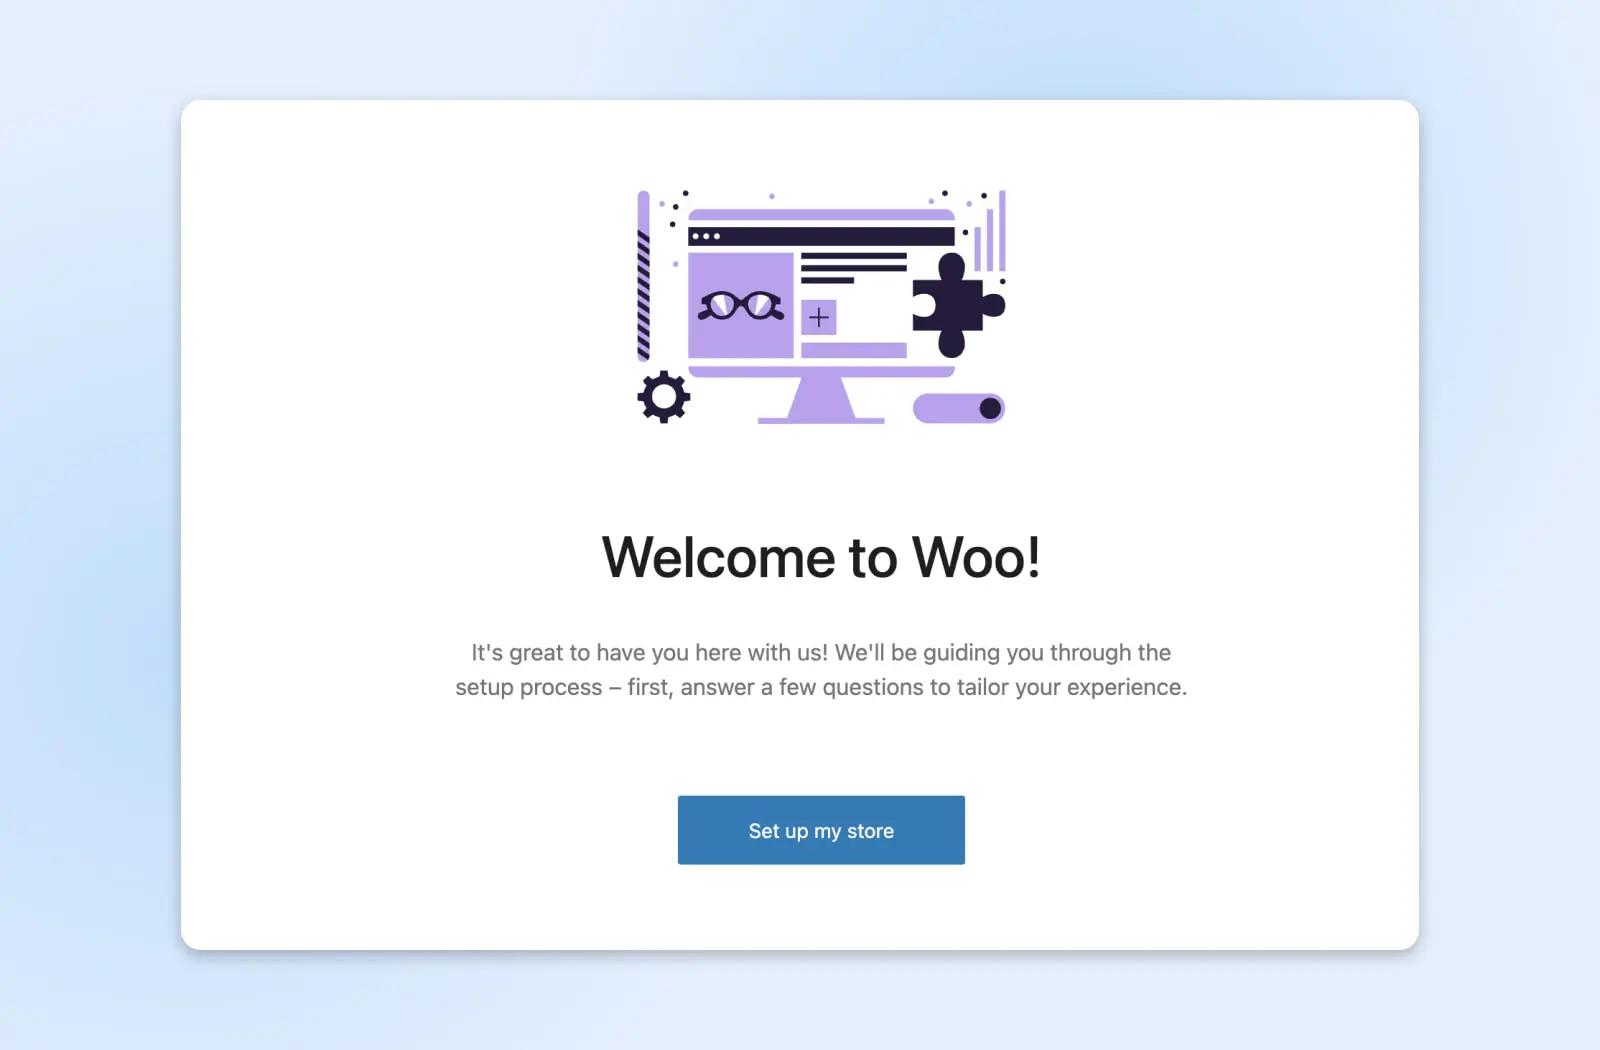
After the welcome screen, the wizard will ask you whether you’re setting up a store for the first time or already selling online. Choose the relevant option.
Next, add your store details: name, location, industry, and email. Later on, this information will appear on all your invoices, packing slips, and confirmation emails.
Once your business details are entered, you can choose to install the suggested extensions or wait until later.
Finally, click Continue to launch your online storefront.
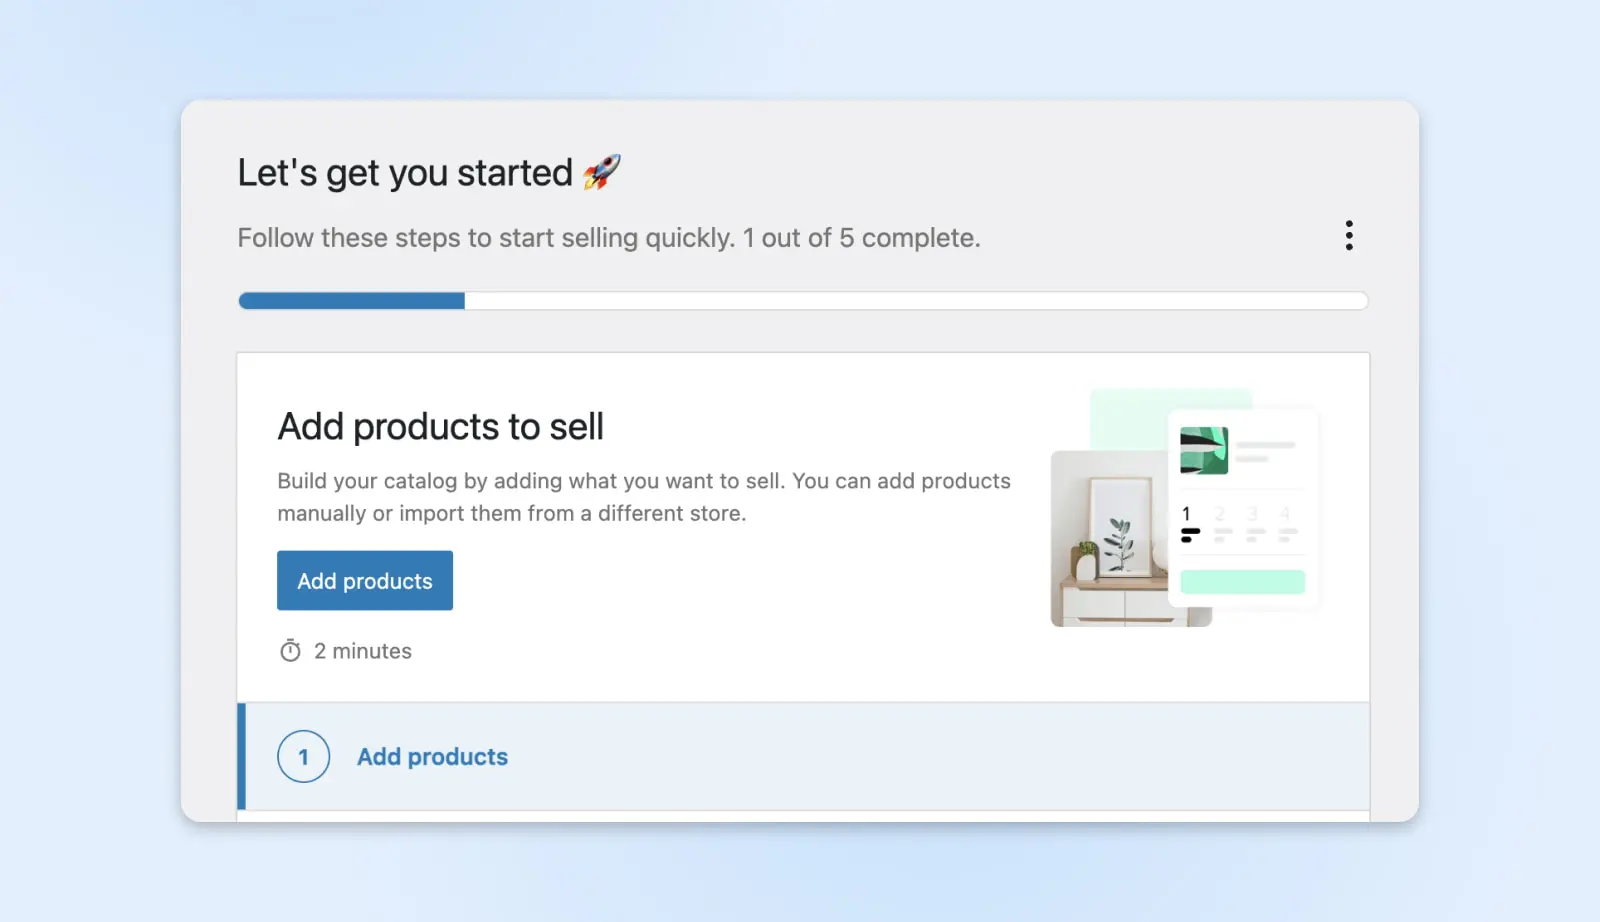
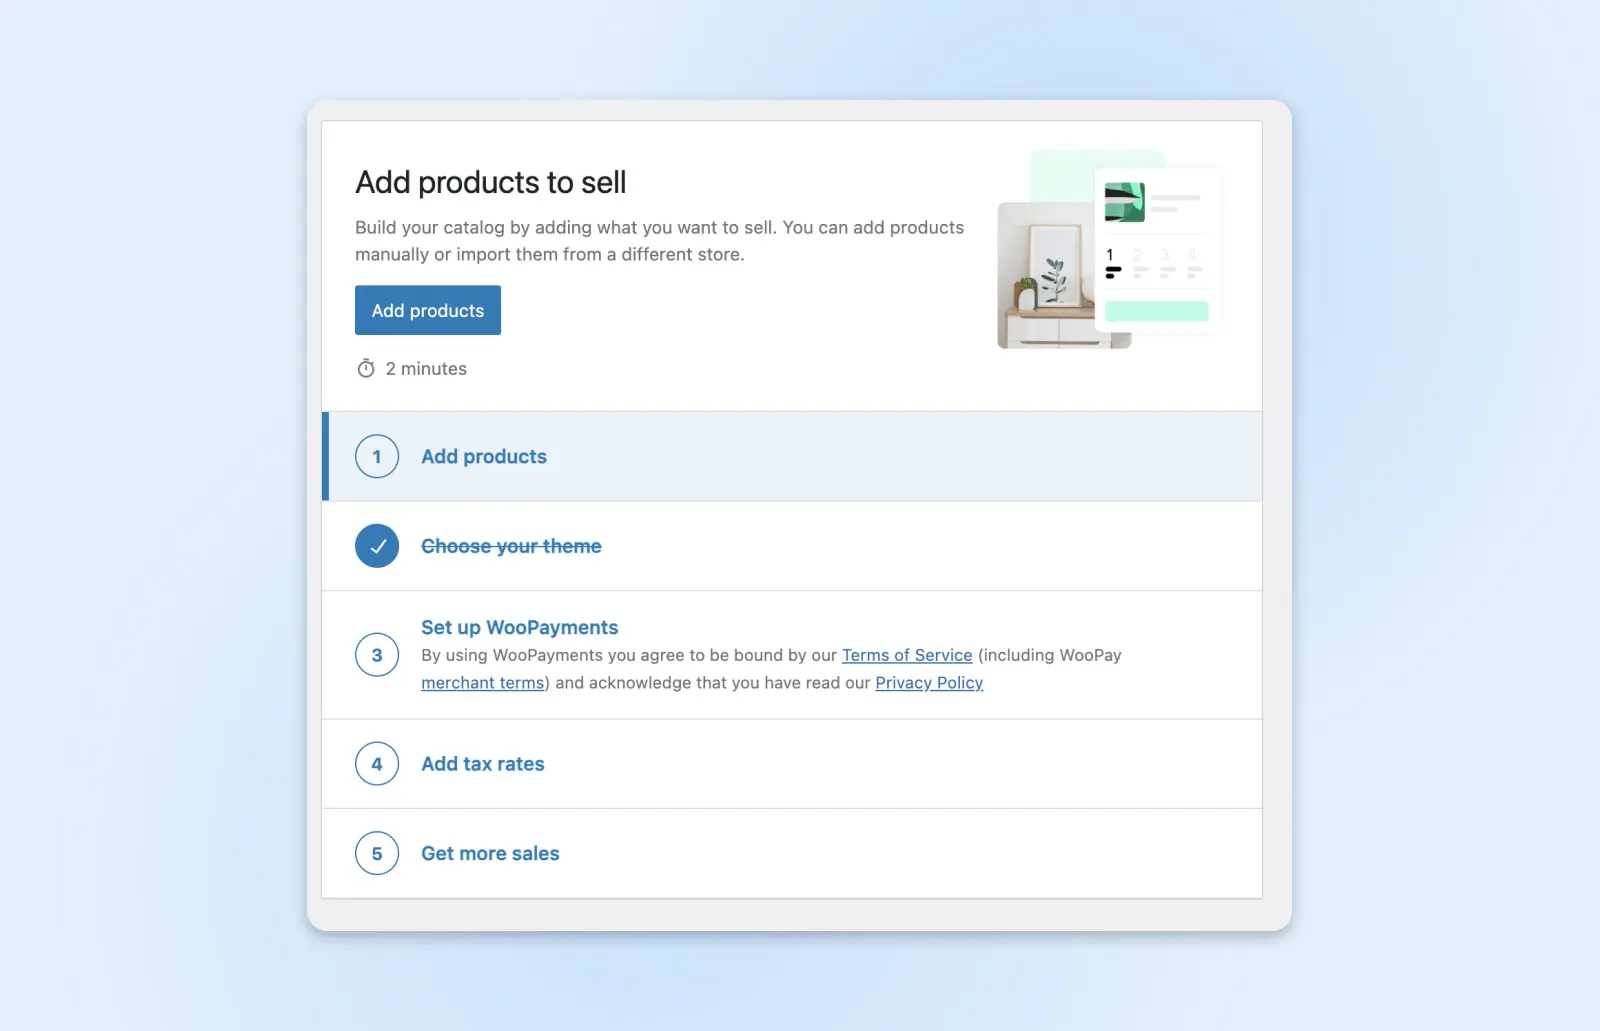
Step 3: Add Products To Your Store
We’re ready to sell, right? Well, not quite. Your store needs some products if you’re going to make any money.
To begin populating your new store, tap Add Products on the start screen.
Select the relevant product type. Choose “Variable product “if your product comes in different variations (e.g., sizes and/or colors).
Next, fill out the key product details.
- Title and description: Include keywords that customers might search for.
- Pricing: Set regular and sale prices.
- Product images: High-quality photos will help you make sales.
- Product categories: Decide how products are grouped in site navigation.
- Inventory: Track your stock and set up alerts.
- Shipping: Add the product weight and dimensions to calculate shipping rates.
If you’re setting up a “Variable” product, make sure to add the different product variations under the Attributes tab.
Finish by publishing your new product. If you want to add more products, you can use your first product as a template. Duplicate the first product listing and edit the content.
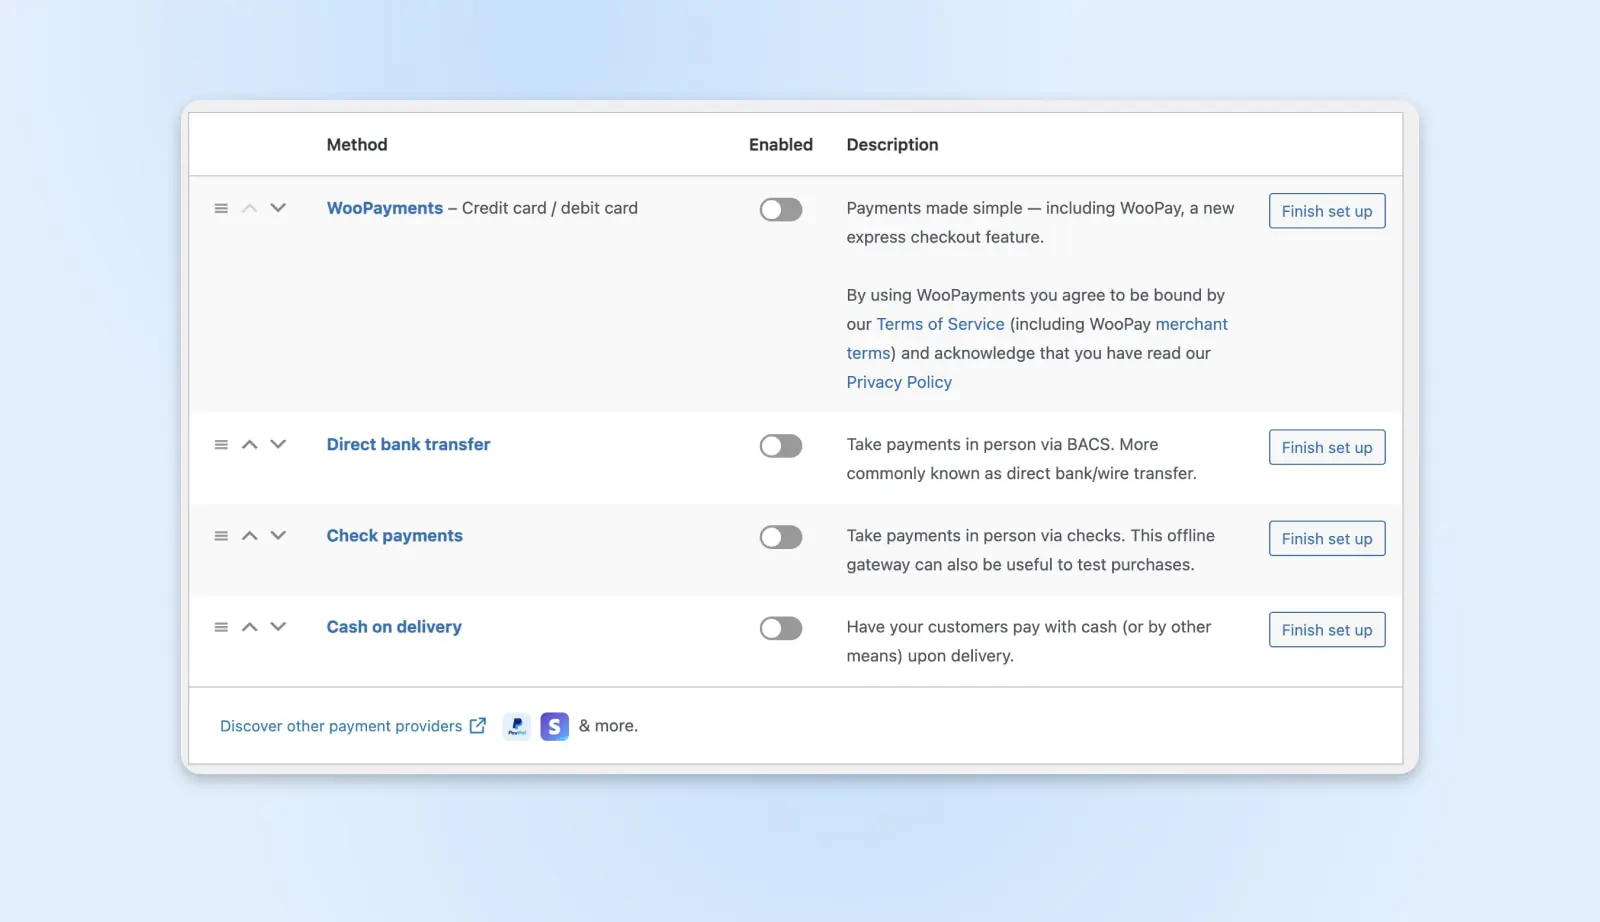
Step 4: Select Your Payment Options
To make money from your products, you need to provide customers with a way to pay for their purchases. Luckily, WooCommerce makes it pretty easy to handle transactions.
The most convenient path here is WooCommerce Payments. Powered by Stripe, this system is completely integrated with the WooCommerce system.
To configure this payment option, navigate to WooCommerce > Home and select Set up payments. Then, click on Get started and follow the setup instructions.
If you want to provide customers with an alternative, Stripe and PayPal are good options. Both allow you to accept all major credit cards, plus Google Pay and Apple Pay. The latter also allows PayPal users to pay directly from their account, which can increase conversion rates significantly.
Other online payment options include:
- AliPay
- Skrill
- Braintree
- Authorize.net
- Amazon Pay
- Square
You can enable several popular payment methods in the Set up payments area. For more granular control, navigate to WooCommerce > Settings and select the Payments tab.
To add a new third-party processor, you will need to install the matching extension and set up a payment account. Be sure to check the fees associated with each gateway, because they vary significantly.
Step 5: Configure Sales Tax And Shipping Options
Both tax and shipping can cause headaches for new business owners. Luckily, WooCommerce makes it fairly easy to collect the right amount and send shipments to the right address.
Once you’ve set up payments, the setup guide will prompt you to “Add tax rates.”
Start by visiting WooCommerce > Home and find the option to Add tax rates. Here, you have two choices:
- Set up WooCommerce Tax, an extension that automates tax calculations.
- Set up your tax rates manually (see the small link at the bottom of the page).
WooCommerce Tax is definitely the easier option here. You can set it up in a couple of minutes by following the on-screen instructions.
If you prefer to set tax rates yourself, you can head to WooCommerce > Settings and select the Tax tab.
- While you’re still inside the Tax tab, select Standard Rates from the sub-menu at the top.
- Add tax rates by country, state, or even zip code. Use the Insert Row button to create a new line and then input your data.
- Finally, save your changes.
If you’re only selling digital products or affiliate items, you can skip to the next step. But if your store offers physical items that need to be mailed, you should take a minute to set up your shipping options.
Head to WooCommerce > Settings and choose the Shipping tab. You’ll see the U.S. already added if the address of your business is in the United States.
But you can add more. At the top of the page, select Shipping zones. Click Add zone.
Shipping zones are geographical areas that you define as having the same shipping requirements, including carriers and types of shipping.
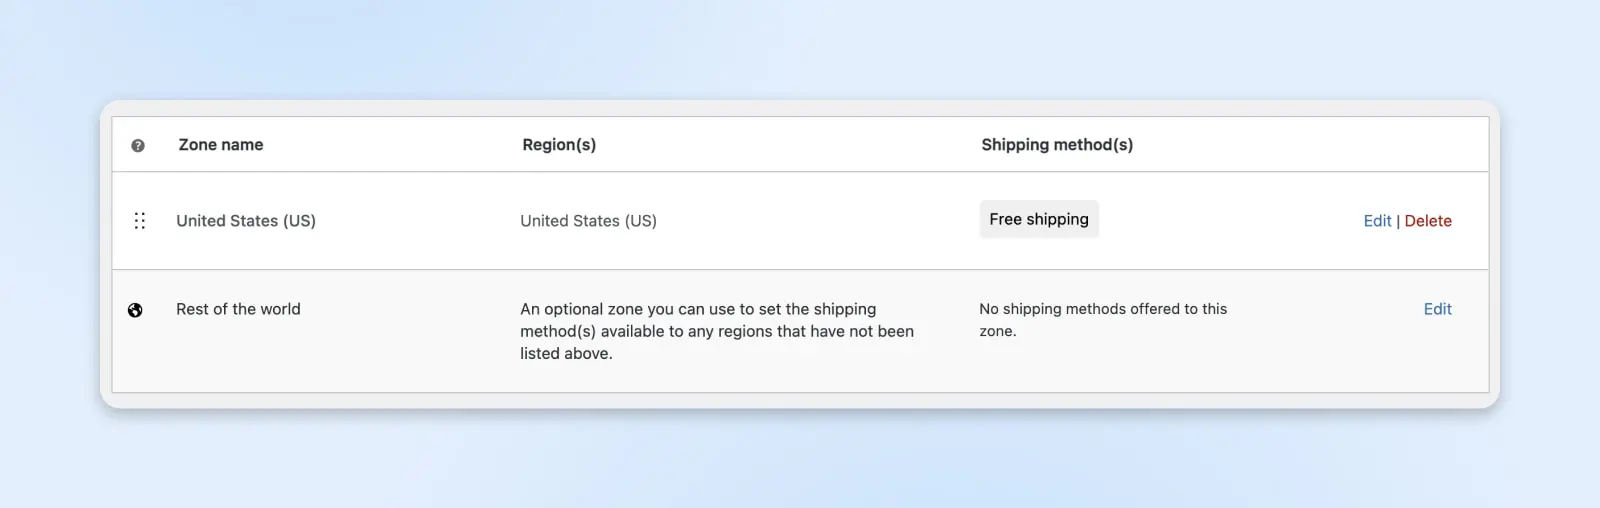
To configure your new zone:
- Add a name for the region. Make it descriptive.
- In the Zone regions field, choose the locations you want to be included in the zone.
- Choose which shipping methods should be available in the new zone: free shipping, flat rate, or local pickup.
- Finally, click on each method to adjust the cost and any specific requirements (e.g. minimum order for free shipping).
- Don’t leave your zone hanging. Hit that save button.
And just like that, you’re ready for lift-off! Your store now has the logic to handle taxes like a seasoned accountant and ship packages as if it’s got its own delivery fleet.
Remember to test everything once you’re done. Make a mock purchase to see if taxes and shipping costs are added correctly. It’s a good idea to run a system check before the real deal.
How To Customize Your WooCommerce Store
We could literally spend a couple of days talking about all the ways you can customize your new WooCommerce store.
Exploring the built-in options should keep you busy for a while, but when you’re ready to take your store to the next level, there are two types of upgrades to check out: themes and plugins.
WooCommerce Themes
WooCommerce works well with just about any WordPress theme. However, there are plenty of themes specifically created for sites that use WooCommerce.
These themes help you customize your store’s appearance to match the rest of your online presence. Some even add new functionality related to WooCommerce, such as custom post types.
Most WooCommerce themes are based on the official Storefront theme:
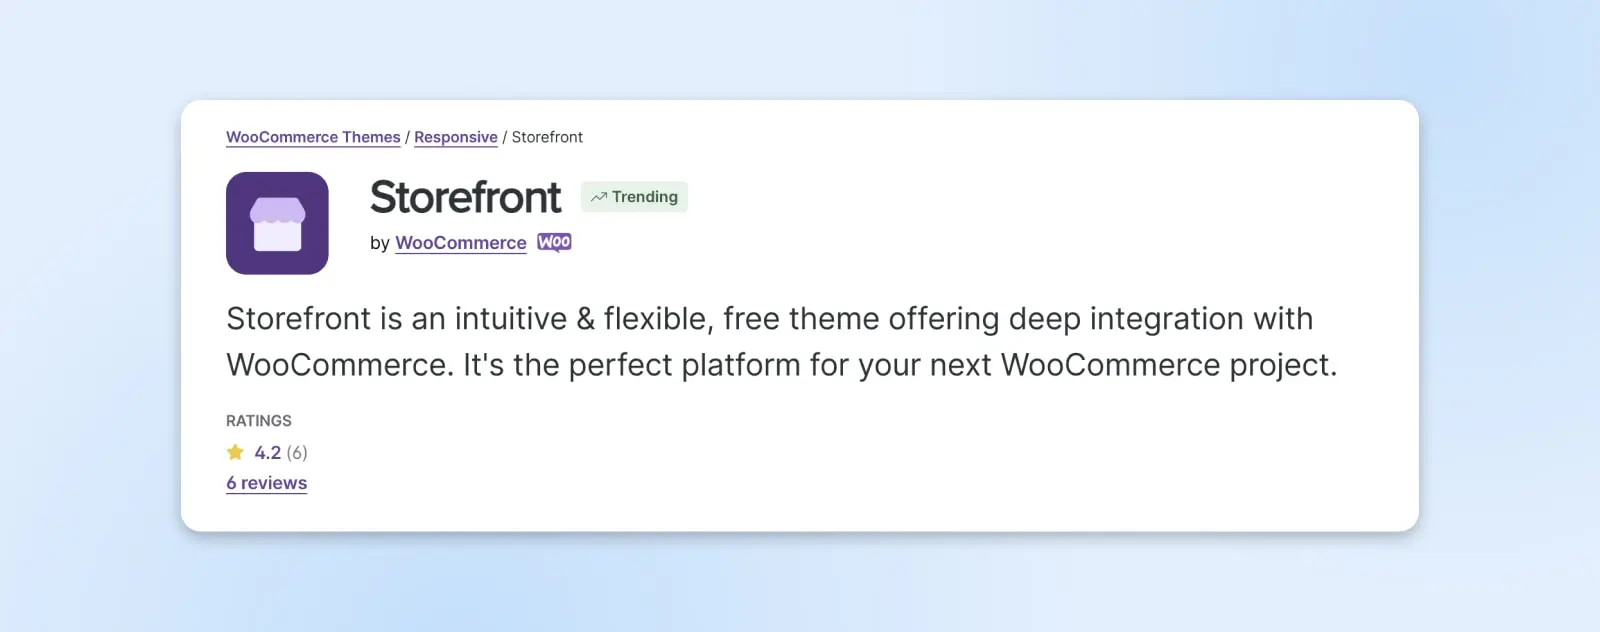
This theme is developed by the team behind WooCommerce, so you can be sure that it’s secure and that the integration is bullet-proof. Storefront is also free, which is always a plus.
While this theme works well on its own, it can be further expanded using one of several child themes.
If you’re not aware, a child theme builds on an existing theme (its “parent”), enabling you to make changes to the parent theme without editing it directly.
In addition to Storefront and its child themes, you can find a wide range of WooCommerce-ready premium themes. Many of these are specialized for different types of stores.
For example, Electro is specifically built for creating electronics shops, while the Motor theme is tailored toward car dealerships. Regardless of your business and tastes, you should be able to find a theme that works perfectly for you.
WooCommerce Extensions
Once you’ve picked out a theme for your store, it’s time to consider whether you need some additional features.
WooCommerce extensions allow you to introduce new functionality to your WordPress store. While they work very much like WordPress plugins, they are specifically created to integrate with WooCommerce.
Some extensions are free to use, while others require a one-time payment or a regular subscription fee. Either way, you can use them to enhance your store with advanced features.
There are hundreds of extensions today, from sales analysis tools to security plugins. We’re going to take a look at a few of the best options for first-time WooCommerce users.
1. WooCommerce Google Analytics
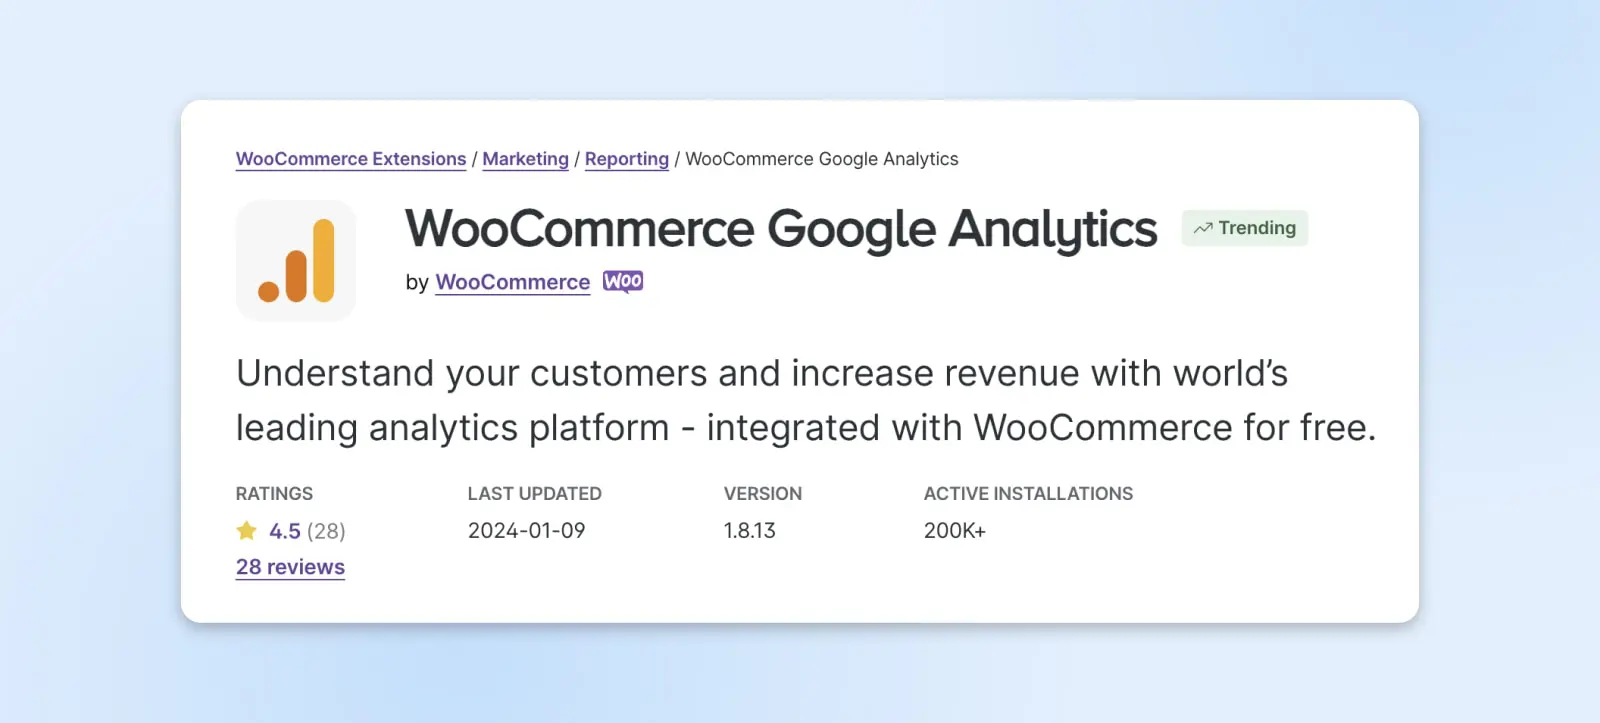
WooCommerce Google Analytics enables you to use Google Analytics to track your store’s performance. This extension can help you understand your customers’ journey, including how they found your site and which products they’re most interested in. You can then use this data to optimize your sales funnel.
Key Features:
- Tracks session length, users, and referrers.
- Highlights which areas of your store perform well and which need improvement.
- Helps you understand customer behavior and product popularity.
Pricing: WooCommerce Google Analytics is a free extension, but it does offer a premium version as well, starting at $79 per year for a single site. Both extensions also require a free Google Analytics account.
2. WooCommerce Subscriptions

WooCommerce Subscriptions lets you create products that can be unlocked with recurring payments. The extension works both for physical products, such as a monthly subscription box, and virtual products or services.
Key Features:
- Enables you to choose your payment schedule from several options.
- Offers more than 25 popular payment gateways.
- Supports automatic subscription renewal emails for both you and your customers.
Pricing: WooCommerce Subscriptions starts at $239 per year for a single site.
3. WooCommerce Zapier
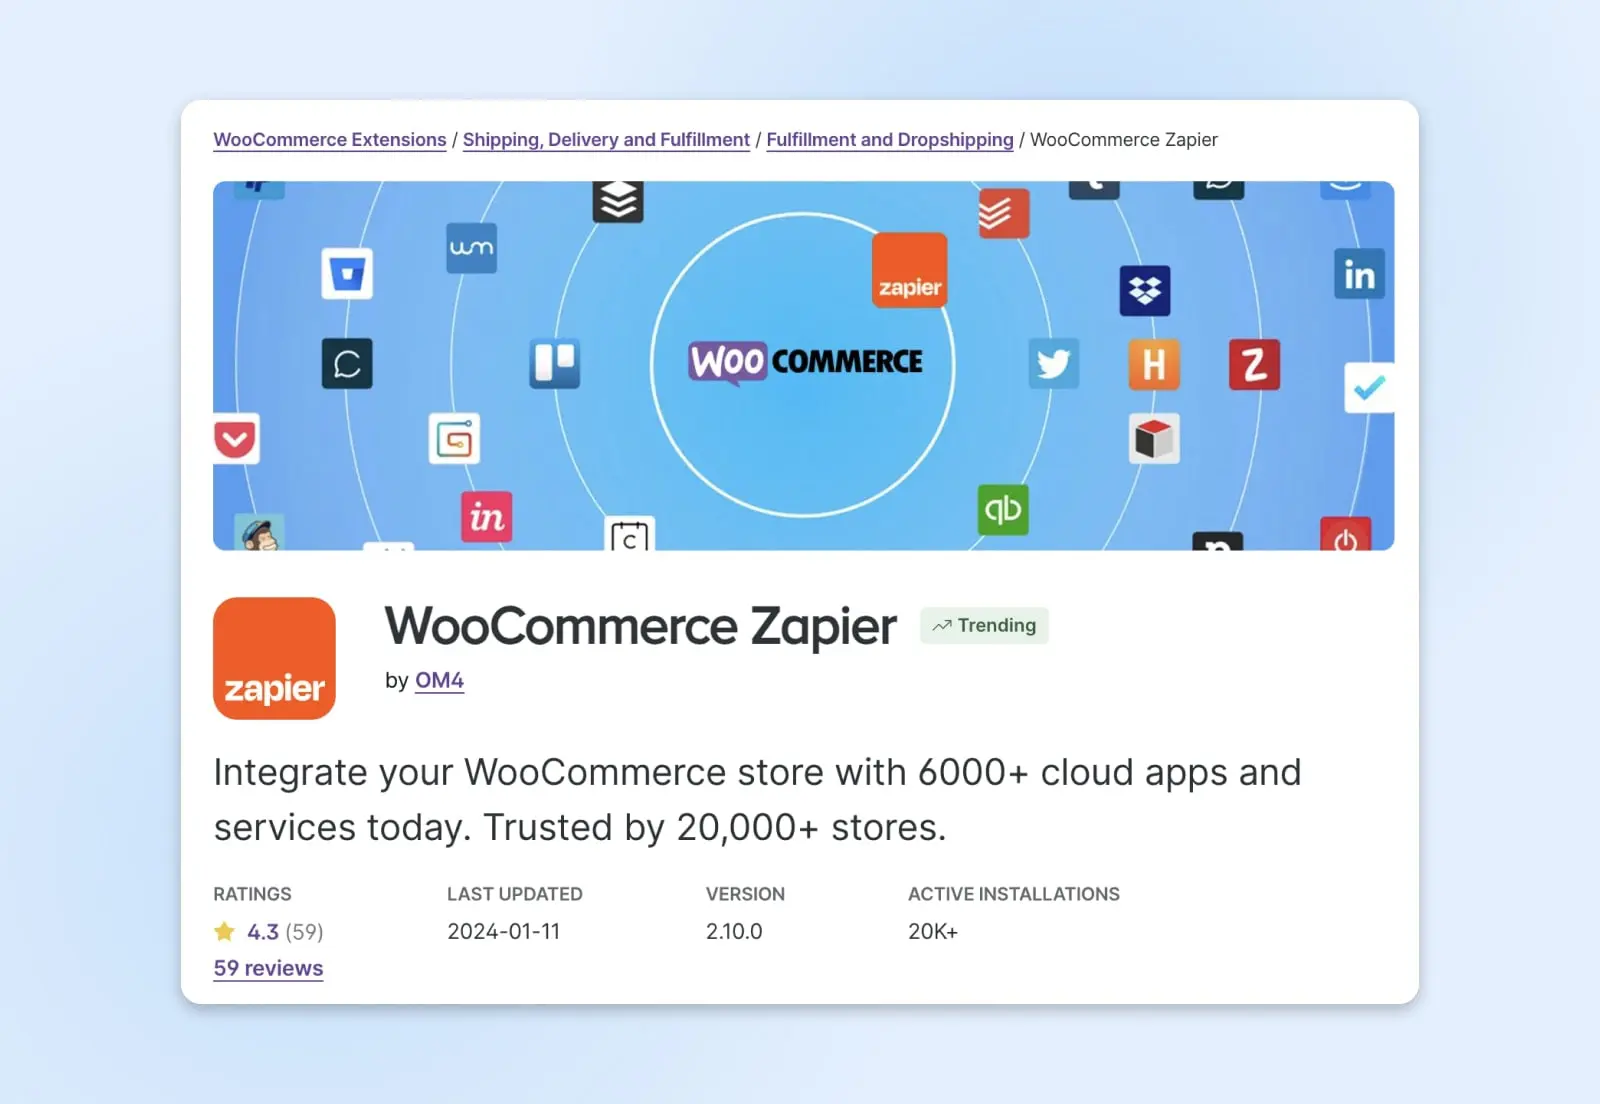
WooCommerce Zapier is a great solution for integrating your store with third-party services. With this one extension, you can connect WooCommerce with Mailchimp, YouTube, Dropbox, Google Drive, and many other platforms.
Key Features:
- Integrates with over 1,000 third-party services.
- Enables you to configure automation to save time.
- Provides performance reports through the “Digest by Zapier” feature.
Pricing: WooCommerce Zapier prices start at $79 per year for a single site.
4. Square For WooCommerce
Square for WooCommerce enhances your store’s payment options, both online and in person. The extension is very easy to install, and you’ll be able to accept payment within minutes. Square is compatible with all credit and debit cards in the US, UK, Australia, Canada, and Japan.
Key Features:
- Makes it easier to accept payments from various sources.
- Deposits your funds quickly, within 1-2 business days.
- Enables you to quickly sync your Square and WooCommerce accounts.
Pricing: Square for WooCommerce is a free extension that requires a Square account.
5 Tips For Growing A Successful WooCommerce Store
Now your store is complete, you can concentrate on growing your new business. Here are some key tips for attracting customers and making sales:
1. Use Coupon Codes And Promotions To Boost Sales
Everyone loves a good deal. As a store owner, you can tap into this universal truth by offering coupon codes and promotions. They’re not just money-savers for your customers — they’re sale-makers for you.
Create time-sensitive discounts, bundle deals, or loyalty rewards. You can also give away free gift cards with purchases over a certain size. These little incentives can be enough to persuade window shoppers to make a purchase.
To create promotional coupon codes, select Marketing > Coupons from the left-hand sidebar.
2. Get More Customers With Search Engine Optimization
Your store is a needle in the Internet haystack. SEO (search engine optimization) can help you emerge from the pile, so that more customers can find your site.
SEO
Search Engine Optimization (SEO) is the practice of improving a site’s ranking in search results. Search results are aggregated based on a number of factors, including a site’s relevance and quality. Optimizing your site for these factors can help boost your rankings.
Read MoreTo reap the benefits here, make sure to do your homework with keyword research. Find out which phrases your customers are searching for, and then weave those magic words into your product descriptions, titles, and metadata. Use a plugin like Yoast SEO to guide you.
3. Use Analytics To Understand Your Buyers
You don’t need a crystal ball to figure out which products to stock. Tools like Google Analytics can reveal valuable insights about your buyers.
Find out where they come from, how long they hang around, and what catches their eye. With this intel, you can better understand who your future customers are likely to be — and tailor your storefront to suit.
4. Maintain Proper Security
Your online store is your kingdom, and every castle needs defenses. Way too many small businesses fall victim to cyber attacks, leading to plenty of financial pain.
To avoid this fate, regularly update your WooCommerce and plugins.
Nerd Note: WordPress actually offers automatic updates for most plugins via Plugins > Enable auto-updates.
While you’re at it, enable data backups. This will allow you to restore your site quickly if anyone manages to break in.
5. Create Custom Solutions With Blocks
WooCommerce Blocks allows you to create custom-designed pages without needing a PhD in coding.
Want a checkout that’s smoother than butter? There’s a block for that. Eyeing a product grid that’s cleaner than your Sunday best? Blocks have got you covered. Experiment with them to craft a store that perfectly matches your needs.
WooCommerce FAQs
Still have questions? We have answers:
How much does WooCommerce cost?
For self-hosted e-commerce sites, the WooCommerce plugin is completely free. As such, you only need to cover your hosting requirements and your domain. You can also extend the core platform by paying for premium plugins and themes.
Do I need hosting for WooCommerce?
Yes. Or more accurately, you need a hosted website. Remember that WooCommerce is actually a plugin for WordPress, not a standalone store builder.
Can you dropship with WooCommerce?
Although WooCommerce doesn’t natively support dropshipping, you can introduce this feature via the WooCommerce Dropshipping premium plugin.
Can You Sell On WordPress Without WooCommerce?
Although WooCommerce is probably the best e-commerce plugin, it isn’t the only option. Search in the official Plugin Directory, and you will find plenty of alternative options.
Start An Online Store Today
If you want to use your WordPress site to sell goods and services, WooCommerce is by far your best option.
It’s the most popular e-commerce plugin for a reason, and it makes it incredibly easy for beginners and experienced users alike to open an online store. The basic WooCommerce plugin lets you build a successful business, and you can improve it even further using themes and extensions.
But remember, building your e-commerce website is just the first step. You’ll also need to make sure that your store is always accessible and that you provide a great customer experience. That starts with choosing a reliable hosting provider.
With DreamHost, every plan is backed by a 100% uptime guarantee. And with our dedicated WooCommerce plans, your site runs on optimized servers — meaning lightning-fast loading times.
Check out our hosting plans today to begin your online retail journey!