In this article, we’re going to talk more about what WordPress child themes are and why you should use them. Then we’ll talk about some situations where it makes sense to create a child theme and teach you how to do it.
One of the best things about using WordPress is its near-endless customization options. However, there are some protocols you should follow before you dive under the hood. Otherwise, your customizations may not work as intended.
That’s where child themes come to the rescue. They’re a WordPress feature enabling you to customize your themes safely and keep all your tweaks organized. Once you learn how to use them, your life should get a lot easier, particularly if you spend a lot of time playing with your theme’s style and behavior.
What is a WordPress Child Theme?
A WordPress child theme works just the same as a regular one on the surface. Once activated, it’ll work just as any of your other themes would. The difference is, child themes have a ‘parent’ from which they inherit all their attributes.
For example, imagine you’re using the Twenty Twenty-Two theme on your blog. You can create a child for it at any point, which would look and work just the same. However, you can customize every aspect of how a child theme works without affecting its parent. Here’s how that can work in your favor:
- You can update your themes safely. When you update a theme, you also lose any changes you’ve made to its code in the process. However, if you’re using a child theme and you update its parent, you bypass this issue.
- It’s easier to keep track of the changes you make to a theme. Many WordPress themes include dozens of files and hundreds of lines of code. That means any change to them — no matter how small — can be tricky because it’s easy to lose track of those tweaks. With a child theme, you can make changes to your heart’s content and still keep things tidy.
Let’s summarize what we’ve learned thus far using an example.
If you create a child theme for Twenty Twenty-Two, WordPress will recognize it as a different item. However, the child theme will inherit all of its parent’s styles and features. WordPress then loads any changes that override its default configuration. If so, it’ll render those instead of the default Twenty Twenty-Two theme files.
It sounds tricky, but it’s simple once you learn how to create one and see it in action.
When to Use Child Themes
If you plan on making changes to your theme, you should create a child for it. However, if you’re completely satisfied with the way your theme works and looks, you can use it as is.
Pro tip: You can also decide to use WordPress’ custom/additional CSS capability if only CSS changes are required. This is much simpler than creating a child theme and can be done directly from the Customizer.
If you’re still on the fence about whether it’s a good idea to use a child theme or not, here are a few examples of situations where doing so makes sense:
- If you’re going to make any changes — permanent or temporary — to your active theme’s functionality or style.
- When using a theme that receives constant updates (which is a good thing!) and you don’t want to lose your customizations during the process.
- To test changes you may want to implement on your active theme using a safe environment.
Any of these scenarios are good reasons to use child themes day-to-day. However, if you’re going to create one mainly for test purposes, you may also want to look into setting up a staging website.
How to Create a WordPress Child Theme (in 5 Steps)
If this is your first time setting up a WordPress child theme, you should definitely back up your website. Don’t be scared — the process is very straightforward, but it always pays to err on the side of caution.
Also, before we jump in, you should already know which theme you want to use as the parent in this scenario. If you’re just doing this for testing purposes, feel free to pick one of WordPress’ default themes for now.
1. Create a Folder for Your Child Theme
The first step is, of course, the simplest. Each theme you install on your website has its own folder within a dedicated themes directory on your server. To kick things off, we’re going to create a new subdirectory for your new child theme.
There are plenty of ways to interact with your website’s file structure — such as through your panel — but we’re partial to Secure File Transfer Protocol (SFTP) due to its ease of use. To access your website via FTP, you’ll need a dedicated client. We recommend using FileZilla since it’s easy to pick up even for beginners, and it’s under constant development. If you’re not au fait with using FTP, you’ll also need to brush up on your skills before tackling these steps.
Once installed, access your website’s directory using your SFTP credentials. This directory most often shows up as public_html but at DreamHost, the default is the domain you’ve added (example.com).
Enter the directory and make your way to wp-content/themes/. Inside, you’ll find a unique folder for each of your WordPress themes.

Now, right-click anywhere within the themes directory, pick the Create directory option, then set a name for your new folder:

Your child theme’s folder can have any name you want. However, for practical purposes, we recommend giving it a title you can easily recognize, such as twentytwentytwo-child (or something else, depending on what its parent theme is).
Once you have a folder for your child theme ready to go, you’re ready to move on to step number two.
2. Create a Theme Stylesheet
As you may know, stylesheets are the CSS files that provide your pages with most of their visual flair. Each theme comes with its own unique stylesheet, and your child is no exception. Remember that by default your child theme will inherit all its parent’s styles. However, you can override those by adding new code to the style.css file you’re about to create.
While your child theme’s style.css file will come in handy down the line, it also fulfills an important purpose right now. It simply tells WordPress “Hey, I’m a theme as well, load me alongside the rest!”
For that to happen, you need to return to your child theme’s directory and access it. Right now, the folder should be empty. Right-click anywhere within and choose the Create new file option. When FileZilla prompts you to choose a name for it, type style.css and confirm your decision.

Finally, we need to add a short snippet of code to that file. Right-click on it and choose View/Edit. This option will download a copy of the file to your computer and open it using your local editor. When the file is open, you’ll need to paste in the following text:
/*
Theme Name: Twenty Twenty-Two Child
Theme URI: http://example.com/twenty-twenty-two-child/
Description: Your first child theme!
Author: John Doe
Author URI: http://example.com
Template: twentytwentytwo
Version: 1.0.0
License: GNU General Public License v2 or later
License URI: http://www.gnu.org/licenses/gpl-2.0.html
Tags: child theme
Text Domain: twenty-twenty-two-child
*/
At first glance, this seems like a lot of information, but for a child theme to work, there’s only one field you need to get right: Template. In the example above, you can see we used twentytwentytwo, which is the name of the Twenty Twenty-Two theme’s directory. If you’re using a different theme as a parent, you need to replace that value with the name of its folder (not the theme’s full name).
You’ll also want to pick a title and description that makes sense for your child theme since you’ll see both within WordPress’ Theme tab. As for the rest of the fields, the values can be replaced with anything you like.
Moving on, after you’ve set the correct Template value and tweaked the code, you can save the changes to your style.css file and close the text editor. Now, FileZilla will ask you if you want to replace the file on your server with the local copy you just modified. Say Yes, and access your WordPress dashboard. If you look at the Themes tab, you should see a new addition.

3. Configure Your Child Theme to Inherit Its Parent’s Style
By now, you should have created a folder and style.css file for your new child theme. Within the latter, we included information designating it as a theme. The next step is to make sure your child theme inherits its parent’s style and features.
To do this, we’re going to use a functions.php file, which enables you to instruct WordPress to add new features. Within that file, we’re going to add a script to “queue up” your parent theme’s stylesheet (not the one we just created). Afterward, your child theme will be ready for you to use.
To start, return to your child theme’s directory. Inside, create a new file called functions.php, just as you did with style.css during step number two.

Now open the file using FileZilla’s View/Edit option and paste the following code within:
add_action( 'wp_enqueue_scripts', 'enqueue_parent_styles' );
function enqueue_parent_styles() {
wp_enqueue_style( 'parent-style', get_template_directory_uri() . '/style.css' );
}
In this case, there’s no need to replace any of the code’s values. The same code will work regardless of which parent theme you’re using since you already designated this using the style.css file.
To make a long story short, that snippet of code tells WordPress it should load your parent theme’s stylesheet, which is the last piece of the puzzle you need for your child theme to work.
Now save the changes to your functions.php file and close it. Make sure to agree when FileZilla asks you if you want to replace your website’s functions.php file, and that’s it! Now your child theme is ready for its grand debut.
4. Activate Your New Child Theme
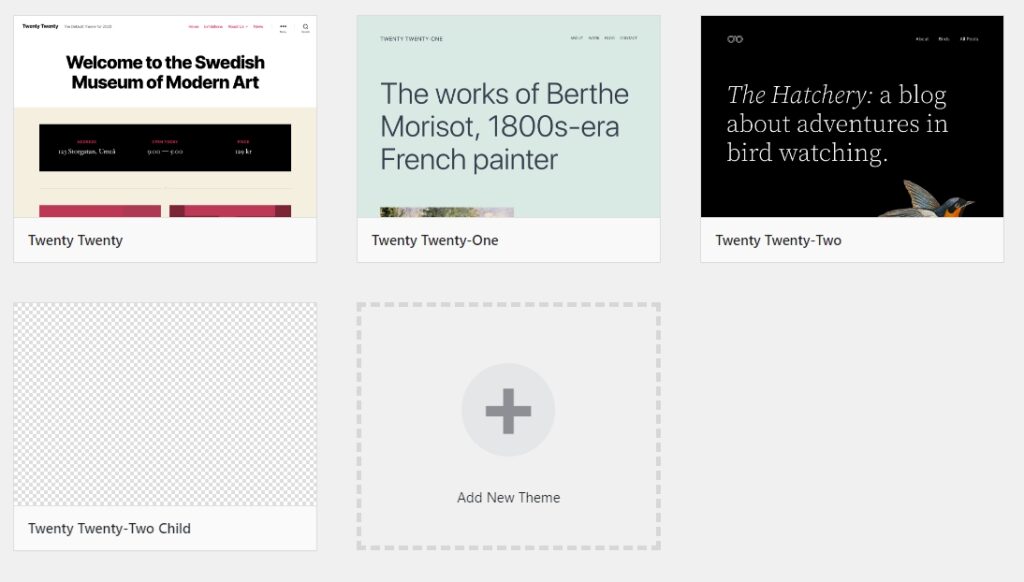
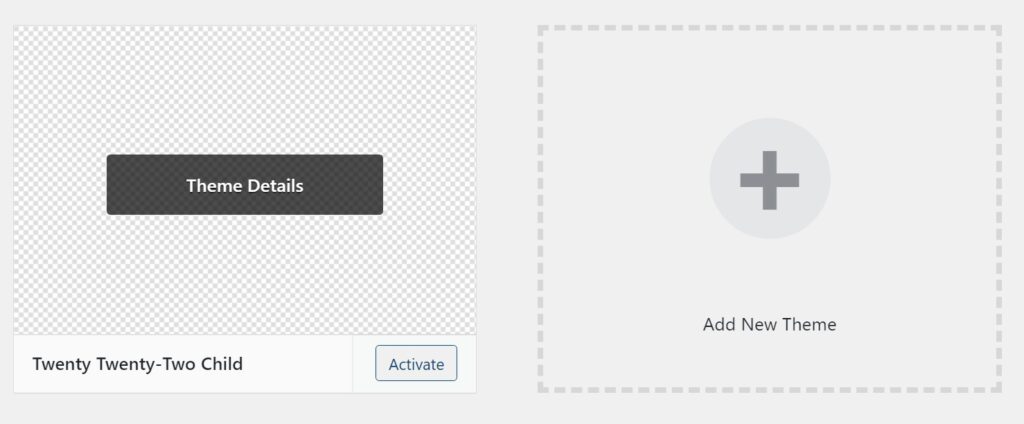
To use your child theme, return to your WordPress dashboard and go to the Appearance > Themes tab. Inside, there should be one theme without a featured image — your child theme.

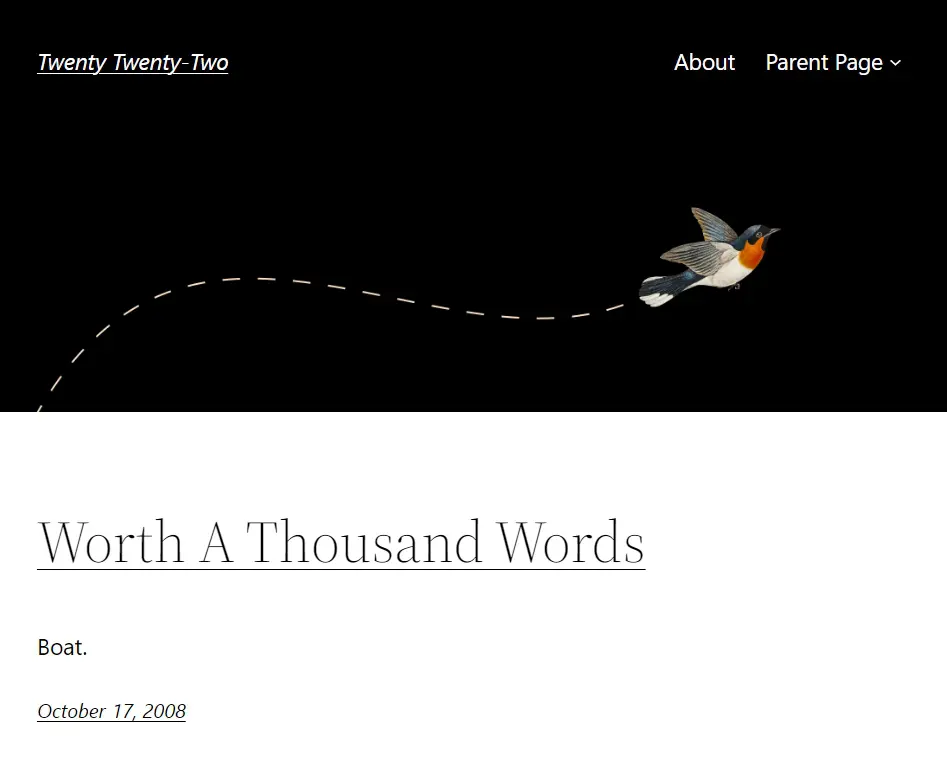
Click on the Activate button next to the theme’s name and open your website as you normally would. If you followed the previous three steps to the letter, your site should look exactly as it did before we got started.

Feel free to take a quick look around just to triple check everything is working correctly. If the answer is “Yes” (which it should be), you’re ready to move on to the second part of this tutorial, where we’ll talk about how to use your new child theme.
However, before that, let’s make one quick pit stop and add a featured image to your child theme.
5. Add an Image to Your Child Theme
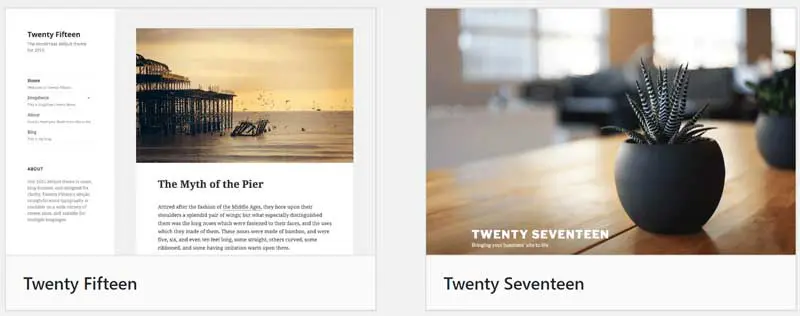
Just so we’re clear — when we talk about a theme’s featured image, we’re referring to the graphic that shows up above its name within the Themes tab. Here are a few examples.

Newly minted child themes don’t come with these images, so you need to provide one for WordPress to load it. Fortunately, this is a very simple process. All you have to do is add a PNG image called screenshot.png within your child theme’s directory.

WordPress will display this image at a 387 x 290 resolution. However, you’ll probably want to save it using a higher dimension so it displays well on larger screens. In any case, you can use any image you want as your theme’s screenshot.

With that out of the way, your Themes tab should be looking fabulous once more, so it’s time to get back to business.
How to Customize Your WordPress Child Theme (4 Tips)
At this stage, you should have a fully working child theme on your hands. More importantly, you also have a firm understanding of how the entire process works and why each step in creating one is necessary. This means we can jump right into playing around with your child theme using the files you just created!
1. Add Custom Styles
As you already know, every WordPress child theme automatically inherits its parent’s styles. However, they also have their own stylesheet. Any customizations you add to your child theme’s style.css file will then override their parent’s styles if there’s any conflict between them.
Tweaking your theme’s style using CSS is simple as long as you know what its elements are. Even if you don’t, you can easily find out using a web inspector, such as Chrome DevTools, which is included with your browser. Just right-click the element you want to alter and select the Inspect option.

Now, the page’s source code will show up on a column to your right, including the specific class for the element you’re inspecting:

Armed with that information, you can access your child theme’s style.css file and add the necessary code to tweak it. You can then save the changes to your style.css file and you’re good to go. Return to your website’s front end to see what your theme looks like now.
2. Learn to Override Your Parent Theme’s Files
A minute ago, we talked about how your child theme’s style.css automatically override its parent theme’s code. The same holds true for any other file of which there are two between your parent theme and its child.
Imagine, for example, you decide to create a child for the Twenty Twenty-Two theme. The parent, in this case, has a footer.php file within its theme folder:

If you were to create a footer.php file within its child theme, WordPress would automatically load that one instead. The platform does this as long as both files share the same folder tree structure. In this case, since your parent theme’s footer.php file is located at the top of the twentytwentytwo directory, the same has to hold true for its counterpart.

As long as both files share the same name, WordPress will do the rest. Using this trick, you’ll be able to alter any aspect of your theme’s functionality. Plus, if you ever break anything, you can simply delete the offending file from your child theme’s directory and start over.
3. Create Custom Page Templates
Whenever you create a new page in WordPress, you can choose which template to use alongside it. Some of the most common examples include full-width layouts or those with sidebars.

You can add a new layout to any theme you want, although the process is a bit involved. If you want to try your hand at creating a new one, here’s a tutorial to get you started.
4. Use Theme Hooks
In WordPress, hooks are triggers that enable you to add custom code when something happens or tweak the way your files work. These are both things you can accomplish by modifying your files, but using hooks is much cleaner since they exist separately.
Learning how to create hooks is a bit beyond the scope of this article, though.
In short, you can add hooks to your child theme using its own functions.php file. This way, any modifications you make remain independent of its parent theme.
Unlock the Benefits of WordPress Child Themes
WordPress child themes can be intimidating at first. Creating one requires you to roll up your sleeves, but after you do it, you’ll realize the process isn’t that complicated. Plus, adding customizations to your child theme should provide you with a better understanding of how WordPress works, which can open a lot of doors. Who knows? At some point, you may even end up creating your own theme.

Do More with DreamPress
DreamPress Plus and Pro users get access to Jetpack Professional (and 200+ premium themes) at no added cost!
Check Out Plans
