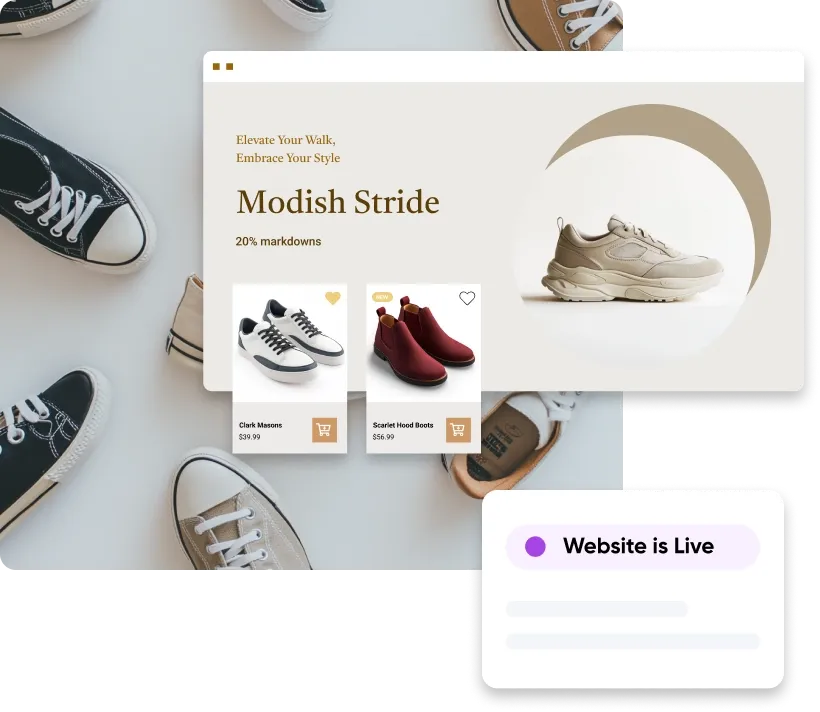
Build Your Dream Store in Minutes
Sell anything, anywhere, anytime with confidence, and let DreamHost power your success.


- 24/7 Expert Support
- Zero-Risk, Money-Back Guarantee
- Extreme Speed & Guaranteed Uptime
Ready to Build Your Business?
Choose your store plan and let DreamHost power your success.
Ecwid
Start selling everywhere with a simple, beginner-friendly online store.
OR
WooCommerce
Tailor your store to fit your business needs, no matter how big you grow.
Scale as You Grow
Start selling online with Ecwid’s free plan, offering up to 5 product listings and essential features to get started. Upgrade to a premium plan when your business grows to unlock steady sales with more product listings and advanced features.
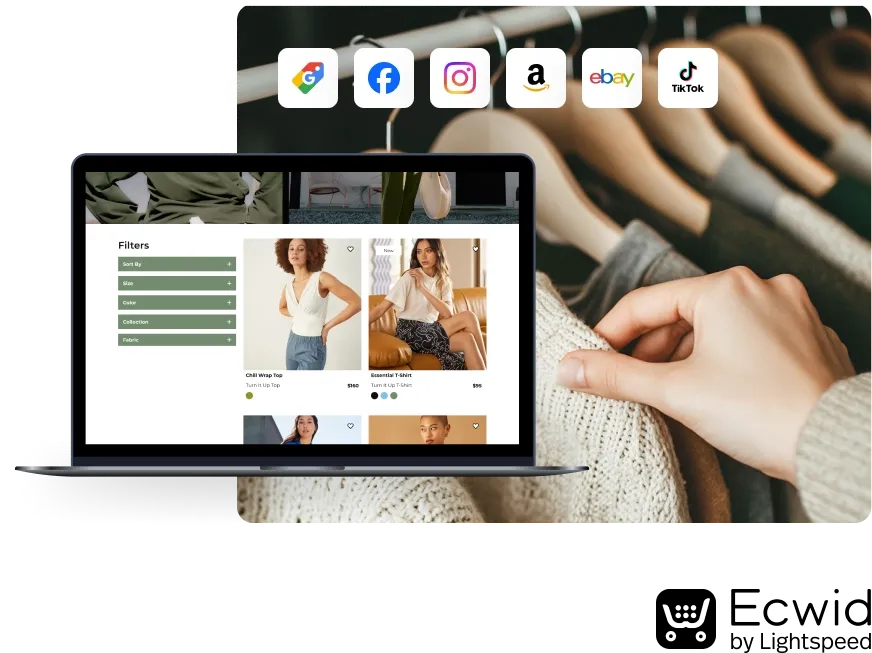
An E-commerce Platform That Sells from Anywhere
Sell anything to anyone around the world. Add and sell* products on Facebook, Instagram, Amazon, and more. Grab sales links to post to TikTok, WhatsApp, YouTube, and other social media platforms. And of course, sell with Ecwid from your WordPress website!
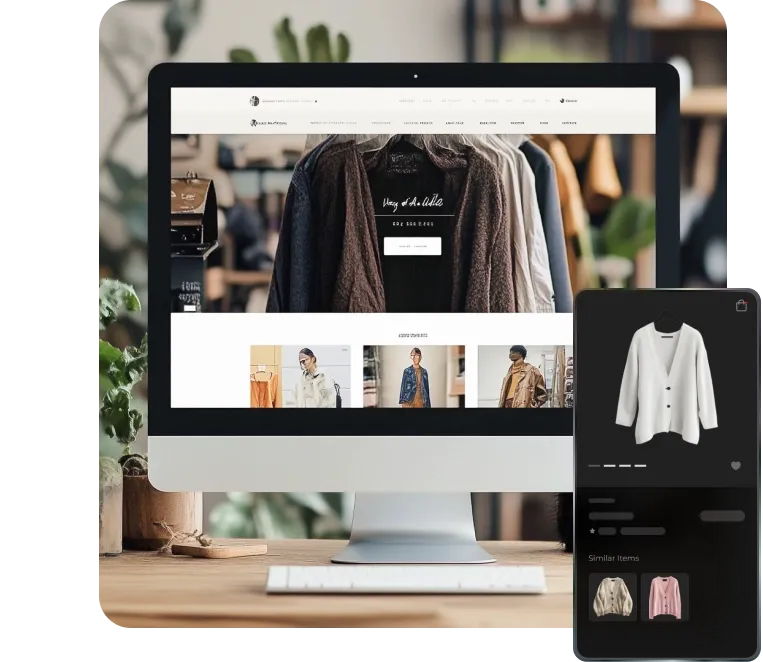
Smart Automation to Grow and Manage Your Business Efficiently
Control everything from start to finish on a single platform that centralizes inventory, order management, and pricing. Automate tasks and integrate new tools to streamline operations and boost your business’ efficiency effortlessly!
Minimal Maintenance
Focus on growing your business. Security and updates are automatically managed for you by Ecwid, ensuring your store runs smoothly.
Ecwid
A powerful yet easy-to-use e-commerce platform allowing you to launch your online store and bring your products to the world effortlessly. Start selling online with minimal setup—no coding required; customize the platform as your business grows.
*The availability of Facebook Shop, Instagram Shop, and TikTok Shop will depend on the country where your business operates.
WooCommerce
A highly flexible platform allowing you to fully customize and design every aspect of your store. Grow your store with third-party plugins, custom code, and advanced design options.
Full Ownership of Your Store
Control every aspect, from hosting to data, giving you full ownership and the flexibility to run your store the way you want.
Endless Customization
Tailor your store to match your unique vision with limitless options, creating a shopping experience perfectly aligned with your brand and industry.
Large Plugin Library
To extend your store's functionality, you can access thousands of plugins, including advanced shipping options, subscription models, and unique product features.
Scalability
Ideal for businesses planning to scale. WooCommerce offers the robust infrastructure needed to manage large inventories, custom shipping, and diverse payment gateways.
Why Build a Store with DreamHost?
We're one of the last big, independently owned and operated hosts in the business. With over 20 years of experience helping people get online, we're as committed as ever to defending user privacy and fighting to keep the internet safe and open.

 We Power Over 1.5 Million Websites
 9.7 Highest Rating by PCMag.com
Pick the Online Store Plan That’s Best for You
Length of Subscription
Frequently Asked Questions
- After signing up for a hosting plan, you can easily add Ecwid or WooCommerce to your website through the WordPress installer in the DreamHost panel. Simply follow the prompts to get started.
- Ecwid offers a free plan along with three upgraded tiers to suit various business needs. The free plan provides essential features to get started, while the upgraded plans offer more advanced options as your business grows. One of the advantages of Ecwid is its clear, fixed-cost structure, which lets you know exactly what you’re getting based on the plan you select. Please visit Ecwid’s pricing page for more information. WooCommerce, on the other hand, is free to use, but the cost of running the online store is less predictable. While the core platform is free, additional expenses can arise depending on the plugins, themes, and extensions you choose to enhance your store.
- When you install WordPress and select Ecwid from the DreamHost panel, the free version of Ecwid will be automatically installed for you. With this version, you can list up to 5 products and connect to one sales channel – perfect for starting out.
- While Ecwid runs well on Web Hosting due to its efficient design that ensures optimal performance without requiring premium hosting infrastructure, WooCommerce typically needs a premium hosting plan like DreamPress. DreamPress provides the power and features needed to handle the increased traffic and functionality that WooCommerce often requires, ensuring your online store runs smoothly and efficiently.
- We recommend using WooCommerce for its flexibility and wide range of customization options. Ideally, you would need a developer to create a fully customized online shop, but if you don’t have one, our Pro Services team is available to assist you in building a tailored website and e-commerce store that meets your needs.
Need Some Help?
Whether you're stuck or just want some tips on where to start, hit up our experts anytime. We're here to help!
24/7/365 Through the Chat Widget
24/7/365 Through the Panel
24/7/365 Through the Panel