How To Fix Common SSL Issues In WordPress
Installing a Secure Sockets Layer (SSL) certificate on your WordPress website is like employing a bouncer to keep out any unwanted guests. It’s a smart move. But just occasionally you might encounter some problems with your door staff. These hiccups are known as SSL issues.
Obviously, no one wants security problems on their site. But the good news is that most SSL errors have simple fixes. All it takes is a little troubleshooting to get your site back to full working order.
In this post, we’re going to take a closer look at how to install SSL certificates on your WordPress website and fix any problems that arise. Ready to get started? Let’s go!
What Is SSL/TLS Exactly?
SSL/TLS
SSL stands for secure sockets layer. SSL is a protocol for maintaining a secure connection and protecting sensitive data to keep internet users safe during online transactions, login sequences, and more. Transport layer security (TLS) is the successor to SSL that’s in place today and handles vulnerabilities even more effectively.
Read MoreSSL, or Secure Sockets Layer, is the secret handshake of the internet. It’s a system that protects all data traveling between your web browser and a website using encryption. This prevents anyone from eavesdropping on your connection.
TLS (Transport Layer Security) is the new replacement for SSL. It performs the same role using similar technology but with improved security.
SSL/TLS works in conjunction with Hypertext Transfer Protocol Secure (HTTPS) — the updated, secure version of HTTP. Since it’s encrypted, HTTPS increases the security of any information that is transferred.
HTTPS
HTTPS is a secure version of HTTP. With HTTPS, data sent between browsers and websites is encrypted with the TLS/SSL protocols. That means data can’t be modified or read during transfer.
Read MoreWe still usually talk about “SSL issues” and “SSL certificates” because these terms are familiar, but it’s worth remembering that TLS has largely replaced the SSL protocol — Most modern browsers only support the latter.
Even so, SSL and TLS are used interchangeably when talking about secure connections.
What Is An SSL/TLS Certificate?
Before your web browser sends any data, it needs to verify the identity of the hosting web server. An SSL/TLS certificate works like an ID card, providing proof that the server is legitimate.
On a technical level, an SSL/TLS certificate is more like an encryption key. Without an up-to-date certificate, it’s impossible for any browser to connect to your website securely.
Why You Should Be Using SSL/TLS
Installing an SSL/TLS certificate on your WordPress site is important for several reasons.
First and foremost, it enables your hosting server to establish a secure connection with web browsers. This helps to prevent security breaches that may compromise both your personal information and your customer data.
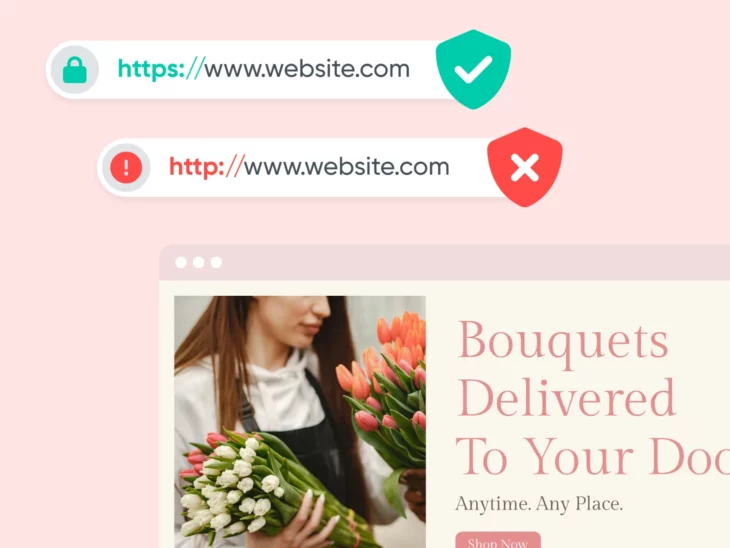
For this reason, Google now penalizes sites that don’t have an SSL/TLS certificate. For example, it might display a “not secure” or “your connection is not private” warning message to users who try to access the site.
The exact wording of the message may vary depending on the browser you’re using, but the concept is the same.
Ultimately, this can hurt your engagement and hamper your SEO (search engine optimization) rankings. So, it’s another good reason to secure your site.
It’s also worth noting that certain types of websites really need an SSL certificate to work effectively. For instance, if you want to start an online store, you’ll need SSL/TLS encryption to accept online payments via gateways such as Stripe, PayPal, and Authorize.net.
How To Fix Common SSL Issues In WordPress (5 Key Solutions)
Now that we understand a little more about what SSL/TLS is, let’s get into the unexpected issues that can come from it.
Below are five of the most common SSL problems in WordPress, and how to resolve each of them.
1. The NET::ERR_CERT_INVALID Error
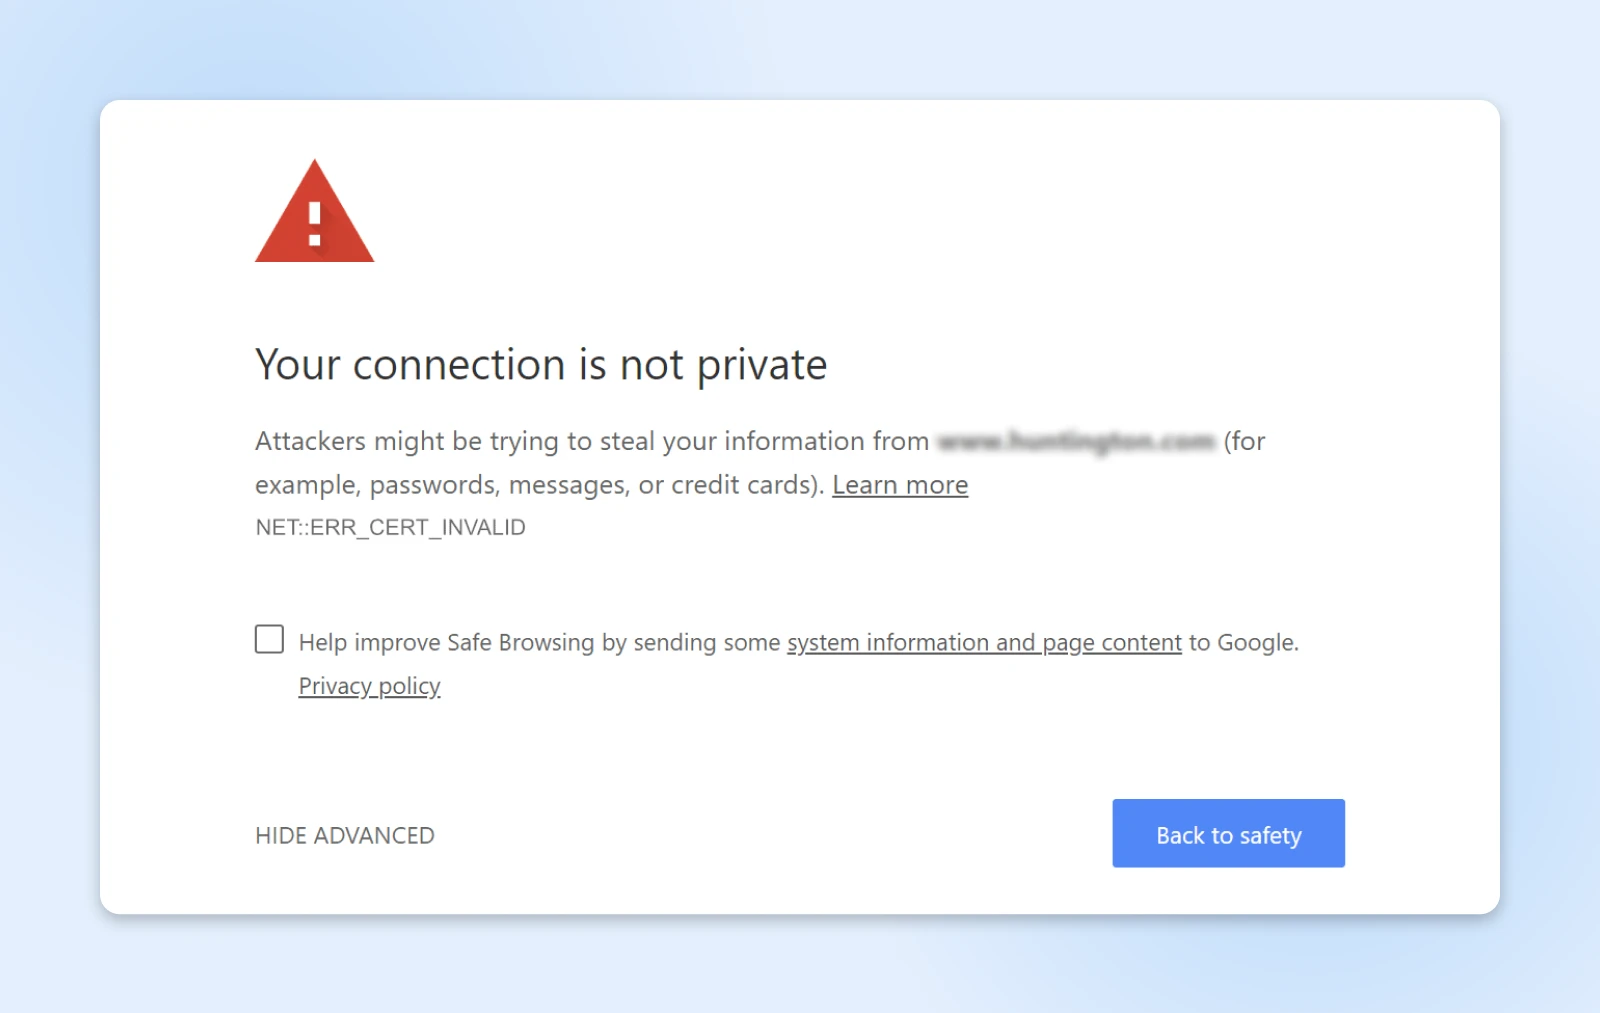
If you’re a Google Chrome user, one of the most common issues you might run into is an error message that reads “NET::ERR_CERT_INVALID.” This can happen in other browsers, too, although the message may differ slightly.
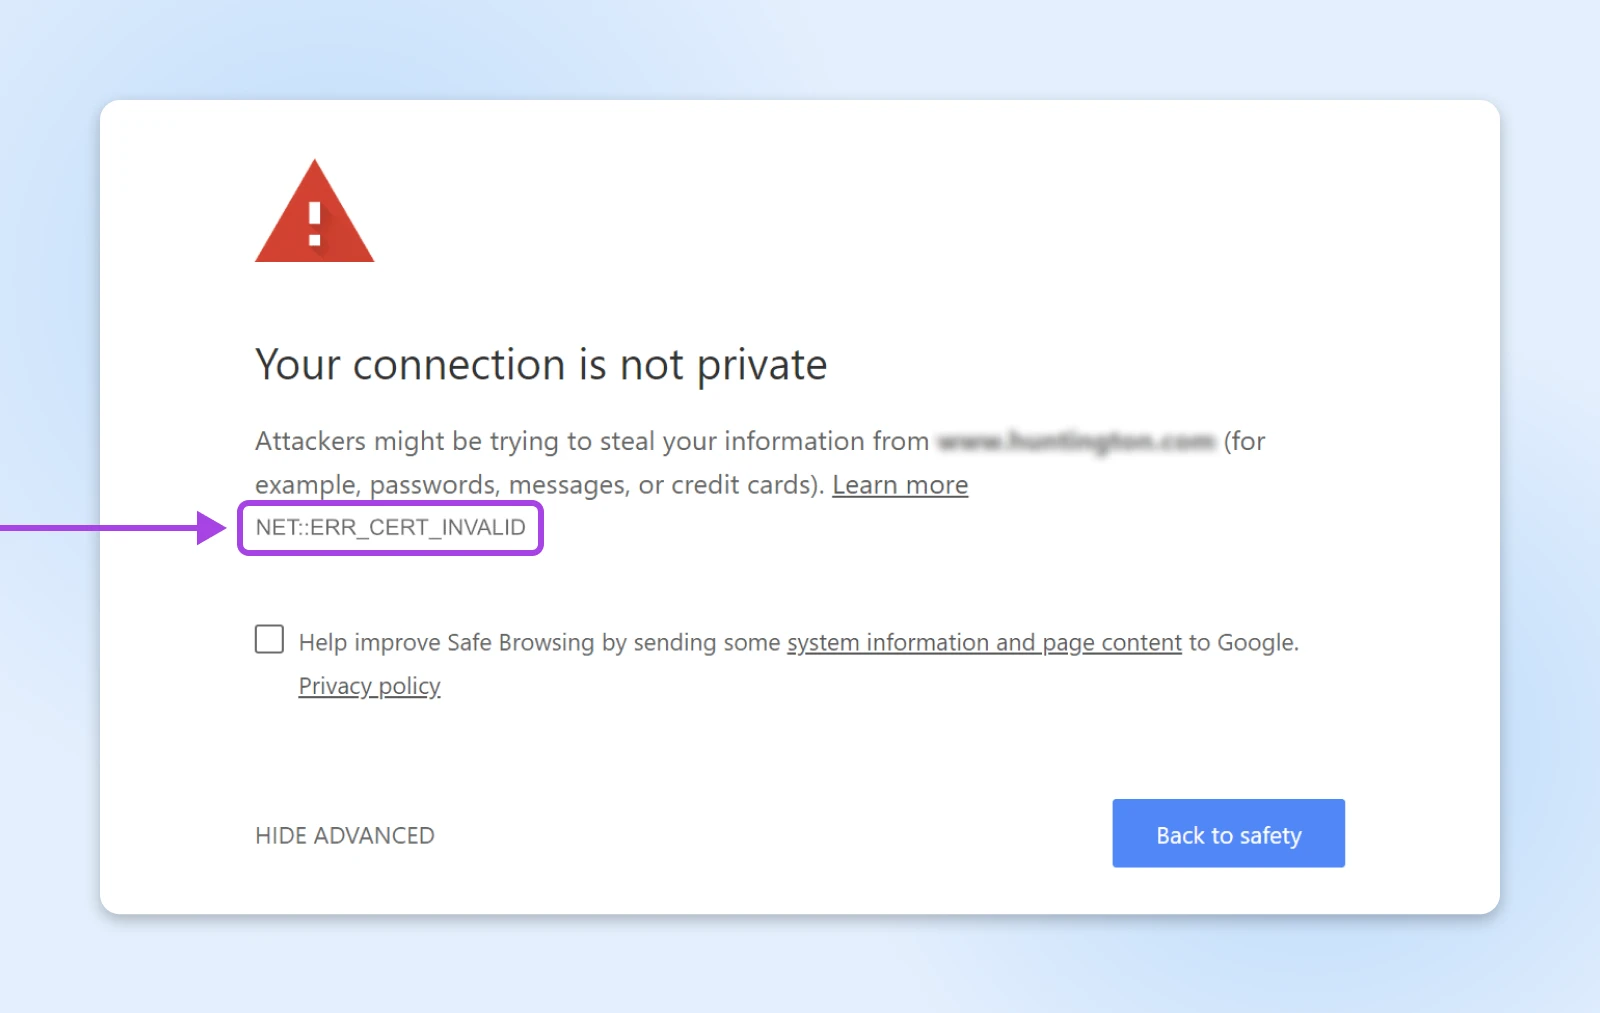
In both cases, this error means that the connection to the site is not secure. More specifically, it indicates that the certificate authority that signed your SSL certificate isn’t on your browser’s list of trustworthy providers.
Unless you acquired your SSL certificate from a shady source, it’s more likely that something is wrong with the settings or configuration.
When this happens, there are a few steps you can take. First, you’ll want to clear your browser cache. If that doesn’t do the trick, disable your antivirus software (this can interfere with SSL).
If local solutions don’t work, check that your SSL certificate is assigned to the correct domain or subdomain, and that it hasn’t expired.
You can do this by clicking on the small site information button or padlock icon to the left of the browser address bar. Details of the certificate will appear, and you’ll want to make sure it says “valid.” If it says “not valid,” you’ll need to renew it as soon as possible through the issuing provider, also listed here.
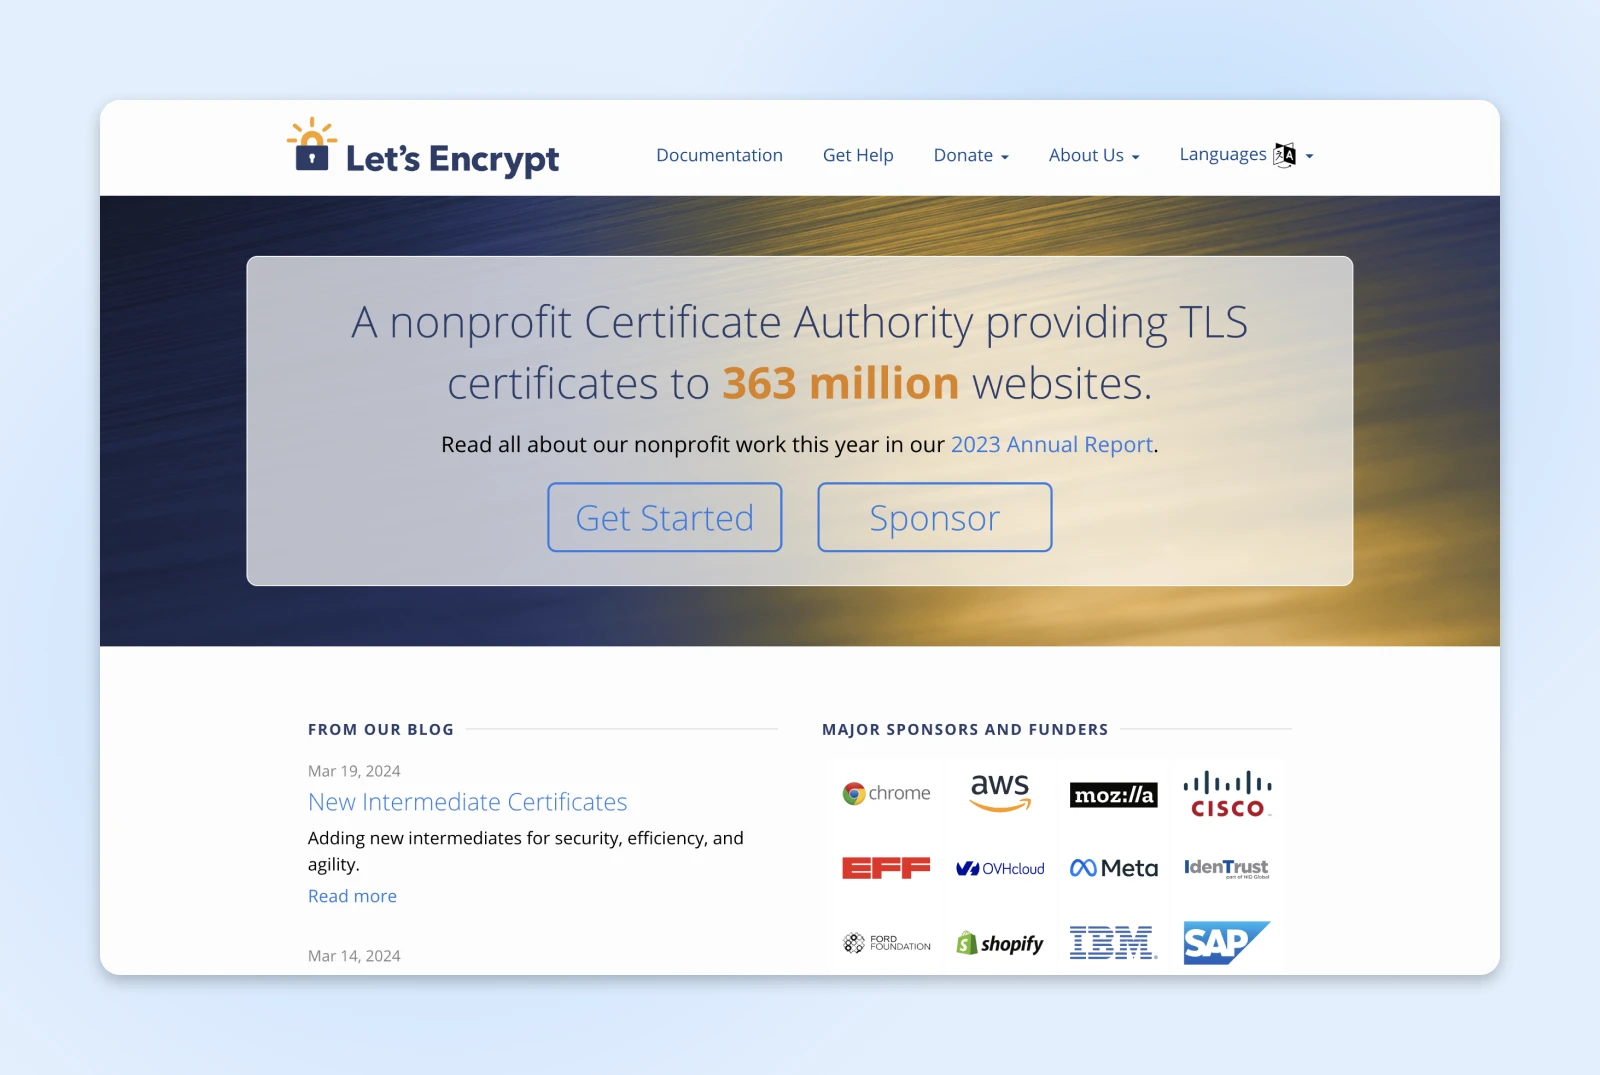
If you installed the certificate yourself, you could try reinstalling it. However, you may want to use a different certificate provider this time, as your browser might not recognize the issuing authority of your current certificate. We recommend using Let’s Encrypt.
If the certificate is assigned to the correct domain and is up to date, you may need to contact your hosting provider. They should know what steps to take to resolve the issue.
2. Mixed Content Errors
Another common type of error you can encounter when moving to SSL is mixed content warnings.
In a nutshell, this is what happens when images, scripts, or stylesheets on your site load while using the old, insecure HTTP protocol. In other words, some of your WordPress content is secure, while other parts aren’t. Embedded YouTube videos are commonly at fault here.
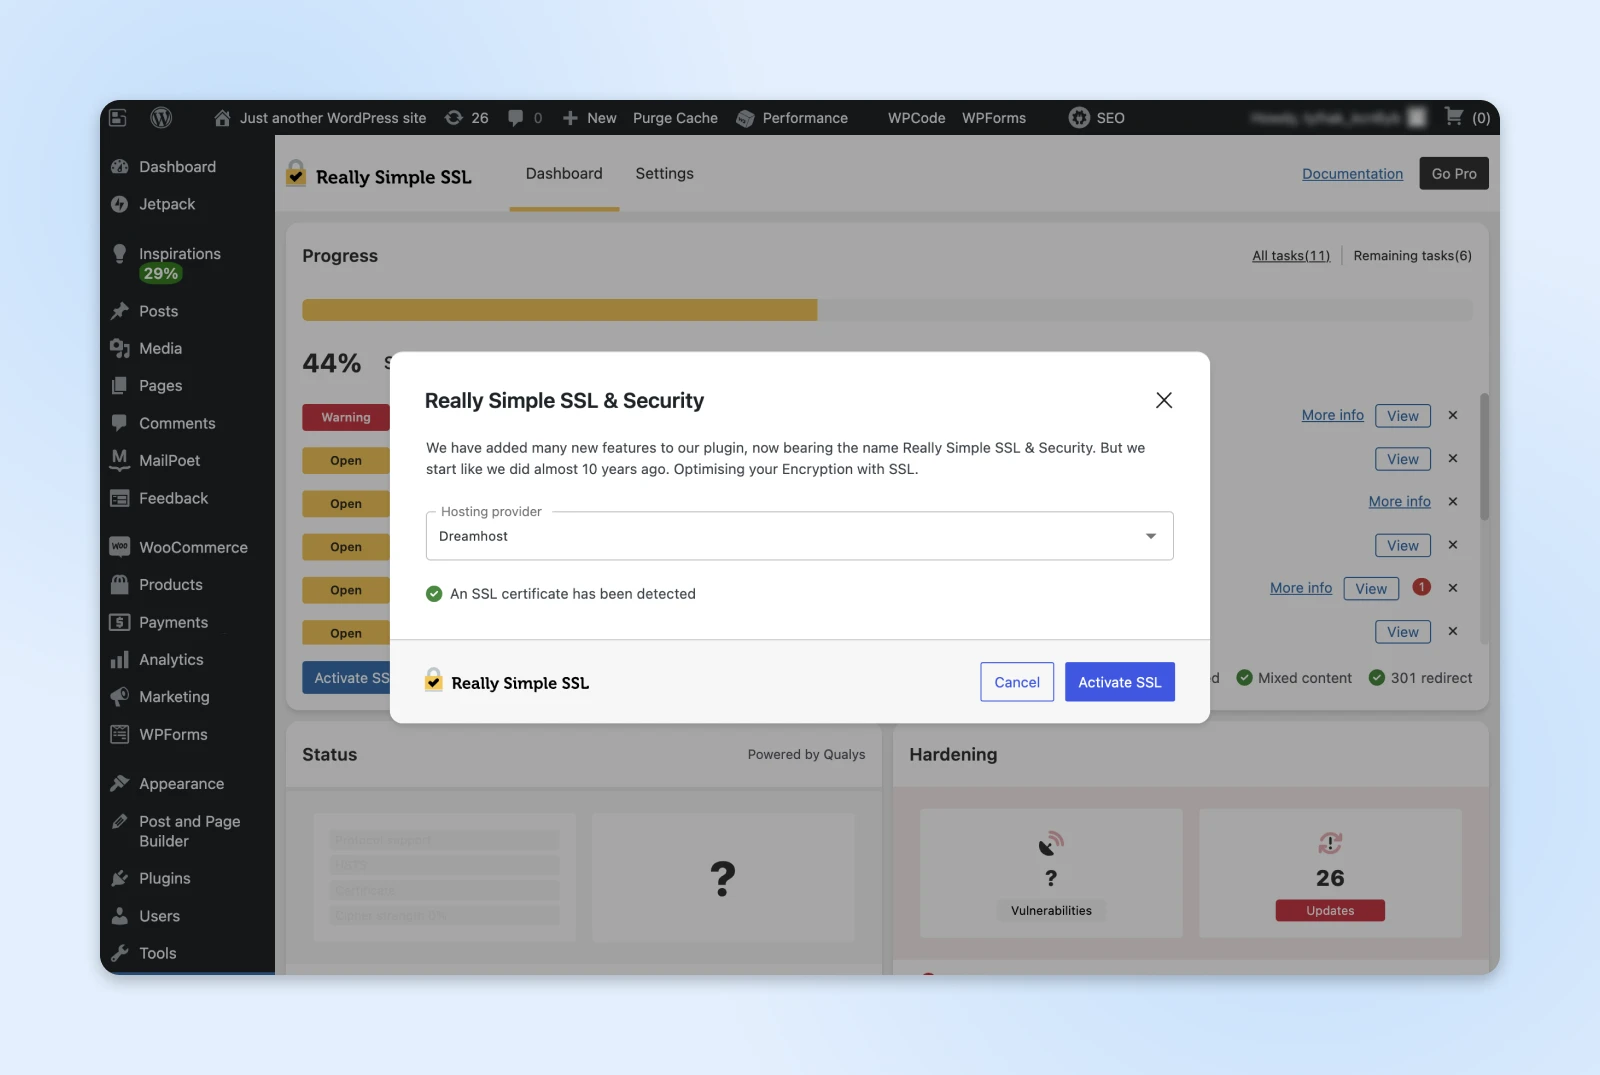
There are two methods you can use to fix mixed content issues. The first is to use a plugin such as Really Simple SSL.
When you install and activate the tool on your WordPress site, the plugin will offer you the option to activate SSL and fix mixed content issues right away. If you want to make any adjustments, you can visit the plugin via Settings > SSL & Security.
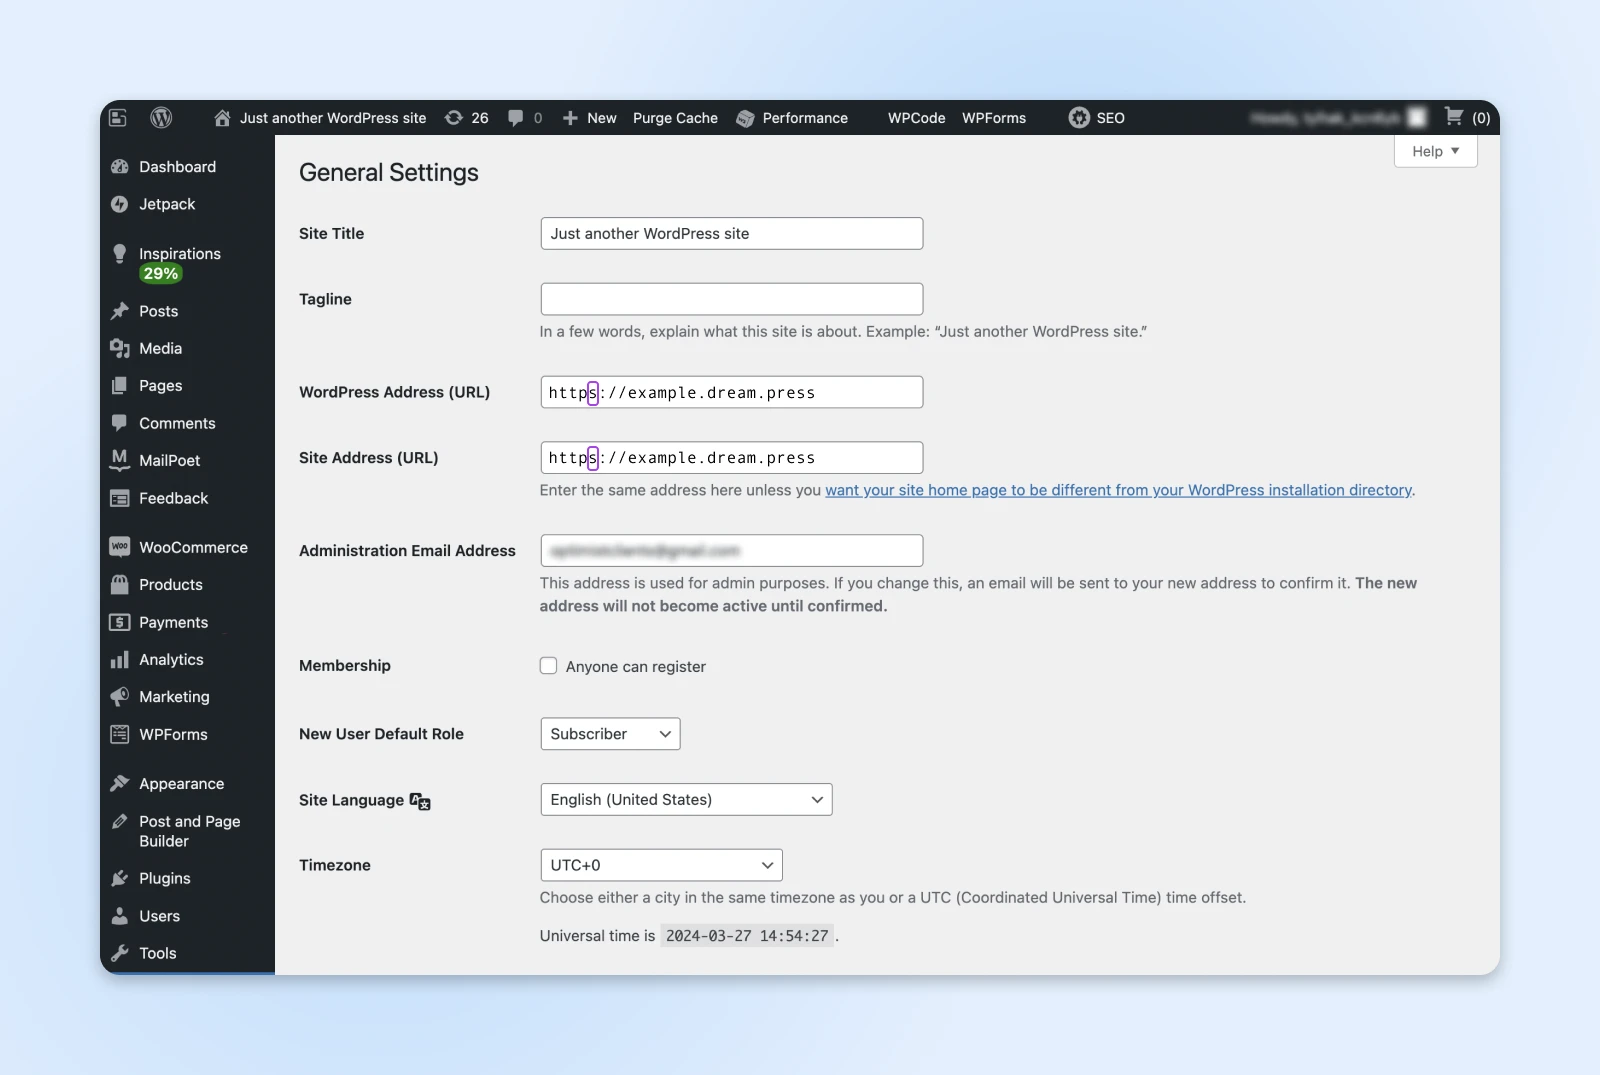
If you don’t want to use an automated plugin, the alternative option is the manual method. To get started here, navigate to Settings > General in WordPress.
Under WordPress Address (URL) and Site Address (URL), check to make sure that the URLs are using “https.”
After you save your changes, you can install the Better Search Replace plugin.
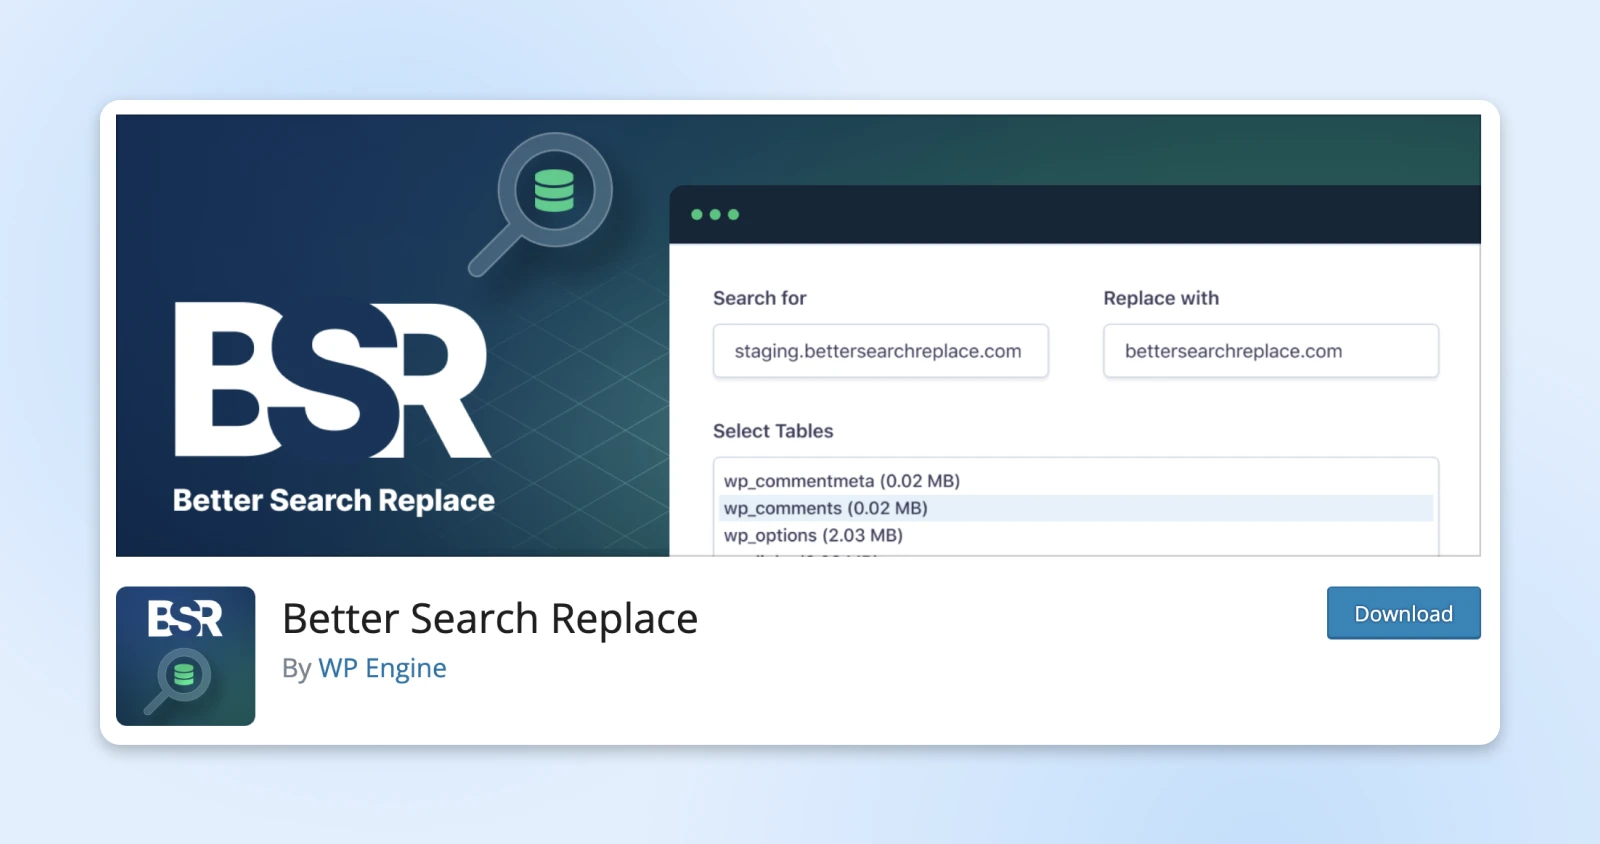
With this tool, you can easily search for, find, and replace old URLs within your WordPress database. Once you have activated it, navigate to Tools > Better Search Replace.
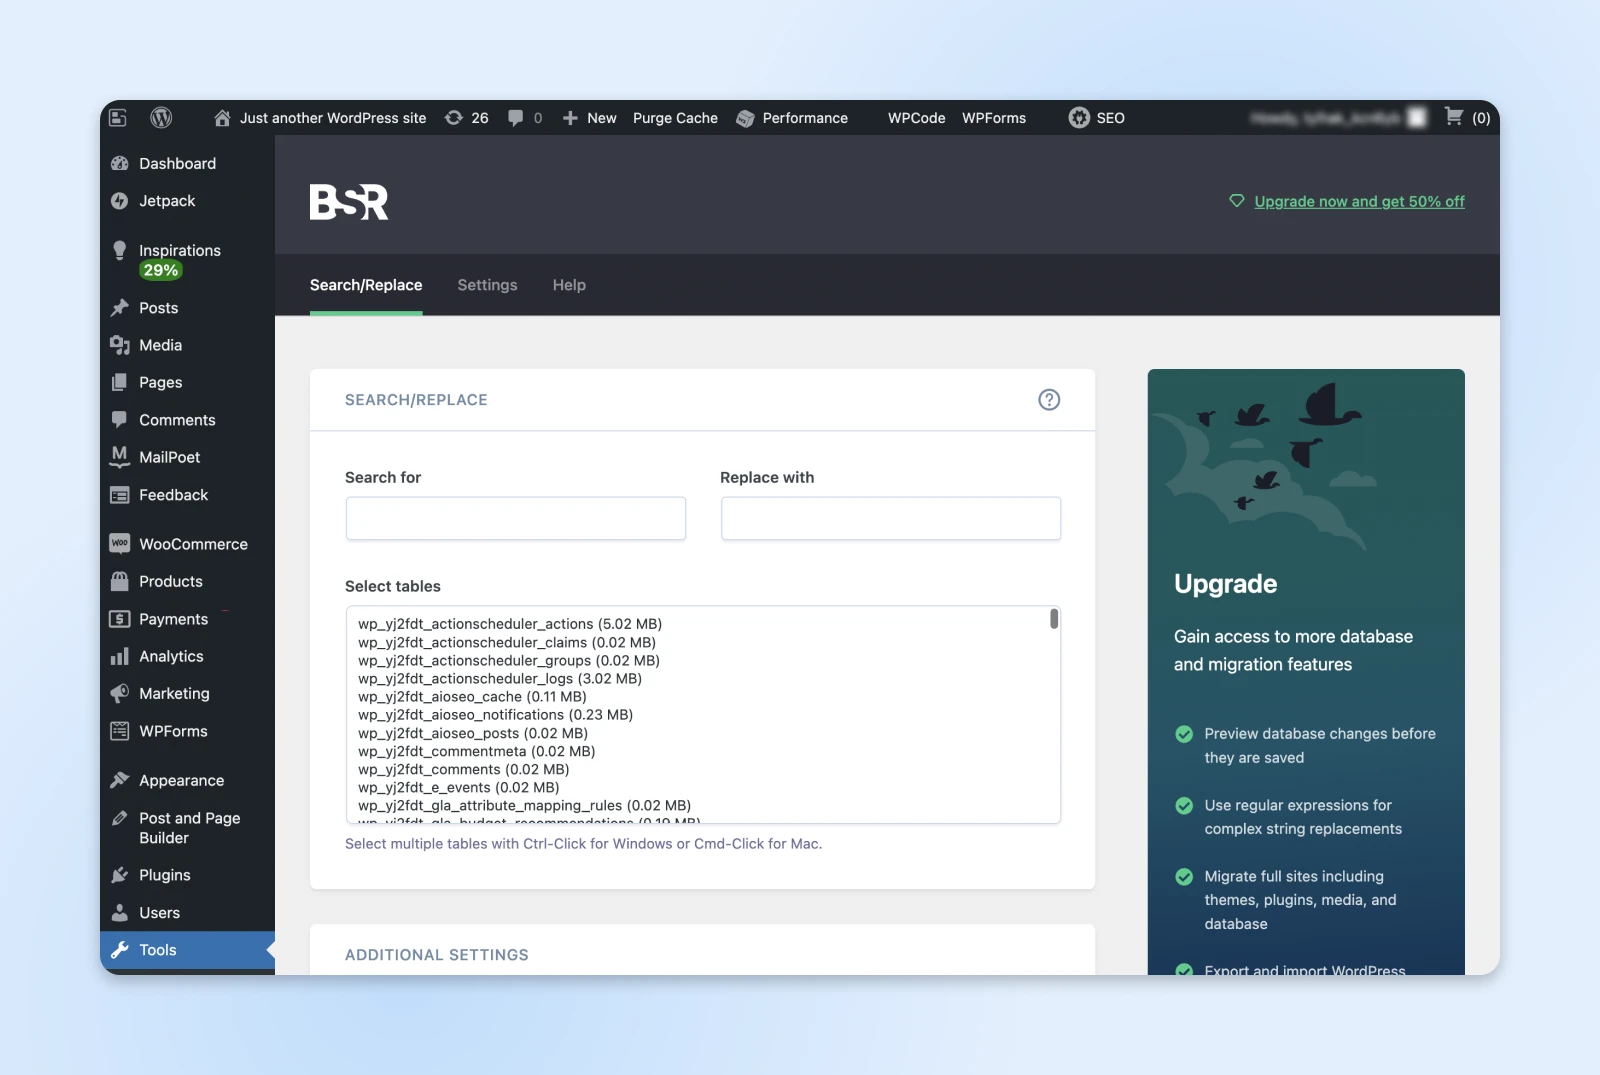
In the Search for field, you can add your website URL with “http” at the beginning. Then, add “https” to the Replace with field.
When you’re done, save your changes. Now the mixed content errors should be gone when you refresh your site.
Note: Remember to back up your website, since this can affect your databases.
3. Too Many Redirects
Some SSL issues are caused by the too many redirects error. This can happen if you ask WordPress to enforce SSL/HTTPS for the admin area of your site.
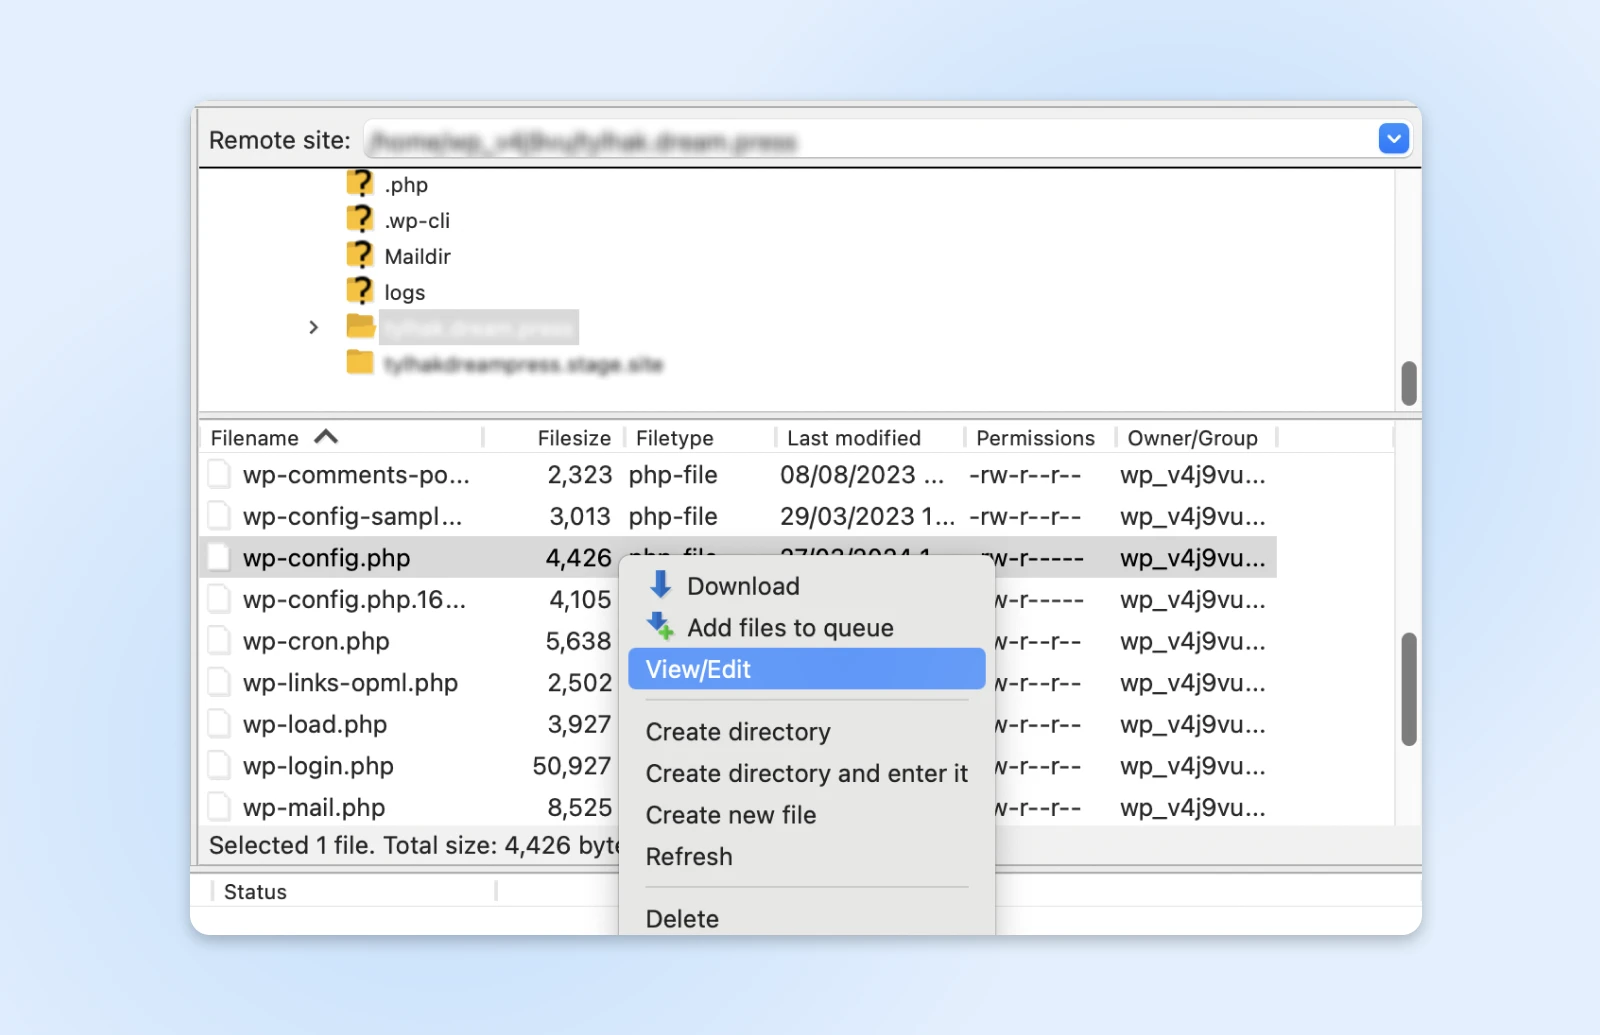
To resolve this problem, you’ll need to edit your wp-config.php file. You can locate this file by using a Secure File Transfer Protocol (SFTP) client like FileZilla or the file manager in your web hosting account.
To access your site’s directory, open the folder labeled with your domain name. Inside it, you’ll find the wp-config.php file.
If you’re using FileZilla, the first step is to connect to your WordPress site. If this is your first time using the FTP client, you’ll need to obtain your credentials from your web host. Once connected, locate the wp-config.php file in your site’s directory.
Open the file and insert the following lines of code:
define('FORCE_SSL_ADMIN', true);
// in some setups HTTP_X_FORWARDED_PROTO might contain
// a comma-separated list e.g. http,https
// so check for https existence
if (strpos($_SERVER['HTTP_X_FORWARDED_PROTO'], 'https') !== false)
       $_SERVER['HTTPS']='on';
Make sure to add this at the bottom of the file, right before the line that reads, “That’s all. Stop editing! Happy blogging.” When you’re finished, save your changes and close the file.
4. HTTP To HTTPS Redirect
WordPress won’t automatically redirect your site from HTTP to HTTPS — you need to tell it to. Without creating these instructions, visitors could see SSL errors.
Since WordPress 5.7, it is possible to migrate to HTTPS with one click by following the instructions in the Site Health section of your WordPress dashboard. Go to Tools, select Site Health, and click the button to update your site to HTTPS.
If that option doesn’t work for your website, use a plugin such as Really Simple SSL — or you can manually configure the HTTP to HTTPS redirect by editing your .htaccess file. Again, you can do this via SFTP or the file manager in your hosting account. You will find it inside the folder that shares your domain name.
.htaccess
’.htaccess’ is a configuration file used by the Apache web server software. The .htaccess file contains directives (instructions) that tell Apache how to behave for a particular website or directory.
Read More<IfModule mod_rewrite.c>
RewriteEngine On
RewriteCond %{HTTPS} off
RewriteRule ^(.*)$ https://%{HTTP_HOST}%{REQUEST_URI} [L,R=301]
</IfModule>Remember to save your changes when you’re done. If you’re not comfortable editing your site’s files, we recommend using a plugin or contacting your hosting provider for assistance.
5. A Name Mismatch Error
The name mismatch error occurs when your domain name listed in the SSL certificate does not match the browser URL. This normally happens when you purchase a certificate from a third-party seller.To fix this error, you’ll simply need to add the following code to your .htaccess file:
<IfModule mod_rewrite.c>
RewriteEngine On
RewriteCond %{HTTPS} off
RewriteRule ^(.*)$ https://%{HTTP_HOST}%{REQUEST_URI} [L,R=301]
</IfModule>Finish by saving your changes. When you revisit your WordPress site, you should no longer see any SSL error messages.
How To Fix Other Common WordPress Errors
Need to resolve other technical issues on your site? We’ve put together several guides to help you troubleshoot some of the most common WordPress errors
- Fixing the “White Screen of Death”
- How to Fix the 500 Internal Server Error
- How to Fix the Error Establishing a Database Connection
- How to Fix the WordPress 404 Not Found Error
- How to Fix White Text and Missing Buttons in the Visual Editor
- How to Fix the Sidebar Below Content Error
- How to Fix “Upload: Failed to Write File to Disk” Error
Check out our WordPress Tutorials section if you’re looking for tips and best practices for running a WordPress site. This is a collection of expert-written guides designed to help you navigate the WordPress dashboard like a pro.
SSL/TLS Error FAQs
Still have questions about SSL and TLS? You’ve come to the right place. Here are some of the most commonly asked questions, and the matching answers:
Do I need SSL for WordPress?
Technically no. But a website without SSL/TLS today is going to be flagged up with security warnings in every browser, and marked down severely by every search engine.
If your site handles any sensitive information, such as credit card details, going without SSL is just asking for trouble.
How do I manually install an SSL certificate on WordPress?
First, you need to buy and download your SSL certificate files. Then you need to generate a Certificate Signing Request (CSR) on your web server, activate and install your certificate, and update WordPress to use HTTPS.
Doing this all manually is a complex process, so we have dedicated SSL guides to help.
Why am I getting SSL error for every website?
It could be one of several reasons:
- Time and date settings: SSL certificates are sensitive to time. If your computer is set to the wrong time or date, it could invalidate the connection.
- Browser cache issues: Corrupted data in your browser cache can sometimes disrupt SSL/TLS verification.
- Software updates: Occasionally, bad updates can cause SSL/TLS errors.
- Antivirus software: These apps can interfere with SSL/TLS.
- Network proxies: You might start seeing SSL/TLS issues on every site if you’re using a misconfigured VPN.
Making WordPress Secure
Adding an SSL certificate to your WordPress website is really important if you want to maintain security and appear in search results. Normally, it’s a pretty straightforward process. But as we have discovered in this post, hiccups can happen.
To recap the most common errors and their resolutions:
- The NET::ERR_CERT_INVALID error suggests that your certificate needs to be renewed or reinstalled.
- Mixed content errors can be fixed manually, or with a plugin such as Really Simple SSL.
- Too many redirects can be resolved by adding code to your wp-config.php file.
- A WordPress HTTP to HTTPS redirect needs to be configured using a plugin such as Really Simple SSL, or manually via your site’s .htaccess file.
- A name mismatch error happens when the certificate domain and browser URL do not match; you’ll need to add code to your .htaccess file.
Setting up SSL on your WordPress website is free and easy with DreamHost.
All our plans include an SSL certificate from Let’s Encrypt, and our support team is on hand 24/7 to guide you through the process.
Check out our DreamPress plans today to learn more. They come with the TLS certificate pre-installed for you!
Get Content Delivered Straight to Your Inbox
Subscribe to our blog and receive great content just like this delivered straight to your inbox.