Whether you’re creating a podcast website or personal blog, making it memorable and user-friendly can be challenging. As you configure your website settings, it’s essential to establish your brand identity and start building a solid reputation.
A simple way to create a professional online presence is by designing a custom favicon. A recognizable favicon helps people spot your site in crowded tabs and search results, building brand recognition along the way.
Here’s the short answer: the fastest way to add a favicon in WordPress is built in. Go to Settings > General in your dashboard, click Choose a Site Icon, and upload a square image that’s at least 512×512 pixels. That setting arrived in WordPress 6.5, so every supported WordPress version in 2026 has it. In this post, we’ll cover what favicons are and why they matter, then walk through that method plus three alternatives. Let’s get started!
What is a favicon (favorite icon)?
A favicon, or ‘favorite icon,’ is the small square icon that represents your website in browser tabs, bookmarks, browser history, and search results. It traditionally displayed at 16×16 pixels, but a modern favicon is really a small set of images in several sizes and formats (PNG, SVG, and ICO) all generated from one square source image.
The favicon was created in 1999, first appearing in Internet Explorer 5, to help differentiate between bookmarked web pages.
Currently, you can see favicons at the top of a browser tab above the address bar. Here, visitors will see a small branding icon:

If a website doesn’t have a designated favicon, users will see a generic browser icon instead. Therefore, many website owners use favicons to make their content more recognizable.
You might also see favicons in bookmarks, your browser history, among Google search results, and as the app icon when someone saves your site to their phone’s home screen. Often, this icon shows users they’re about to click on a credible and well-known resource.
Favicon sizes and formats: which file serves which surface
A favicon “is not just a single image, as it used to be when it was first introduced,” as RealFaviconGenerator’s favicon guide (2026) puts it, and “the main favicon format is now the SVG, supported by all modern browsers.” Here’s what each file in a modern favicon package does:
| File | Where it shows up |
|---|---|
| SVG favicon | The main modern format: browser tabs in all modern browsers, sharp at any size |
| PNG favicon | Browser tabs and Google search result pages where SVG isn’t used |
| Apple Touch Icon | The high-resolution icon iOS uses for home screen shortcuts — Android grabs it too when a site has no web app manifest |
| favicon.ico | The 1999 original (typically 16×16 or 32×32 pixels), now a legacy fallback — browsers still request it in edge cases, like showing a PDF in a tab |
The good news: you rarely have to juggle these files yourself. WordPress uses your single 512×512 site icon “as a browser and app icon for your site,” per WordPress.org’s documentation, and generators like RealFaviconGenerator build the full package for manual setups.
Great. You’re all caught up on favicons. Now, let’s show you how to make one.
How to add or change a favicon in WordPress (4 methods)
To start creating your first favicon, you’ll need to design the image you’re going to use. For this process, we recommend using Canva — its built-in AI tools can even draft a square logo from a text prompt as a starting point:
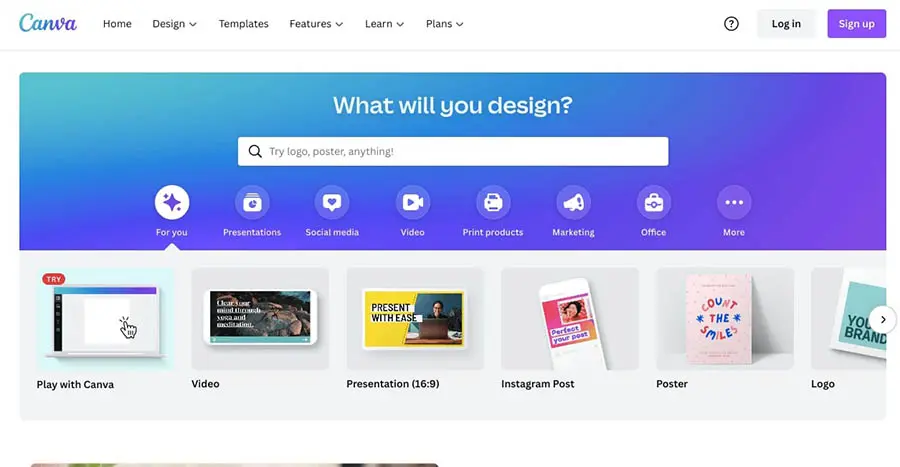
Canva is a beginner-friendly image editing tool that can create a logo from scratch. Alternatively, you can browse its logo templates.
Whatever option you choose, make sure you design a square image. Favicons typically display at 16×16 pixels, but WordPress requires a height and width of at least 512px. Design for that tiny canvas: keep the icon simple and recognizable, use as little text as possible, and check that it stands out on white, gray, and black backgrounds, since many visitors browse in dark mode — advice that comes straight from WordPress.com’s site icon guidelines (reviewed June 2026).
After you’ve designed your logo as a favicon, it’s time to add it to your website! Here are some of the best methods.
1. Add a favicon in Settings → General (the default way)
This is the current standard — and the fastest route. Since WordPress 6.5 (released April 2, 2024), the Site Icon setting lives right in your general settings, so every supported WordPress version in 2026 has it. You won’t have to make a favicon.ico file or modify your template file.
In your WordPress dashboard, go to Settings > General. Near the top, you’ll see a Site Icon setting. Click Choose a Site Icon, upload your square image (at least 512×512 pixels), and save your changes. That’s it — your favicon is live.
On a classic theme or older WordPress? Use the Customizer
WordPress has had a built-in Site Icon feature since version 4.3 — it just lived in the Customizer until 6.5. Not sure which setup you have? Check under Appearance in your dashboard: if you see Editor, you’re on a block theme (block themes don’t include the Customizer); if you see Customize, you’re on a classic theme and the steps below work, too.
Find the image you want to use as your favicon. Then, go to Appearance > Customize in your WordPress dashboard:
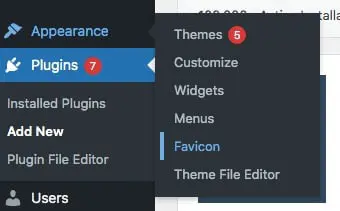
This will open the WordPress Customizer. Click Site Identity (some themes tuck it inside a settings submenu, as in our screenshot):
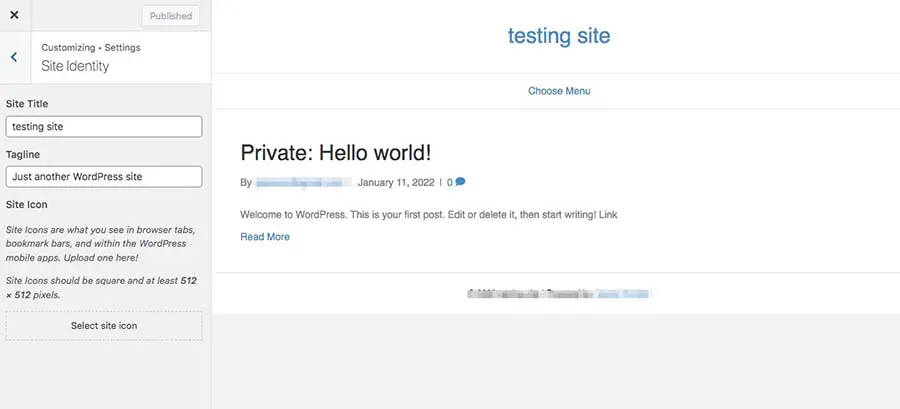
Here, you’ll see a section labeled Site Icon. Click on Select site icon and upload your favicon image:
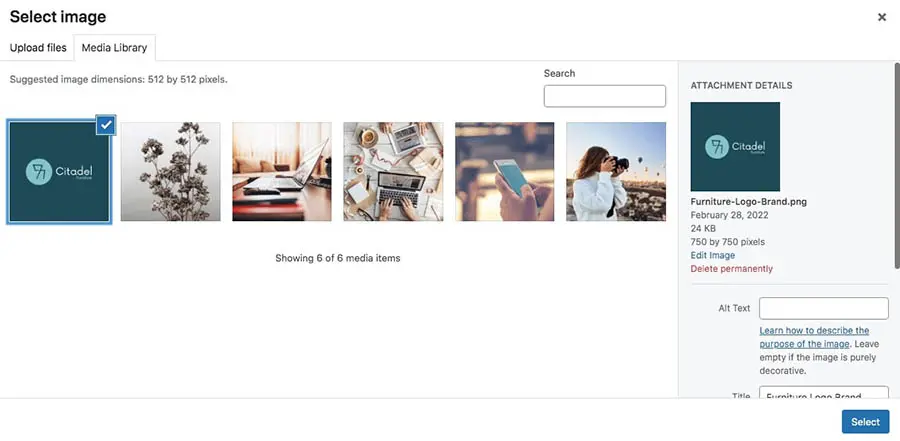
Crop the image as needed. On the right-hand side, you can see a preview of the favicon:
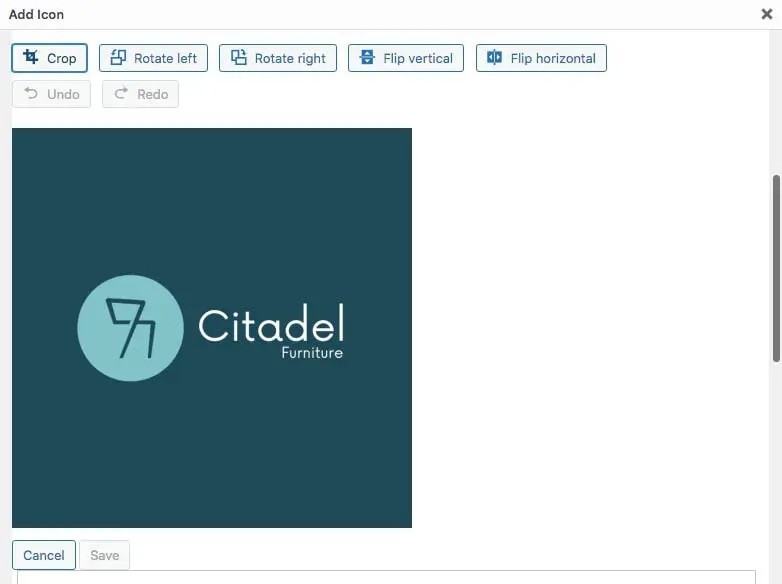
After you’re finished, click on Publish.
Block theme? You can also use the Site Editor
Block themes skip the Customizer entirely, but they get a second option: the Site Editor. Per WordPress.com’s site icon guide (reviewed June 2026), go to Appearance > Editor, select Identity from the left-side menu, and click Site Icon.
Select an image from your Media Library (or upload a new file), then click Save. Your icon will show up in browser tabs, bookmark lists, and mobile home screens.
Recommended size: Square aspect ratio, at least 512px x 512px.
2. Add a favicon with a WordPress page builder
Many popular page builders can add a custom favicon in a similar process. For instance, Elementor has a Site Favicon option under Site Settings > Site Identity.
Per Elementor’s documentation (updated August 5, 2026), the favicon setting lives right in the Elementor editor — no separate add-on needed.
Then, open up any post or page with the Elementor editor:
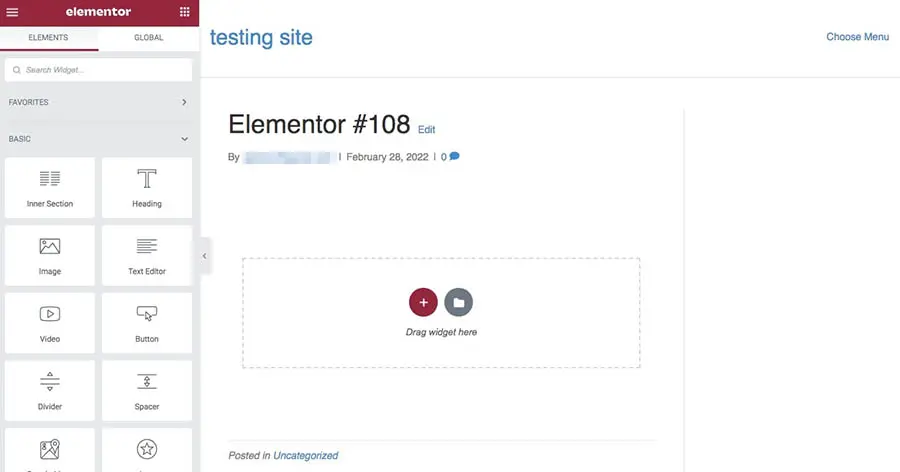
From the editor’s top bar, click the logo icon and select Site Settings, then Site Identity. Here, you’ll see your site name and description. There will also be options for uploading a site logo and site favicon:
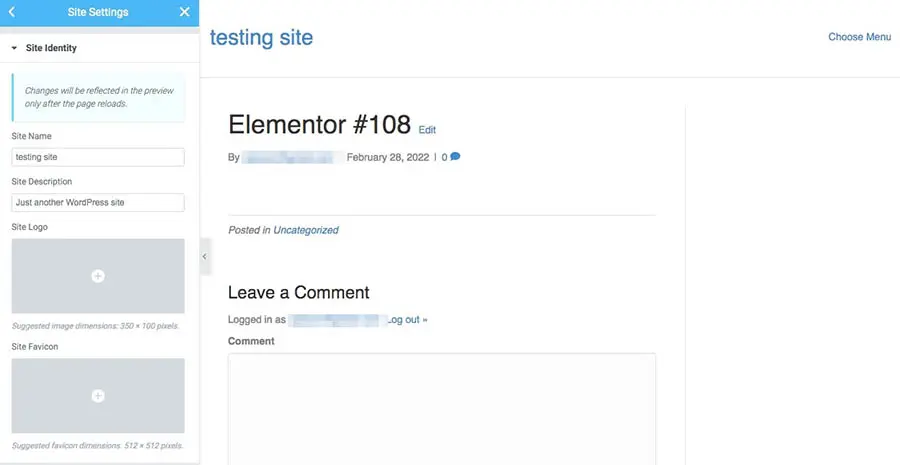
Hover over the gray box beneath Site Favicon and click on Choose Image. Upload your favicon and select Insert Media:
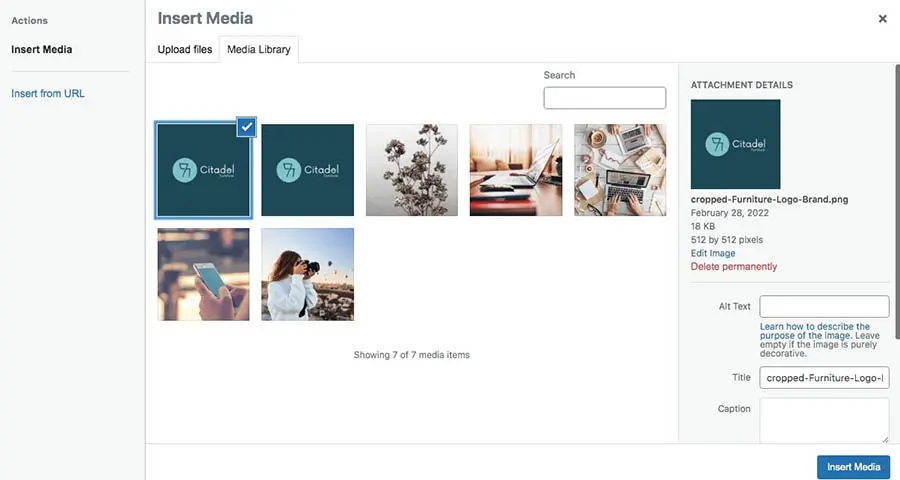
After uploading your favicon, go to the bottom of the screen and click on Update.
3. Install a favicon plugin
Most readers should skip this method: Settings > General covers the standard case with no extra software. A favicon plugin earns its keep when you want something the built-in setting can’t do, like rotating between multiple icons, and it’s still a simpler option than coding.
For this process, we recommend using Favicon Rotator. This free WordPress plugin requires WordPress 6.6 or higher and PHP 8.2 or higher (it’s tested up to WordPress 7.0.3) and lets you add a favicon image in minutes:
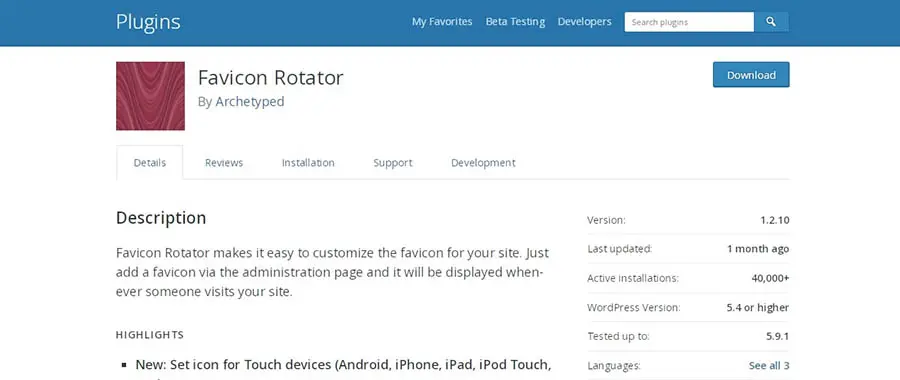
Install and activate the plugin. Now navigate to Appearance > Favicon:
You’ll notice two different options for creating custom icons. Browser Icon places the favicon in browser tabs. The Touch Icon will customize favicons for mobile devices:
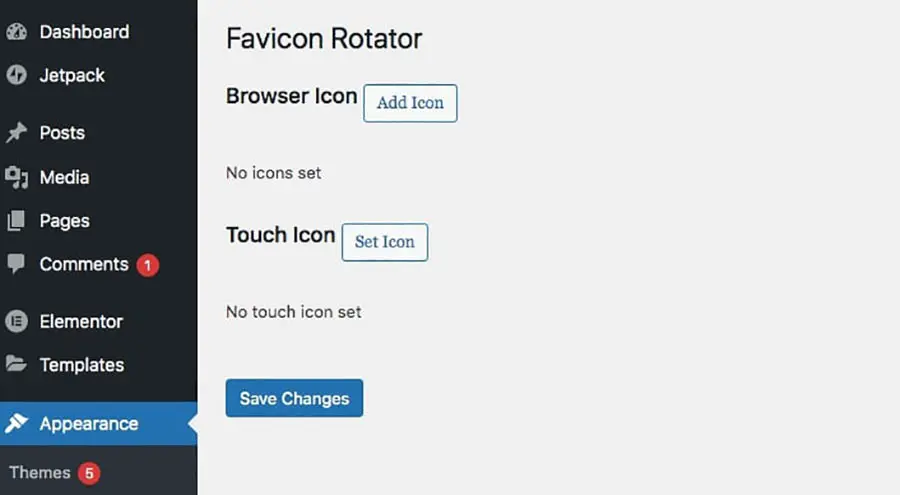
Click on Add Icon next to Browser Icon. Upload your favicon image:
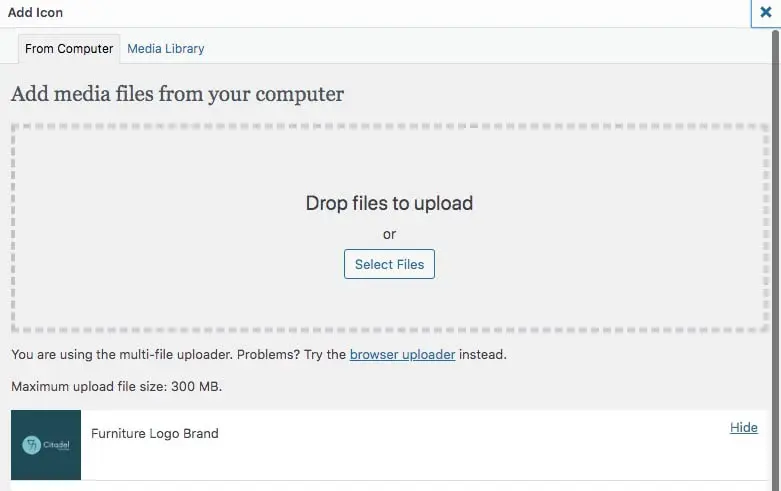
If you need to crop, rotate, or flip the image, click on Edit Image. Here you can change the dimensions and thumbnail settings as required:
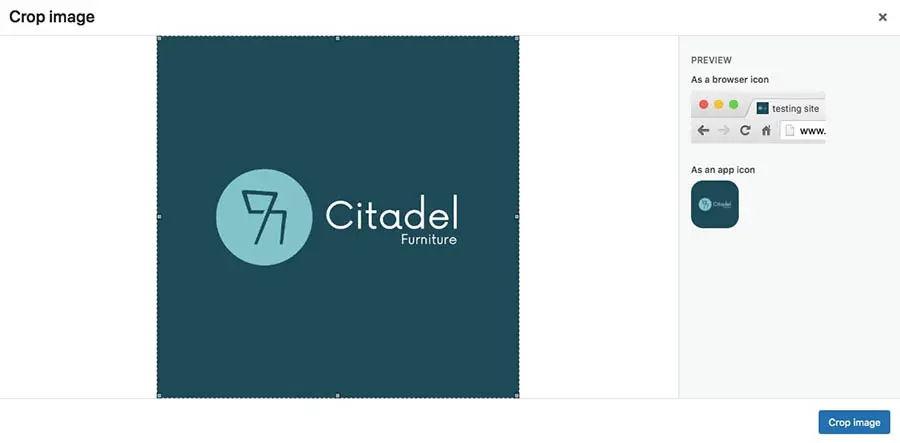
When you’re finished, select Add Browser Icon. Then, click on Save Changes.
4. Manually generate a favicon
If your website has an older WordPress version or theme, you might need to manually add a favicon using code. This method can also be beneficial when you want to limit the number of third-party plugins on your site.
First, upload your image file into a tool such as Real Favicon Generator. Using this software, you can generate your favicon’s custom coding:
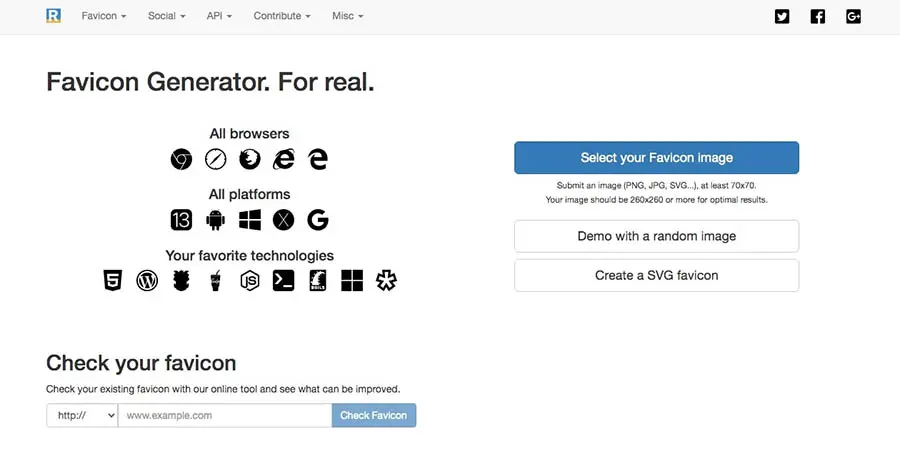
Start by dropping your image into the upload zone or clicking Pick your favicon image. After uploading your image file, Real Favicon Generator will create a preview of your favicon. (The tool’s interface has been redesigned since we took these screenshots, but the flow is the same: upload, preview, generate.)
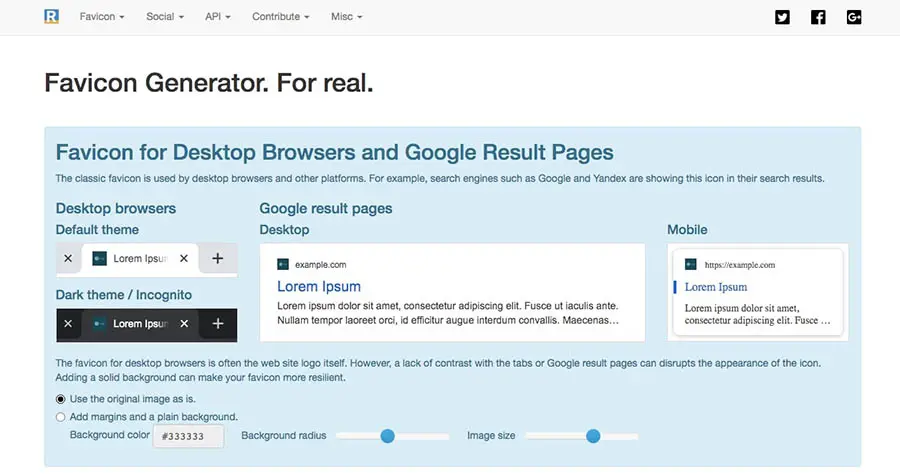
From here, the tool previews how your icon will look on each platform (including desktop browsers, iOS, Android, and Google search results) and you can adjust the image, background color, and radius for each as needed.
After you’ve customized the image, generate your favicon package. RealFaviconGenerator creates the icon files along with the matching HTML markup, plus setup instructions for plain HTML and frameworks like React and Next.js:
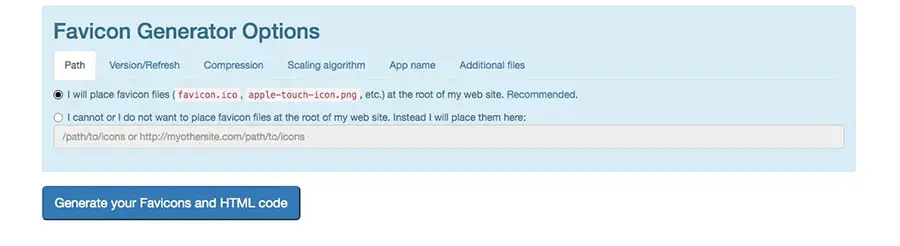
This will show you the code for your favicon. Download the Favicon package and copy the HTML:
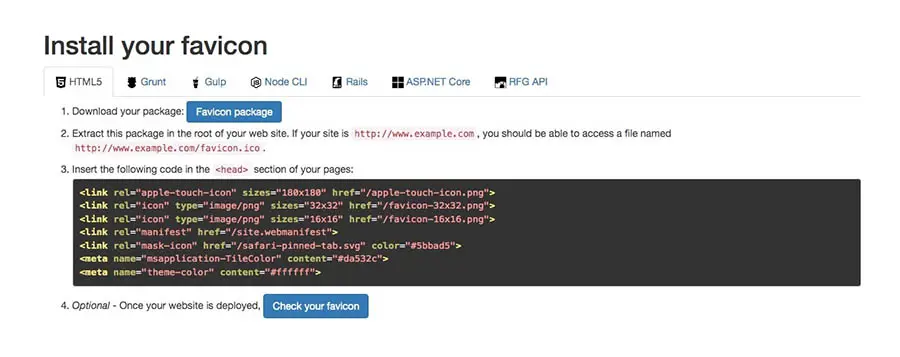
Before you start editing your code, we’d recommend backing up your website. This step ensures you don’t lose any important information due to coding mistakes.
Next, open your hosting control panel — for DreamHost customers, that’s the DreamHost panel. Although every hosting provider has its own dashboard, you’ll need to find the file manager or Upload Files option.
In the DreamHost panel, it looks something like this:
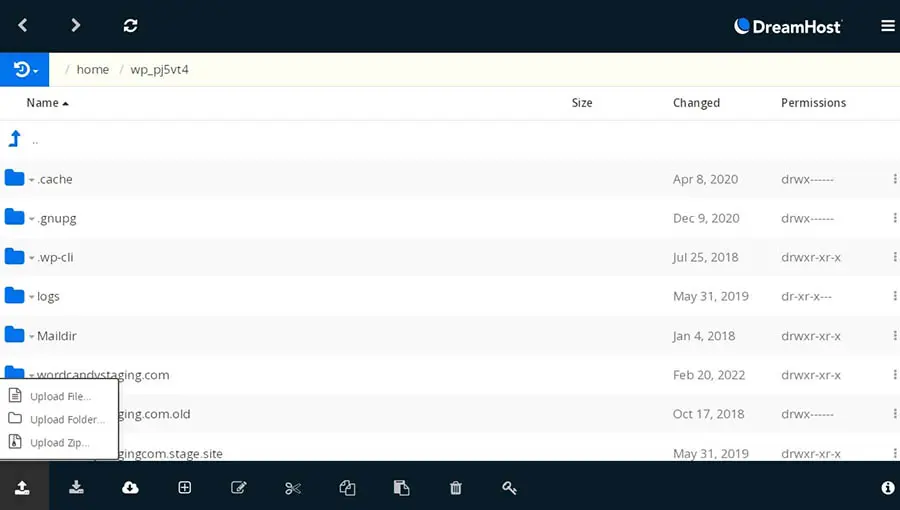
Then, upload every file from the generated favicon package, not just a single image — the copied HTML references each of those assets. Put them in your site’s root directory, or update the paths in the generated markup to match wherever you place them. Finally, add that markup to your site’s <head> section. A child theme (or a header-injection option, if your theme or an existing plugin offers one) is the safest place for it; editing header.php directly works as a legacy fallback.
To do this, open wp-content/themes/, then your active theme’s folder (or your child theme’s folder), and click on the header.php file. Then, select Edit:
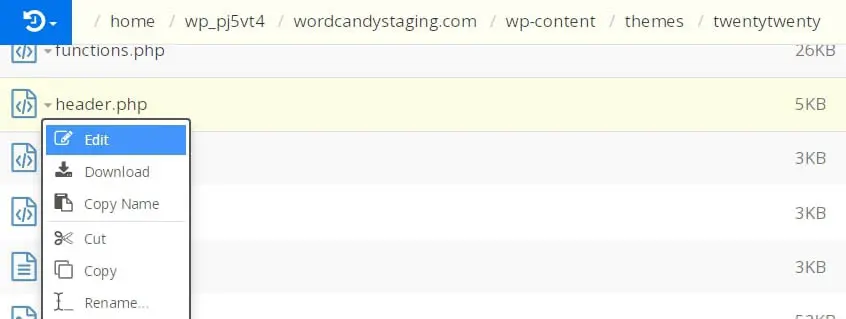
Paste the favicon code from the Favicon Generator into the <head> section of the file and save your changes.
Favicon not showing? How to fix it
If you’ve added your favicon and still see the old icon (or none at all), the culprit is often caching. Browsers hang on to favicons, so do a hard refresh or open your site in a private window. If you run a caching plugin or a CDN, purge that cache too; the stale icon may be served from there.
If clearing caches doesn’t fix it, check the installation itself: run your site through RealFaviconGenerator’s favicon checker, which shows how the icon renders on each platform and flags anything that’s missing.
Google search results are the slowest surface. Per Google Search Central’s favicon documentation, Google reads the favicon from a <link rel="icon"> tag on your homepage — so a new or changed icon only appears in search results after Google recrawls your homepage, not the moment you publish it.
How to change or remove your WordPress favicon
To change your favicon, upload a new image wherever you set the original: go to Settings > General and choose a new image under Site Icon — or update it in the Customizer, Elementor, or your plugin’s settings if you used one of those methods.
To remove it, navigate to Settings > General and click the Remove Site Icon button underneath your current preview image, per WordPress.com’s site icon guide. Either way, expect the old icon to linger in tabs and search results until caches clear and Google recrawls your site.
WordPress favicon FAQs
What size should a WordPress favicon be?
Square, and at least 512×512 pixels — that’s WordPress’s requirement for the site icon. WordPress scales the image down for browser tabs, bookmarks, and app icons, so keep the design bold and simple enough to read at 16×16 pixels.
How do I change my favicon in WordPress?
Go to Settings > General and choose a new image under Site Icon — or click Remove Site Icon to delete it. If the old icon lingers, clear your browser and site caches; favicons are cached aggressively.
Do I need a plugin to add a favicon to WordPress?
No. WordPress has included a built-in Site Icon feature since version 4.3, and since version 6.5 it sits under Settings > General. A plugin only makes sense for special cases, such as rotating between multiple icons.
What is the HTML code for a favicon?
A link element in your page’s head, such as <link rel="icon" href="/path/to/favicon.ico"> — the syntax Google’s favicon documentation shows. Generators like RealFaviconGenerator output the complete markup, including SVG and Apple Touch icons, so you can copy and paste it.
Why isn’t my favicon showing in Google search results?
Google reads your favicon from your homepage, so a new icon appears in search results only after Google recrawls the page — not immediately. Make sure the icon is referenced with a <link rel="icon"> tag; WordPress’s Site Icon feature adds this for you.
Small icon, strong brand
A good logo can be the key to making your business unique and memorable. When you turn this logo into a favicon, you can ensure that online visitors recognize your branded content.
To review, here are the best methods for adding a favicon to your WordPress website:
- Add a favicon in Settings > General (or via the Site Editor or Customizer, depending on your theme).
- Use a page builder such as Elementor.
- Install a favicon plugin like Favicon Rotator.
- Manually code a favicon.
Do you need a hand building your website from scratch? At DreamHost, we provide Pro Services that include custom web design. Our professional designers can help you create an original website, so you don’t have to worry about small details like favicons!

DreamHost Makes Web Design Easy
Our designers can create a gorgeous website from SCRATCH to perfectly match your brand and vision, all coded with WordPress so you can manage your content going forward.
Learn More