
You know the feeling: you click a link, the page hangs, and two seconds later you’re back on the results page trying the next one. Your visitors treat your site exactly the same way. The tricky part isn’t knowing that speed matters; it’s figuring out which of a dozen possible culprits is slowing yours down.
Fortunately, there are several easily accessible speed tests you can use to determine how your site’s performance measures up. And although there are many reasons your site may be slow, you can resolve many of them with free WordPress plugins and quality web hosting.
How do you speed up a WordPress site?
To speed up a WordPress site, enable caching, compress your images (and serve them as WebP), use a CDN, run the latest PHP version, minify CSS and JavaScript, remove bloated plugins and themes, and choose hosting with server-level caching built in. Test your site’s speed before and after each change so you know what actually worked.
Why your website’s loading speed matters
Things have changed a lot since the beginning of the internet. Today’s users expect significantly faster page load times, and your site needs to live up to their expectations. In fact, Google’s core ranking systems “look to reward content that provides a good page experience,” starting with good Core Web Vitals, and it’s easy to see why.
Page Load Time
Page load time is, quite simply, the amount of time it takes for a webpage to load. In more technical terms, it is the time taken to download and display the entire content of a web page. It is usually measured in seconds.
The biggest issue with having a slow website is that your users will often lose patience and leave if your site takes too long to load. This negatively affects your bounce rate (the number of visitors who click away after only seeing one page).
The numbers back this up: Google research from 2016 found that 53% of mobile site visits are abandoned when a page takes longer than three seconds to load.
In other words, when pages take longer than expected to load, it negatively impacts your site’s User Experience (UX). This matters because any time your UX takes a hit, so does your conversion rate.
Even fractions of a second count, so optimizing your site’s performance as fully as you can is crucial. What’s more, website speed not only influences whether users stay on your site and convert; it also affects whether or not they can find it in the first place.
Site speed is now part of Google’s page experience ranking signals for both desktop and mobile sites (the desktop rollout was completed in March 2022), meaning it impacts your site’s search engine optimization (SEO). If you don’t maintain decent website performance, your site’s visibility on search engine results pages (SERPs) may decrease, leading to less traffic.
How to run a WordPress speed test
The quick answer: you can run a free WordPress speed test with Google PageSpeed Insights, Pingdom Tools, or GTmetrix. Just enter your URL, and each tool will grade your site’s performance. Before we dive into some of the causes behind slow loading speeds, let’s look at how to examine your own site and see how well it’s currently performing. The best way to find out if your site is suffering from slowdowns is to test it thoroughly and regularly. Fortunately, there are free tools you can use to quickly gather this information.
We’re going to introduce a few free tools you can use to test your site’s speed. We recommend that you repeat these tests multiple times to ensure caching issues or high traffic don’t mess with your results. It’s also smart to run these tests regularly. New factors can affect your site and slow it down unexpectedly, so you’ll always need to keep up to date with its performance.
Google PageSpeed Insights
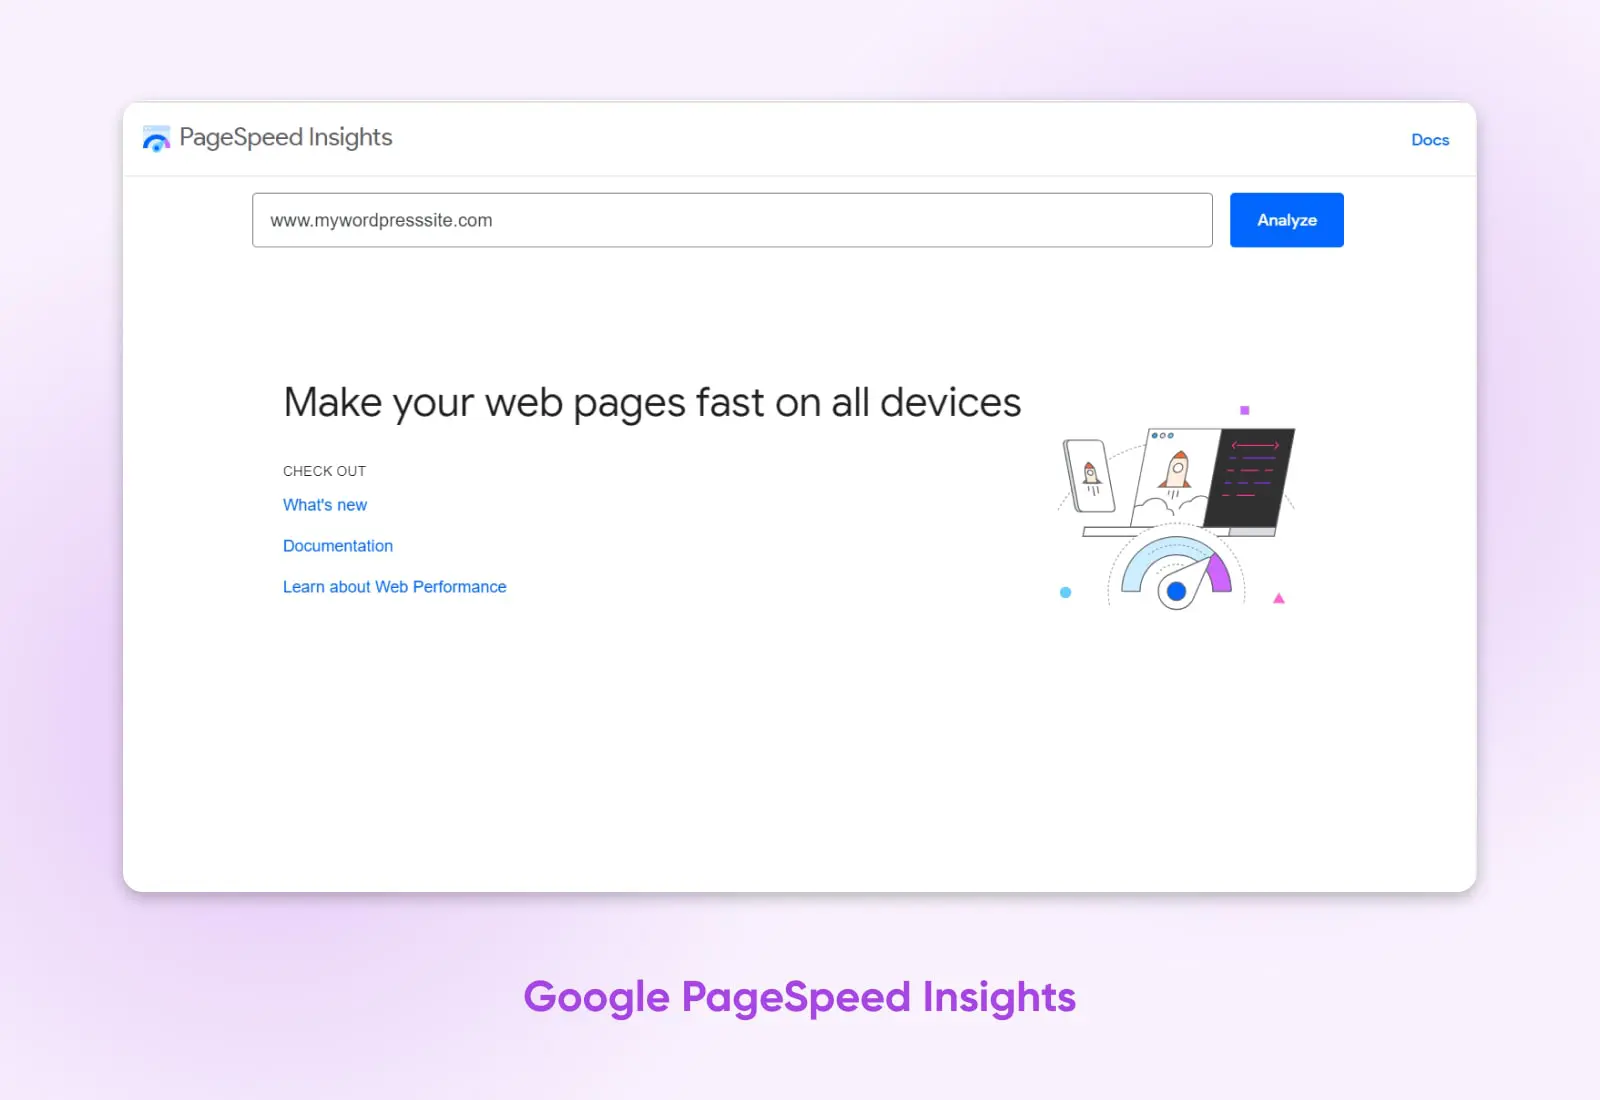
Google PageSpeed Insights is a free tool from Google that tests, measures, and reports on your website’s performance. It also runs diagnostics and recommends action items to help you improve your site’s performance.
PageSpeed Insights provides a ton of information, and it can admittedly be tricky for beginners to use. That’s why we have a full tutorial on getting the most out of this powerful tool.
Pingdom Tools
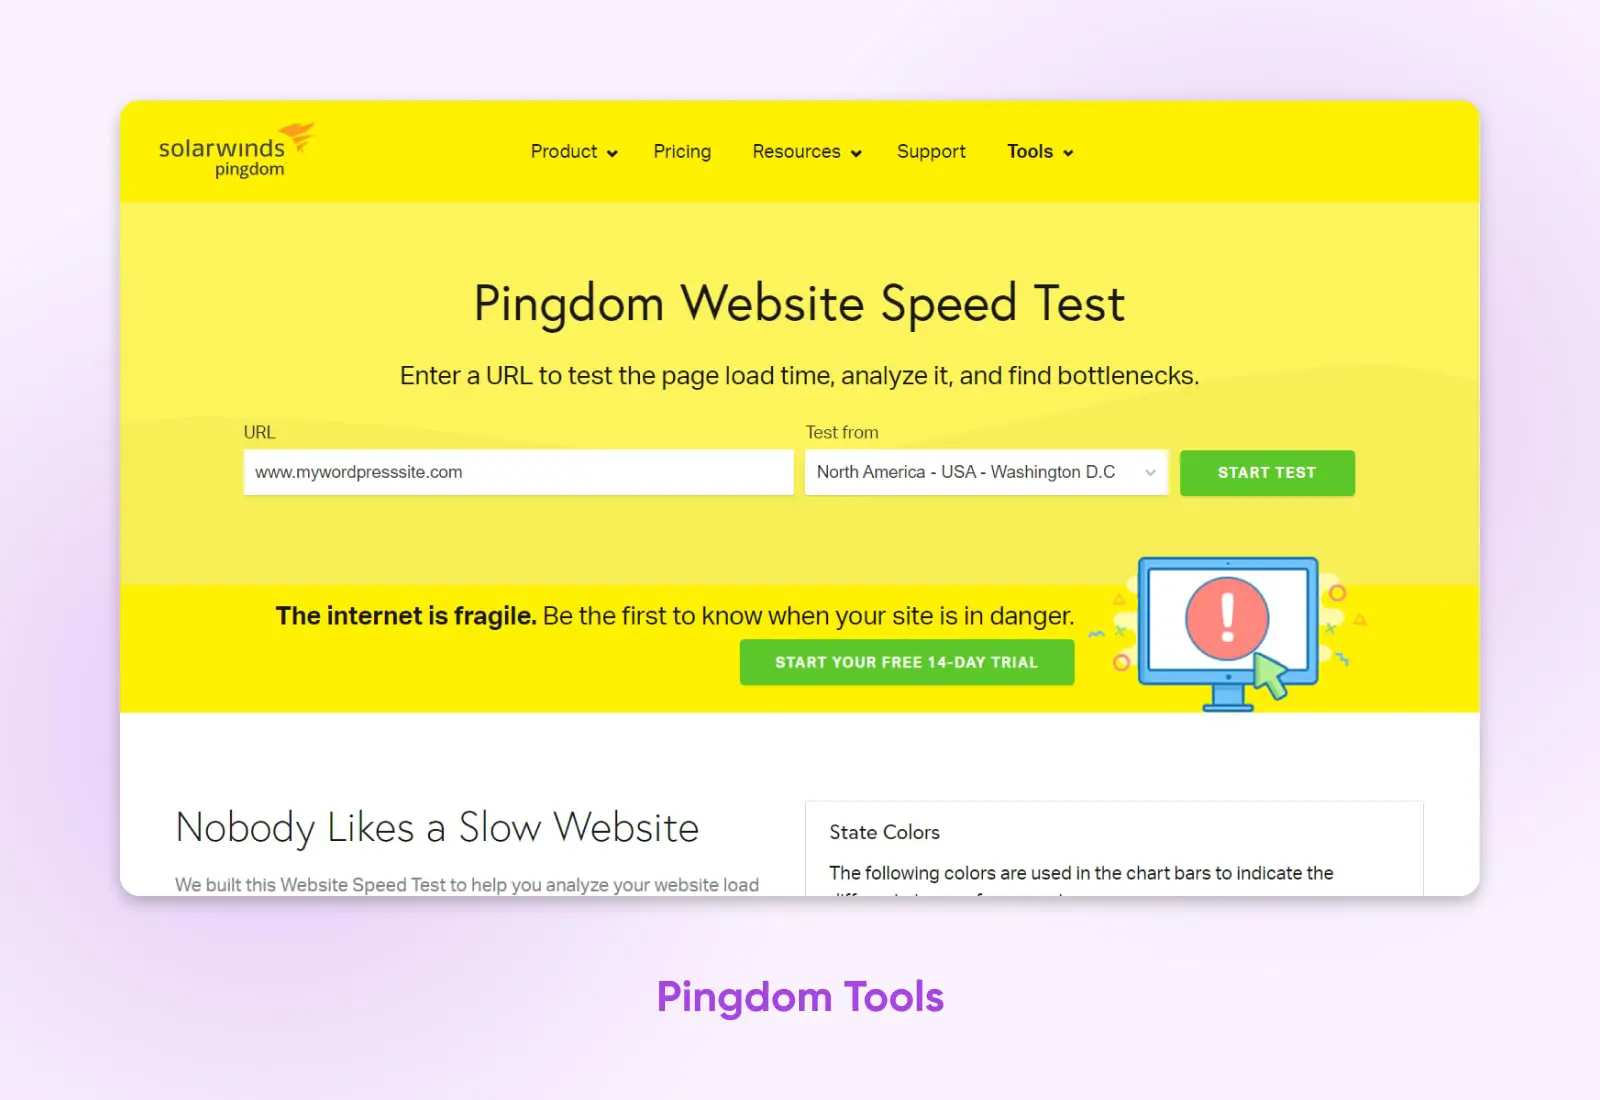
The next option we’ll be looking at is Pingdom Tools. This site accesses your pages from a specific location and returns information about how quickly they loaded.
This process enables you to test your site’s loading speed. Plus, Pingdom Tools rates your site based on several metrics. For instance, it shows how many requests were required, how many redirects were performed, and how your site’s speed compares to others.
To perform a test, simply enter your site’s URL into the field on the main page, select the location you want to use, and click on Start Test. Depending on how many people are currently using the site, you may be placed in a queue, but in our experience, it usually takes less than a minute for the test to begin. When the test is complete, the page will show the results at the bottom.
Since the results will differ slightly each time, you’ll want to do this a few times to get an average figure. This will give you a more comprehensive overview of how well your site performs and provide some insight into what areas of your site need improvement.
GTmetrix
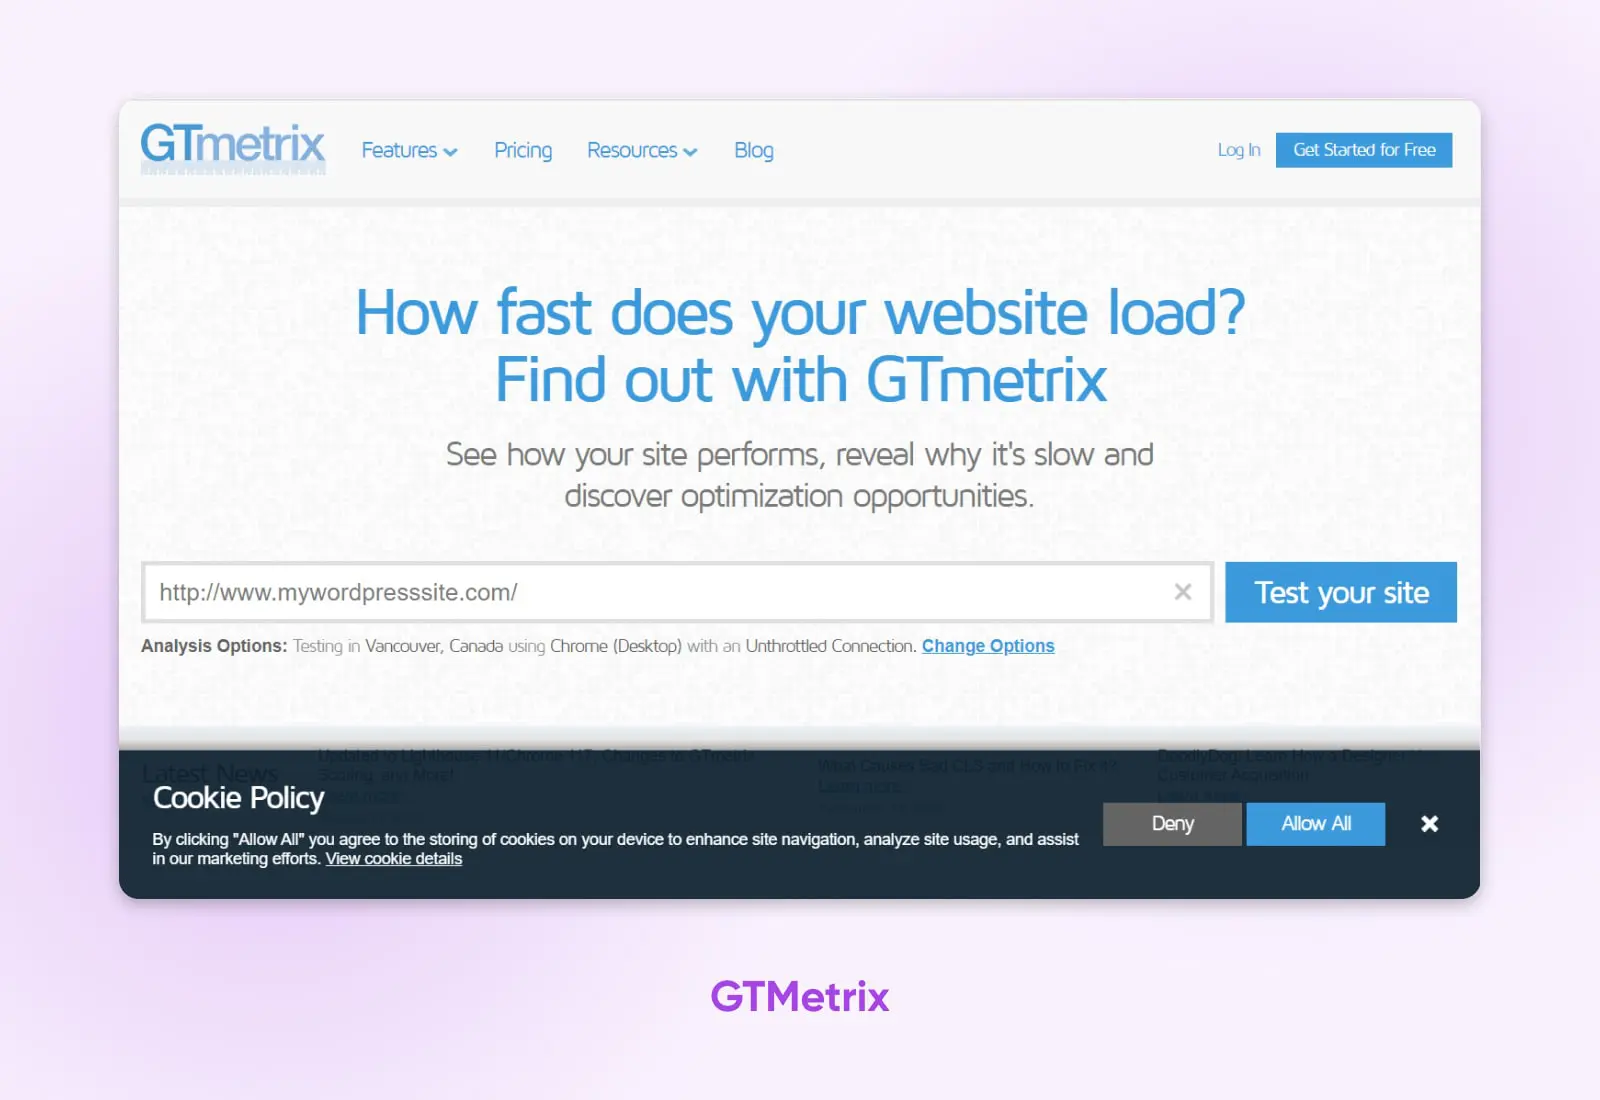
This is another free speed-checking tool that can be incredibly useful. GTmetrix works much the same way as the previous tools, but it also provides more advanced metrics and even offers optimization suggestions based on your results.
You can start a test by entering your site’s URL on the home page and clicking “Test your site.” When the test has concluded, you’ll get access to a lot of data. You’ll see how quickly your website loads, as well as other data including the overall size, uptime reports, web vitals, and more.
Core Web Vitals (CWV)
Core Web Vitals (CWV) was developed by Google and represents a trio of user experience metrics designed to help create a faster, more accessible, and higher quality web browsing experience. The three Core Web Vitals metrics are Largest Contentful Paint (LCP), Interaction to Next Paint (INP), and Cumulative Layout Shift (CLS); INP became the stable interactivity metric in March 2024.
Scroll down the page and you’ll find tabs with even more detailed test results, such as resource usage. However, outside of the basic data, you’ll need to register for an account in order to access all of this information.
Remember to run this test a few times as well to get a reliable average result. Once you’ve done that, you’ll have a solid idea of how well your site is currently performing. You can then interpret the results to find areas where your site could be improved. If the report feels like alphabet soup, you can also paste it into an AI assistant and ask for a plain-English list of fixes, ranked by impact. Armed with that information, it’s finally time to see how you can make your site faster.
Is it your site or your host? How to tell if slowness is server-side
Before you touch a single plugin, rule out a server-side cause. The fastest check: DreamHost publishes live service status at DreamHostStatus.com. If an incident there covers your service and region, no amount of plugin surgery will fix your load times; the slowdown should clear when the incident does.
Here’s a quick triage to tell a host-side problem from a site-side one:
- Check the status page. Read any active incident on DreamHostStatus.com closely: it has to affect your service, server type, or region to explain your slowdown. If it does, the problem (and the fix) is on DreamHost’s side.
- Check your resource usage. Log in to the DreamHost panel and review your plan’s resource usage (memory and CPU on VPS and dedicated plans). Sustained usage near your plan’s limit for hours at a time means something has to change, but it doesn’t prove the server is at fault: a runaway plugin, a heavy theme, or a traffic spike can be what’s burning those resources. Work through the plugin and theme checks below first; if usage stays pinned after that cleanup, contact support with what you found, and only then weigh an upgrade.
- Test from more than one location. Run the speed tests above from a couple of test locations. Slow everywhere points at your site or server; slow only for you points at your own connection (see problem 11 below).
- Compare your public pages with wp-admin. If the front end is fast but the dashboard crawls, skip to the wp-admin section later in this guide — page caching doesn’t apply to logged-in admin screens.
- Gather evidence and ask. If slowness persists with no relevant incident posted and your resource graphs look healthy, work through DreamHost’s guide to server-related downtime issues, then contact support with your speed test results and the times the slowdowns happen. Evidence gets you a faster diagnosis.
If the host checks out, the cause is on your site, and that’s good news because every fix below is in your hands.
14 ways to speed up your WordPress site
Once you know the current state of your site’s performance, you can start optimizing key factors that influence site speed. Let’s look at some of the most common reasons your WordPress site might be slowed down and the best ways you can speed up WordPress, whether you’re a beginner or a seasoned site administrator.
More About Website Performance
A website’s performance refers to the speed and uptime of the site. A better-performing site will have faster load times, run more smoothly, and have little to no downtime.
1. Render-blocking JavaScript is delaying page loads
JavaScript is the code that makes your website functional and interactive for users. Without it, your site would be pretty dull. However, if left unoptimized, JavaScript can delay your pages when they try to load in users’ browsers.
When a browser tries to display a webpage, it has to stop and fully load any JavaScript files it encounters first. This results in what’s called “render-blocking JavaScript” or JavaScript that prevents the page from loading quickly.
There are three solutions for dealing with render-blocking JavaScript:
- Remove external JavaScript files, and use inline JavaScript instead.
- Use asynchronous loading so JavaScript can load separately from the rest of the page.
- Defer JavaScript loading until the rest of the page is visible to the user.
Each method has its pros and cons. Generally speaking, inline JavaScript will only improve page speed when used sparingly. Asynchronous loading can cause issues as files are not loaded in any particular order. Therefore, deferring JavaScript is usually the recommended method.
2. You’re not using a content delivery network (CDN)
A Content Delivery Network (CDN) consists of several servers that are placed in strategic geographic locations. You can store copies of your website on them so its pages can be quickly loaded by users who are located far away from your main server.
CDN
CDN is an abbreviation for ‘Content Delivery Network’. It refers to a geographically-distributed network of web servers (and their data centers). The entities that make up a CDN collaborate to ensure speedy content delivery via the internet.
There are several CDN options for your WordPress site. Cloudflare is one of the most popular solutions, as is the Jetpack CDN for images and videos. All DreamPress plans include Bunny CDN at no extra cost.
Additionally, your website’s JavaScript or jQuery can also be accessed from a CDN instead of your main web server.
3. There’s excessive overhead in your database
“Overhead” refers to extraneous items in your site’s database. Things like logs, transients, and other entries from plugins or themes can build up over time. Too much of this “overhead” can cause database queries to take longer than necessary. In some cases, too much overhead can even cause your web server to time out while waiting for a response from your database.
Optimizing your database by removing overhead will help prevent this. You can install and use a plugin, like WP-Optimize – Cache, Clean, Compress. You could also check with your web host, as most will allow you to access the database management platform phpMyAdmin via your hosting account. If you aren’t able to optimize your tables in phpMyAdmin, you can use the WordPress Command Line Interface (WP-CLI).
phpMyAdmin
phpMyAdmin is a free piece of software used to handle the administration of MySQL and MariaDB. It is accessed over the web and provides a more user-friendly way of working with SQL.
4. Your site’s CSS isn’t optimized
Like JavaScript, your site’s CSS — the code responsible for styling its pages — can delay loading if left unoptimized. There are a few solutions you can implement to get your CSS into shape:
- If you have several external CSS files, combine them into one or a few files.
- Remove external CSS and use inline CSS instead.
- Use “media types” to specify when certain CSS files should be loaded.
Like inline JavaScript, inline CSS is only useful for small portions of code. If you have several large CSS files, you shouldn’t try to add all of them to your HTML file. Specifying media types and combining your external CSS files (if you have more than one) should make a more significant impact.
One of the reasons block themes usually load faster than classic WordPress themes is that their styles load only when their specific blocks render on a page. Consider the use of a block theme.
5. OPcache isn’t enabled
OPcache is a built-in caching engine for the coding language PHP. If you use PHP on your site (and all WordPress sites are built on PHP), having OPcache enabled can speed up the loading of your pages.
If you host your website with DreamPress, OPcache is enabled by default as part of the platform’s caching stack. If your site is hosted using one of our other plans or with another web host, it likely has that functionality, but you’ll need to enable it manually.
6. Caching issues are preventing optimized page loading
Caching is when servers store static copies of your website’s files. Then, when users access your site, their browsers can display the cached data instead of having to reload it.
If your hosting doesn’t already cache pages at the server level, a caching plugin such as WP Super Cache handles it well.
A word of caution, though: a caching or optimization plugin can also be the thing slowing you down. Some minification plugins rebuild their cache constantly when a dynamic file sneaks into the mix; Fast Velocity Minify’s own documentation warns that its cache can “grow indefinitely” in that scenario. If your site got slower after you added an optimization plugin, deactivate it, clear its cache, and re-run your speed test before trying anything else.
DreamPress customers have the advantage of built-in caching, which is included with your hosting account. That makes page-caching plugins like WP Super Cache redundant on DreamPress: you’d have two layers doing the same job, which can create conflicts instead of speed, so skip them entirely. The one caching-related plugin we do recommend is Nginx Helper, and only to manage the built-in cache. It doesn’t create a second cache; it automatically sends requests to delete cached data for a page or post after you’ve modified it, which helps prevent the caching issues that can slow a site down.
7. Large media files are increasing loading times
Media files, such as images and videos, tend to be quite large, but you don’t necessarily need to resize them all. Optimizing them through compression can help to decrease file sizes and therefore, improve your loading times.
TinyJPG is a free online tool that compresses images. However, to make things even easier, you can install an image compression plugin. This will automatically decrease the size of any images you upload, including their thumbnails. You can even set the level of compression you want.
There are several image optimization plugins you can use to compress media files within WordPress, including Smush Image Compression and Optimization. Another free plugin that we have recommended in the past and still love is ShortPixel.
There is also a switch to enable basic image compression from the DreamHost panel.
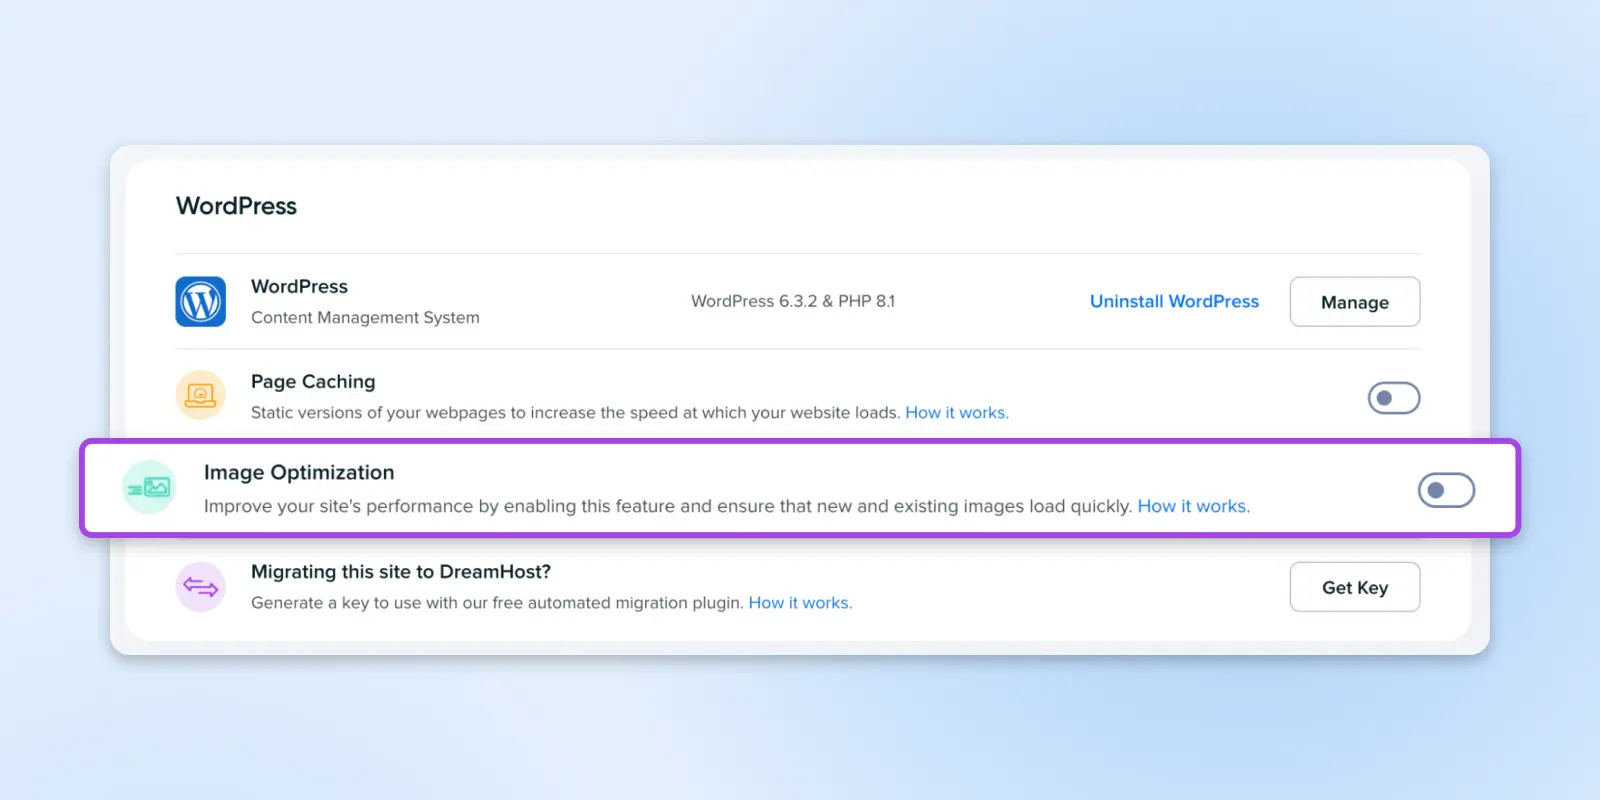
Compressing videos is a little trickier, so it’s usually better to host them externally on YouTube or another platform instead. You can then easily embed your videos on pages or posts.
One last tip: Make sure all your images are in WebP format rather than JPEG or PNG. WebP image files are optimized for the web, so they help your site load as quickly as possible.
8. Poorly written scripts are conflicting with other site elements
Poorly written JavaScript can sometimes cause compatibility issues with other parts of your website, resulting in longer loading times. Running a speed test using the tools we explored earlier in this article can help — especially one like GTmetrix, which can point you toward the exact scripts that are taking a long time to load and give recommendations for fixing the problem.
JavaScript
JavaScript is a flexible programming language that makes websites more engaging and interactive. It teams up with HTML and CSS to improve how users experience websites and apps.
9. Your site’s code is too bulky
The more code your user’s web browser has to load, the longer it will take for your website to become visible. If your code is too “bulky” or contains unnecessary characters and line breaks, your site may be slower. In response, you can “minify” your code by removing any elements that aren’t needed. This might sound complex if you’re not a coder, but we’ll try to explain why this works.
In a nutshell, most code is written to be functional, but also easily readable by humans. This results in excess information that isn’t strictly necessary. By minifying the code, you can keep the functionality intact but make it much faster for computers to read and run.
There are two popular plugins for code minification. Autoptimize minifies code in addition to inlining CSS and optimizing JavaScript files. It also integrates well with WP Super Cache.
Fast Velocity Minify merges CSS and JavaScript files to reduce the number of requests needed for browsers to load your pages. It also minifies your code.
Both plugins are solid choices. You might consider trying out each one and seeing which increases your performance test scores more.
10. Plugins and themes are weighing your site down
Having too many plugins, or even a few very bulky ones, can weigh your website down and cause poor performance. It’s wise to always completely remove any plugins you’re not using to minimize the chance that this will happen.
Additionally, some plugins can interfere with the caching of your site’s pages and slow down the load times. If you’re using the Nginx Helper plugin we mentioned earlier in this article, you can manage and purge your DreamPress cache by navigating to Settings > Nginx Helper.
Another possible culprit is your WordPress theme. When you choose a theme for your site, you’re most likely focusing on its appearance and features. However, this could result in picking a low-performance theme that drags down your site. As such, you should always check a theme’s user reviews first to see if other people have encountered speed issues.
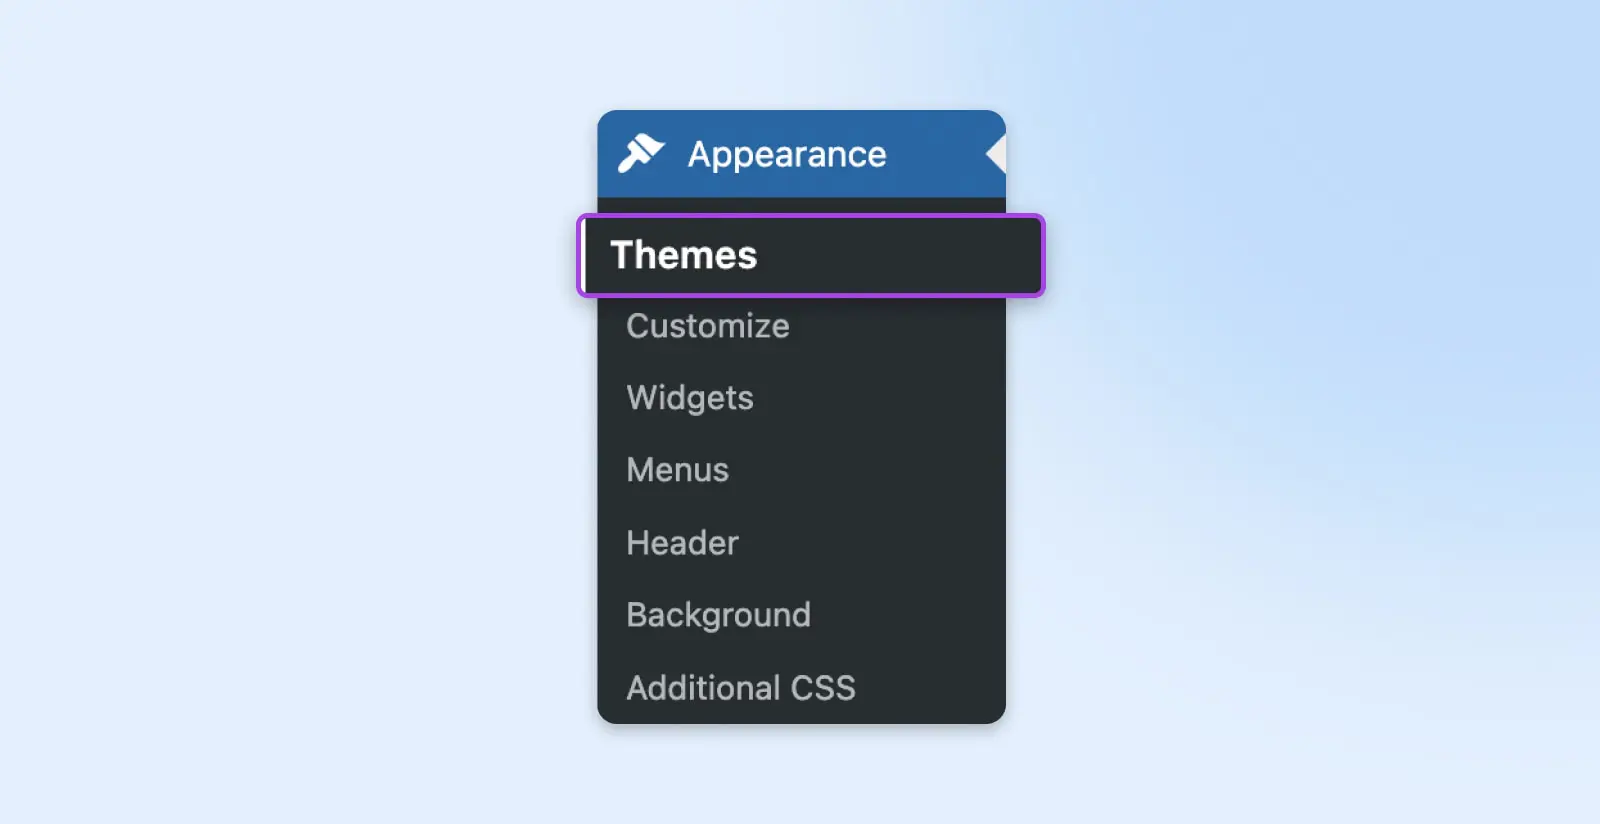
You can also test to see if your theme slows down your site. This can be done by temporarily replacing it with a default theme. Just access Appearance > Themes, and click on Activate next to one of the basic WordPress options. Now, test your site’s speed again to see if you notice a significant difference. If so, you may want to look for a more optimized theme, like the new WordPress block themes.
11. Internet issues are hurting specific users’ performance
Poor website performance can be due to an issue with a user’s Internet Service Provider (ISP), rather than with your site itself. Slow site speeds can result from network congestion, bandwidth throttling and restrictions, data discrimination and filtering, or content filtering.
If you notice slow speeds when visiting your site, you can run a traceroute between your computer and your website to test the connection. This should give you an idea of whether the problem is related to your ISP or is a more significant site-wide concern. If multiple visitors report slowness at the same time, revisit the host-side triage steps earlier in this article.
12. Gzip compression isn’t enabled
As your site expands, many of its files grow in size as well. The downside of larger files is that they often take more time to load when your pages are accessed. To deal with this problem, you need to find a way to make your site’s files smaller without losing any important information.
This is exactly what Gzip compression does. It reduces the size of your files by ‘compressing’ them, removing unnecessary characters, and reorganizing data more efficiently.
Gzip compression is one popular tweak you can make to speed up your site. While the term may sound technical, the basic concept isn’t too complicated. What’s more, enabling Gzip compression on your WordPress site is surprisingly easy. There are two main methods to do so:
Method 1: Use a plugin
Many speed optimization plugins include an option for Gzip compression as a part of their feature sets. WP Super Cache is one example.
Method 2: Modify your .htaccess file
This method is slightly more complex. You’ll need to use the Secure File Transfer Protocol (SFTP), which lets you directly access (and make changes to) your site’s files. If you’ve never used SFTP before, you’ll first want to install a suitable client, such as FileZilla (and brush up on your SFTP skills). Then you’ll need to establish a connection to your site using your hosting credentials.
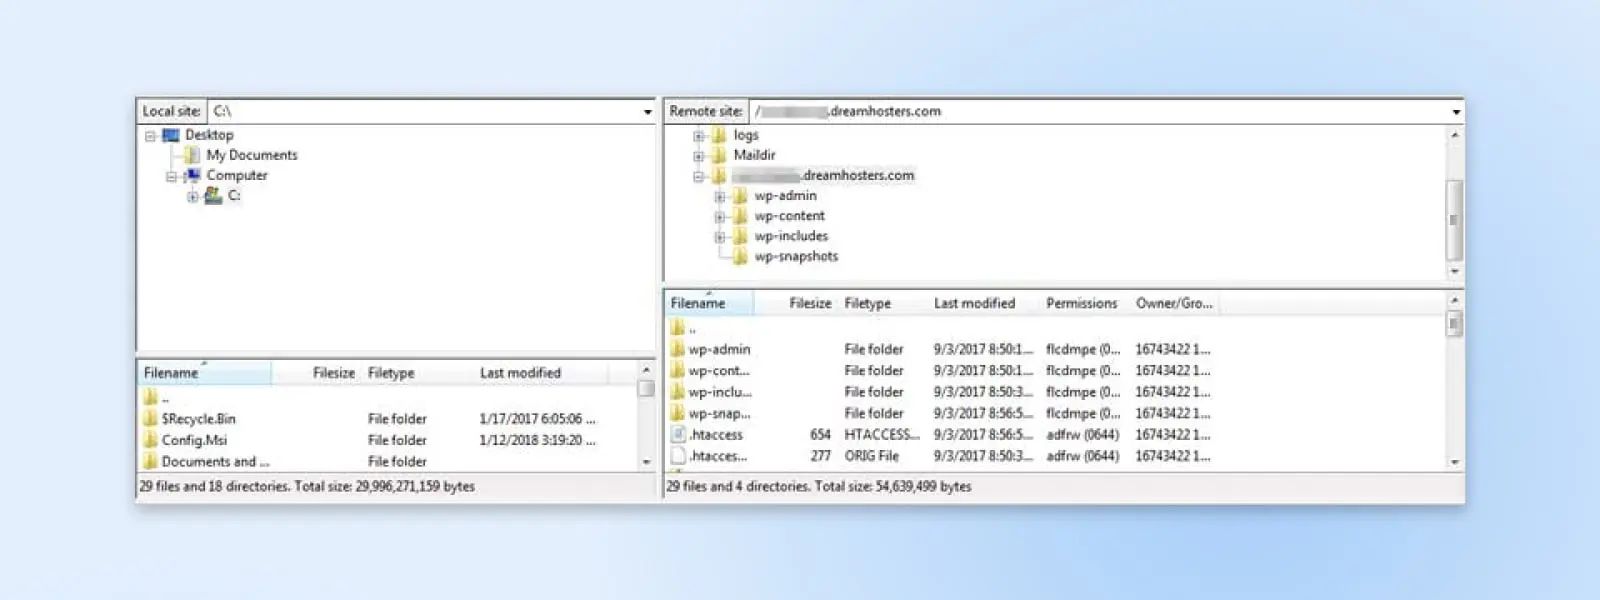
Once you have FileZilla set up, in the top right quadrant, find the folder named after your website’s domain and select it. Then, in the bottom right quadrant, look for the file called .htaccess. This is one of your site’s core files, so you should always be very careful when making changes to it.
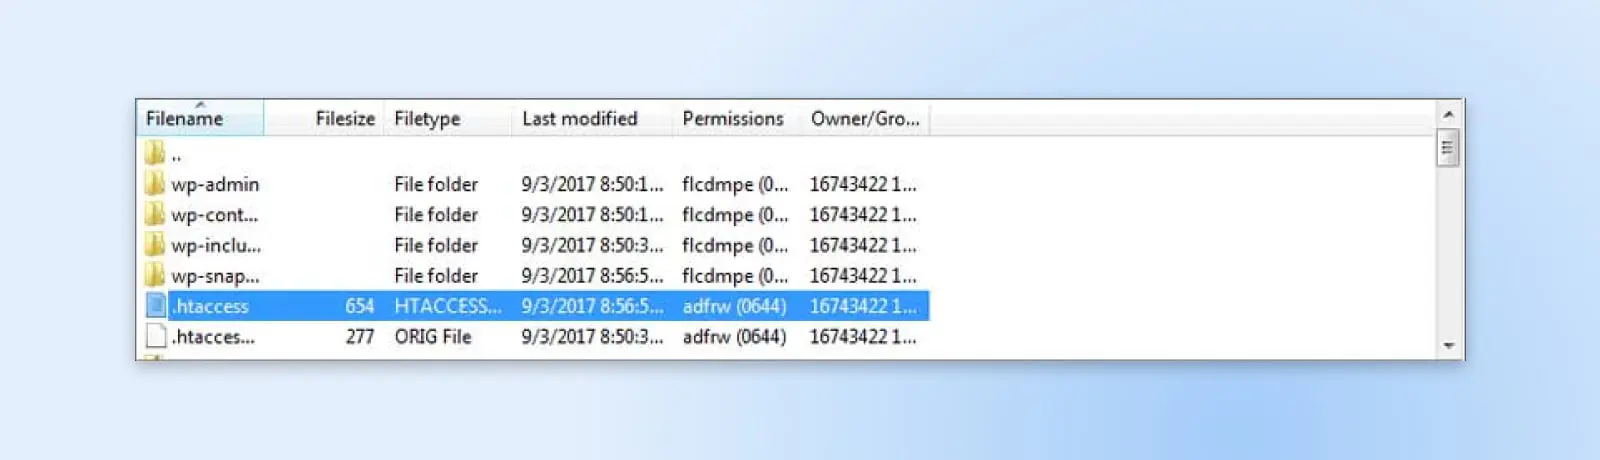
Right-click the .htaccess file and select Download to save it to your computer. Then open the file in any text editor (such as Notepad), and paste in the following code:
<IfModule mod_deflate.c>
# Compress HTML, CSS, JavaScript, Text, XML and fontsAddOutputFilterByType DEFLATE application/javascriptAddOutputFilterByType DEFLATE application/rss+xmlAddOutputFilterByType DEFLATE application/vnd.ms-fontobjectAddOutputFilterByType DEFLATE application/x-fontAddOutputFilterByType DEFLATE application/x-font-opentypeAddOutputFilterByType DEFLATE application/x-font-otfAddOutputFilterByType DEFLATE application/x-font-truetypeAddOutputFilterByType DEFLATE application/x-font-ttfAddOutputFilterByType DEFLATE application/x-javascriptAddOutputFilterByType DEFLATE application/xhtml+xmlAddOutputFilterByType DEFLATE application/xmlAddOutputFilterByType DEFLATE font/opentypeAddOutputFilterByType DEFLATE font/otfAddOutputFilterByType DEFLATE font/ttfAddOutputFilterByType DEFLATE image/svg+xmlAddOutputFilterByType DEFLATE image/x-iconAddOutputFilterByType DEFLATE text/cssAddOutputFilterByType DEFLATE text/htmlAddOutputFilterByType DEFLATE text/javascriptAddOutputFilterByType DEFLATE text/plainAddOutputFilterByType DEFLATE text/xml
# Remove browser bugs (only needed for really old browsers)BrowserMatch ^Mozilla/4 gzip-only-text/htmlBrowserMatch ^Mozilla/4.0[678] no-gzipBrowserMatch bMSIE !no-gzip !gzip-only-text/htmlHeader append Vary User-Agent
</IfModule>
Don’t forget to save your changes to the file. After that, you can re-upload it to your site by copying and pasting it back into your website’s root folder (or simply dragging it there from your computer). Now you’ve enabled Gzip compression on your WordPress website manually!
Note that this method is for websites with Apache servers. If your site runs on NGINX, we recommend checking out this tutorial on enabling Gzip compression with NGINX.
13. Your plugins, themes, or WordPress software are out of date
These days, most people are constantly inundated with update notices from all their devices and software. We understand that it’s easy to become numb to these messages, especially when the effects of required updates are so often invisible to the average user. However, when it comes to WordPress, you should always make sure to update every aspect of your site as soon as possible.
It’s essential not to ignore updates when they become available, whether they’re core updates for your WordPress installation or new versions of your WordPress theme or plugins. The most important reason for this is security: new updates will ensure that your site is safe against the latest threats.
However, keeping your site up to date will also ensure that it remains as fast as possible. WordPress developers are always improving the core software to be faster and better optimized. By updating, you’re ensuring that every aspect of WordPress is running at peak performance.
You should also make sure your site uses the latest version of PHP. This will speed up your site considerably and also ensure full compatibility with WordPress. If you have a DreamPress managed WordPress plan, you have access to PHP’s most recent version. Plus, your site will be automatically updated whenever a new version of WordPress is ready.
14. Your media library and post revisions need cleaning up
Plugins and themes aren’t the only things that can build up over time and clog your site. As your site grows, your media library will fill up with images, documents, and other files. It’s not unusual for long-running sites to contain hundreds if not thousands of image files, for example.
Even if you use image optimization, this many files can start to strain your server resources. Identifying and deleting unused media files can be an incredible pain if done manually. Fortunately, there are plugins that can help you out, like the Media Cleaner plugin.
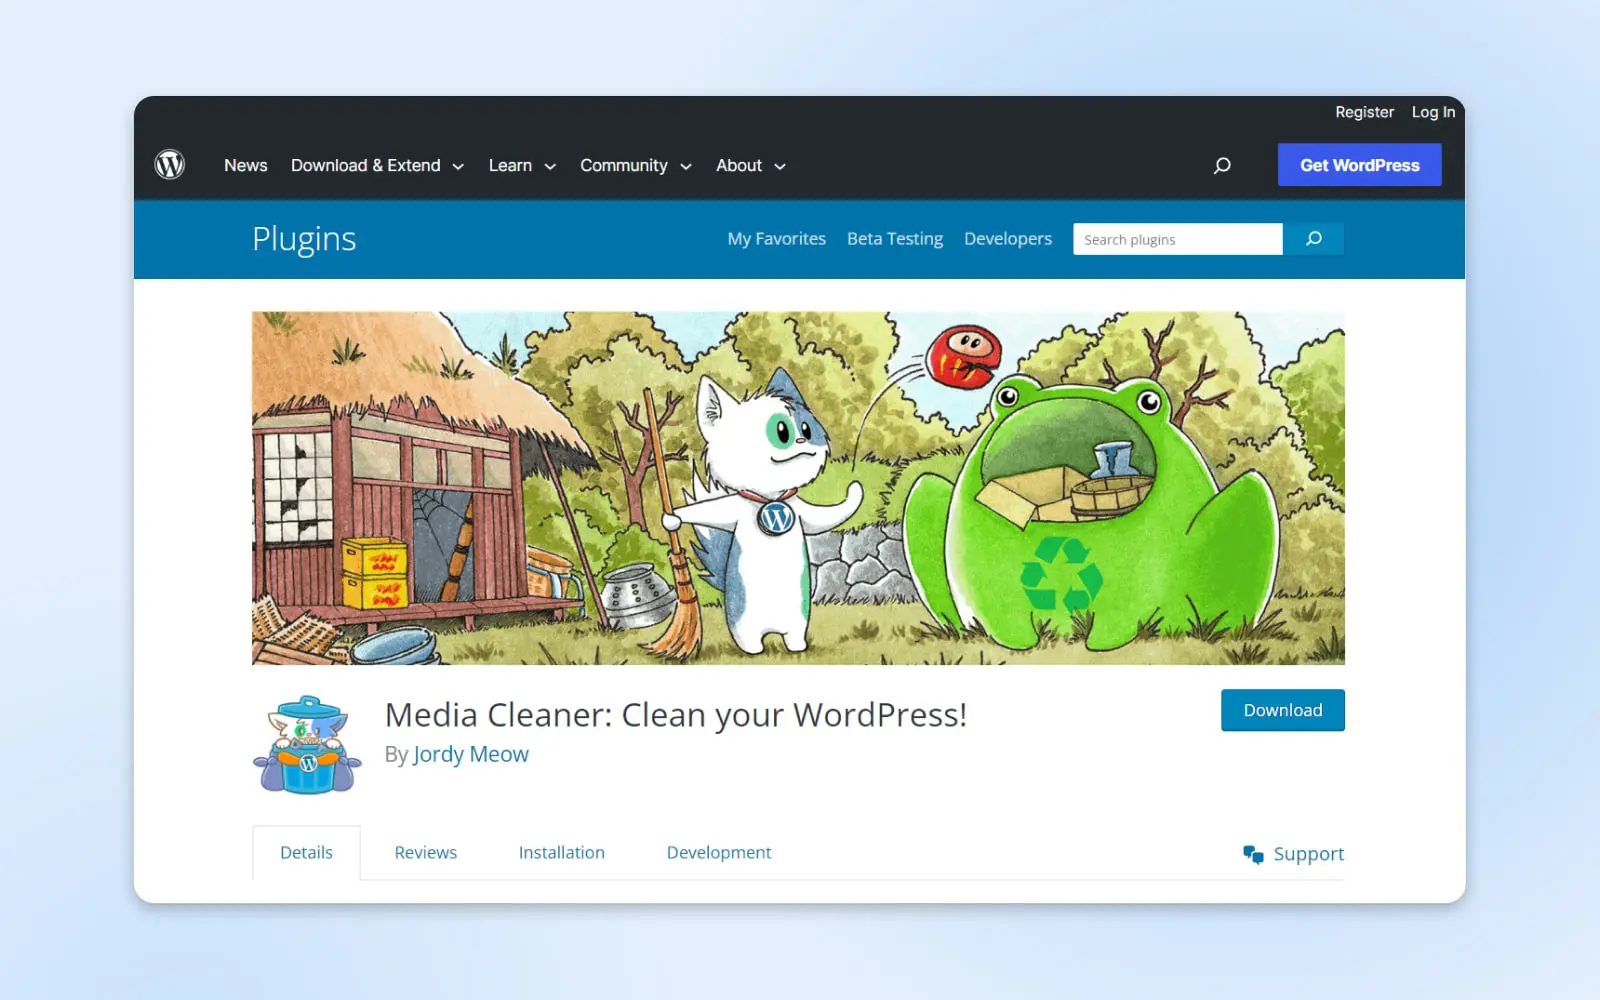
This plugin will automatically find and delete any unused media files in your library. It will search for files that don’t appear on any pages or posts and place them in a trash bin. This enables you to sort through them and save files you want to keep, even if they’re not used on the site.
Another potential resource-waster is post revisions. These enable you to see earlier versions of posts, which can be helpful while you’re creating content. However, since these are essentially copies of your existing posts, they can also take up a considerable amount of unnecessary space.
You should, therefore, make sure to regularly clean up your revision archive. One plugin enabling you to do this is WP-Optimize, which also cleans up your comments table.
Why is wp-admin so slow? Fixing WordPress backend slowness
A slow WordPress dashboard has different causes than slow public pages, and page caching won’t rescue it. Caching plugins like WP Super Cache serve their static copies to visitors who aren’t logged in, so every wp-admin screen is generated fresh, on every click.
What does help the backend is a persistent object cache, which stores the results of repeated database queries so admin screens don’t recompute them on every load. DreamPress includes a Redis object cache for exactly this reason. If your host offers one, enable it; if wp-admin is still slow with it running, ask support to inspect it.
If your public pages load fine but the dashboard hangs or throws errors when you save a post or upload an image, work through these steps:
- Log 504 timeout errors. A 504 error means the server took too long to respond. Note the action that triggered it (saving a post, uploading an image) and the timestamp, then retry. An occasional 504 isn’t alarming, but repeated failures on the same action point to a plugin or a resource limit, and that action-plus-timestamp log is exactly what DreamHost support needs to check the server logs.
- Tame the Heartbeat API. WordPress’s Heartbeat API polls your server with an AJAX request every 15 to 120 seconds through admin-ajax.php. Each open dashboard tab runs its own polling, so close idle tabs to keep those requests from stacking up.
- Clean out your database. Every admin screen runs database queries, so the overhead we covered in problem 3 hits the dashboard hardest. Clear transients, logs, and old post revisions.
- Find the plugin hogging resources. Deactivate plugins one at a time and reload the dashboard after each. A single resource-hungry plugin can drag down every admin page, just like the theme test in problem 10.
- Still slow? Suspect the server. If wp-admin stays sluggish after all of that, you may be running into your plan’s resource limits. Head back to the triage steps earlier in this article and bring your evidence to support.
FAQs about WordPress site speed
Why is my WordPress site slow?
The most common causes are missing caching, oversized images, too many (or bloated) plugins, database overhead, and an overloaded server. Run a free speed test with Google PageSpeed Insights or GTmetrix to pinpoint the cause, then work through the 14 fixes above.
Why is my DreamHost site slow?
Check DreamHostStatus.com first to rule out a service incident affecting your service or region. If everything is operational, the cause is usually site-side: caching conflicts, heavy plugins or themes, unoptimized images, or database overhead. If slowness persists, contact DreamHost support with your speed test results.
How do I run a speed test on my site?
Enter your URL into Google PageSpeed Insights, Pingdom Tools, or GTmetrix. All three are free. Run each test a few times and average the results, since caching and traffic spikes can skew a single run.
Can switching to a better WordPress host make my site faster?
Yes, when the server is the bottleneck. If speed tests still show a slow server response after you’ve added caching, compressed images, and removed bloated plugins, a managed plan with server-side caching, such as DreamPress, fixes what plugins can’t.
Do I need a caching plugin on DreamPress?
No. DreamPress includes built-in server-side caching, so third-party caching plugins are unnecessary and can even conflict with it. DreamHost recommends the Nginx Helper plugin only for managing that built-in cache — for example, purging a page after you edit it.
Get your site up to speed with managed WordPress hosting
Now you know how important it is to keep your website in tip-top shape, whether you run a consulting business or an e-commerce store.
In this guide, we’ve looked at some of the best ways you can improve WordPress performance, but there’s one aspect of site speed optimization we haven’t mentioned yet: choosing a great hosting provider.
How do you know when the hosting plan itself is the bottleneck? Three signals: your speed tests still report a slow server response time (TTFB) after you’ve enabled caching, compressed your images, and trimmed your plugins; your site slows down every time traffic spikes; or wp-admin stays sluggish no matter what you deactivate. Those symptoms point at the server, not the site. In that case, upgrading to DreamHost VPS hosting or to a managed WordPress plan will do more for your load times than another optimization plugin.
DreamPress provides NVMe SSD storage and built-in server-side caching (NGINX FastCGI caching and a Redis object cache). Using managed hosting also makes it much easier to expand and scale your site over time, and it includes additional features such as a built-in web application firewall.
One honest caveat before you upgrade anything: managed hosting costs more each month than basic web hosting, and it won’t fix a slowdown caused by a bloated theme or an overgrown database. Work through the fixes above first, and let your speed tests make the call. If the server really is the bottleneck, compare DreamPress plans to see whether the trade-off makes sense for your site. And if you have questions about what your tests are showing, contact DreamHost support.

You Dream It, We Code It
Tap into 20+ years of coding expertise when you opt for our Web Development service. Just let us know what you want for your site — we take it from there.
Learn More