No, DNS_PROBE_FINISHED_NXDOMAIN isn’t a phrase uttered by extraterrestrial robots after they finish performing a surgical procedure on some poor bovine. It’s actually an error code displayed by your browser when a website you are trying to access fails to load.
But like all good error codes, the statement doesn’t provide any context as to why the site isn’t loading and what could be the possible culprit. At least, not right away.
In this definitive guide to the DNS_PROBE_FINISHED_NXDOMAIN Error, we will walk you through the step-by-step process necessary to troubleshoot this error and fix it for good, either as an internet user or a website administrator. Read on to find out more.
What is the Domain Name System (DNS)?
DNS, short for Domain Name System, is a bit like a telephone directory from the analog era.
What is DNS?
The Domain Name System (DNS) protocol keeps records of which domain names correspond to specific IP addresses. This system enables you to browse the web by typing in regular URLs instead of IP addresses.
Read MoreBut instead of phone numbers, DNS matches domain names (like “dreamhost.com”) to their IP addresses. It’s the reason we don’t have to memorize 12-digit serial numbers for every single website we visit, because it allows us to supplement it with their much cooler domain names!
But sometimes, DNS servers can also act up and lead to error codes like DNS_PROBE_FINISHED_NXDOMAIN. It’s definitely not a pleasant experience for the visitor trying to access your website, so it’s important to know how to troubleshoot the issue should you encounter it.
DNS Servers: How Do They Work?
DNS servers are the computer servers responsible for keeping the DNS systems up to date. They do this by matching a domain name to its IP Address.
Whenever you type in a URL, your web browser sends a query to a DNS server which then pulls out the website via its IP Address. Of course, that’s the simple explanation.
In reality, DNS servers are hierarchy-based. When you type a web address into your browser, your computer sends a request to a DNS resolver, which is typically provided by your internet service provider (ISP). The resolver then queries the DNS root server, which is just the first step in the domain name lookup process.
The DNS resolver then checks its cache to see if it already knows the IP address for that domain name. If it doesn’t, it sends a request to a DNS root server to determine which DNS servers are authoritative for the top-level domain.
The DNS resolver then sends a request to one of the authoritative DNS servers for the top-level domain to get the IP address associated with that domain name.
Once the DNS resolver gets the IP address, it caches it so that it can respond more quickly if it receives another request for that same domain name. It then returns the IP address to your device, which uses the IP address to establish a connection with the web server hosting the website you want to visit.
This entire process usually takes just a few milliseconds! That’s pretty amazing, considering how many requests are being sent and received behind the scenes.
That being said, there are many steps to the process, which leaves plenty of room for error if one of these systems decides to act up. Next, let’s try to understand what leads to an error code and how you can go about resolving it.
The DNS_PROBE_FINISHED_NXDOMAIN Error, Explained

DNS_PROBE_FINISHED_NXDOMAIN is a common error that occurs when your device is unable to resolve the domain you are trying to access. NXDOMAIN stands for “Non-Existent Domain,” meaning the domain name you entered does not exist in the DNS.
Essentially, when you enter a domain name in your web browser, your device sends a DNS query to a DNS resolver to find the IP address associated with that domain name. If the DNS resolver is unable to find the IP address for the domain name you entered in its cache, it sends a request to one of the authoritative DNS servers for the top-level domain to get the IP address.
However, if the authoritative DNS server also fails to get the IP address corresponding to the domain name, it returns a “Non-Existent Domain” (NXDOMAIN) response to the DNS resolver, which then passes on the same error message to your browser.
How can you tell if you’ve encountered a DNS_PROBE_FINISHED_NXDOMAIN error when accessing a website? Based on your preferred web browser, it may display as one of the following error messages:
- Google Chrome: This site can’t be reached.
- Mozilla Firefox: Hmm. We’re having trouble finding that site.
- Microsoft Edge: Hmm… can’t reach this page.
- Apple Safari: Safari Can’t Find the Server.
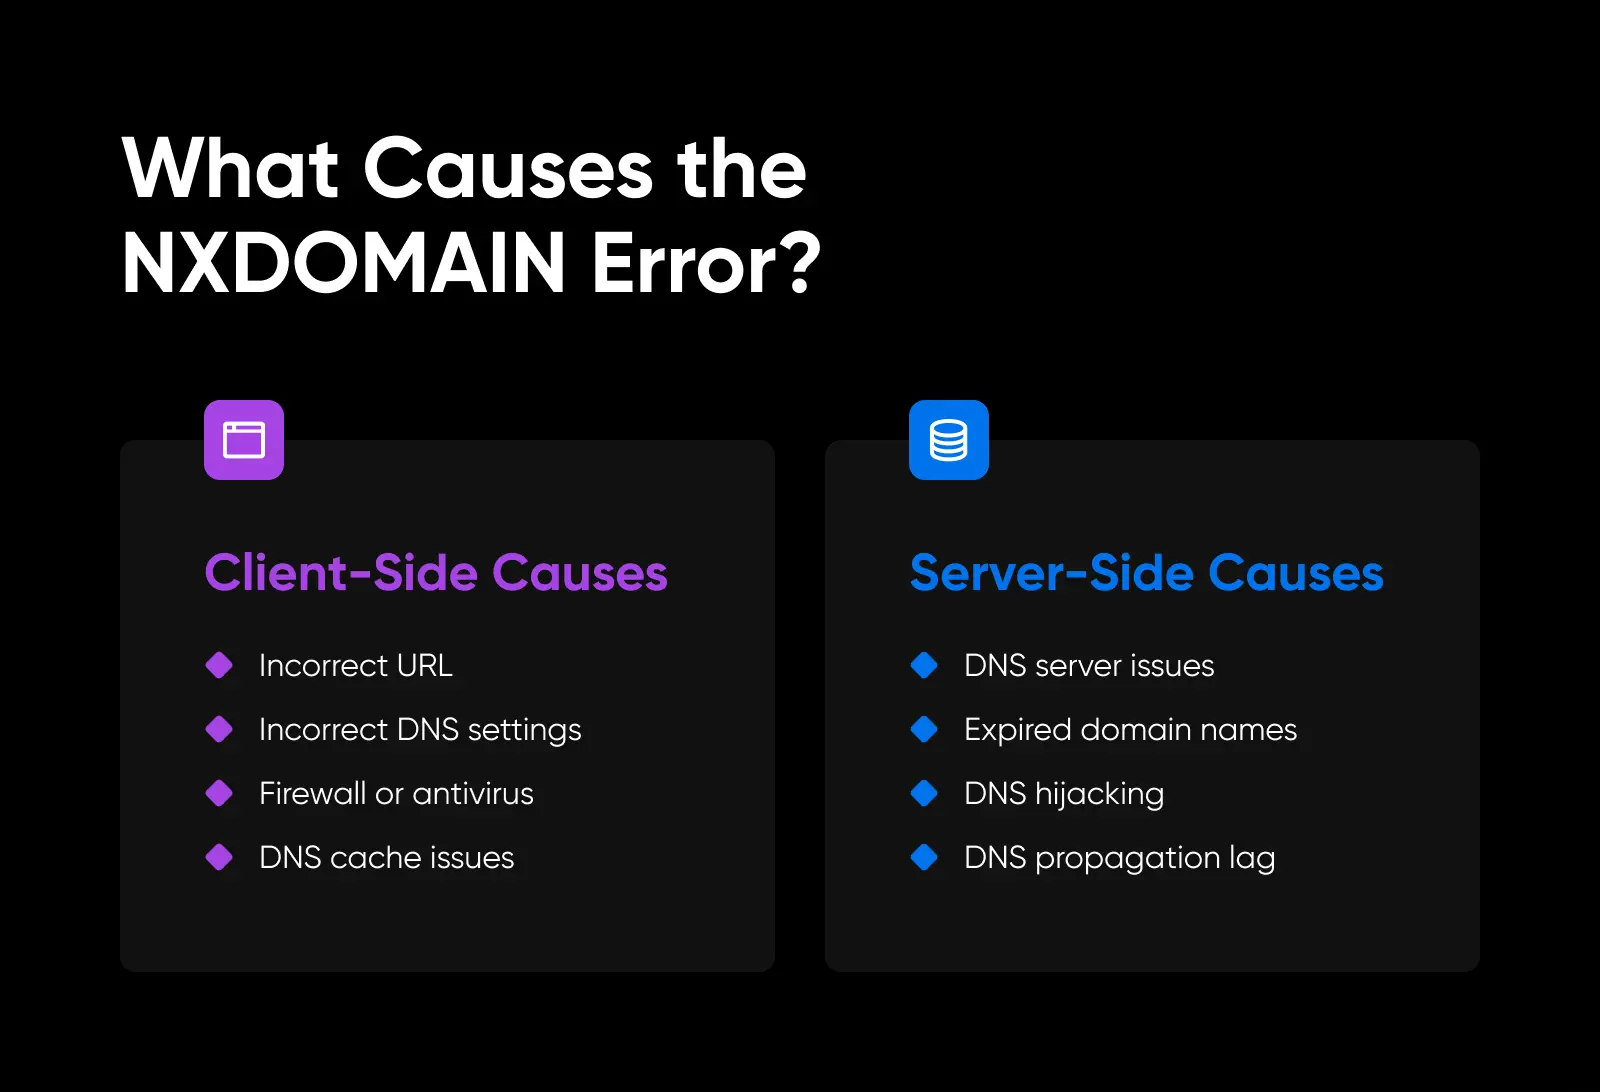
What Causes the DNS_PROBE_FINISHED_NXDOMAIN Error?
DNS_PROBE_FINISHED_NXDOMAIN is an error that can occur from both client-side (due to the visitor’s browser) and server-side (because of the website’s backend) reasons. There are a lot of possible circumstances that could result in the error, such as:
Client-Side Causes
- Incorrect URL: If you have entered an incorrect URL or misspelled the domain name, it can result in the DNS_PROBE_FINISHED_NXDOMAIN Error.
- Incorrect DNS Settings: DNS_PROBE_FINISHED_NXDOMAIN errors also happen if the DNS configuration on your device is incorrect or has been changed. This can occur if you have recently changed your internet service provider or made changes to your network settings.
- Firewall or Antivirus Settings: Sometimes, VPNs, firewalls, or antiviruses can block access to some websites, resulting in the DNS_PROBE_FINISHED_NXDOMAIN Error.
- DNS Cache Issues: Your device’s DNS cache stores information about recently accessed websites — This can lead to a DNS_PROBE_FINISHED_NXDOMAIN error if the cache becomes corrupted or outdated.
Server-Side Causes
- DNS Server Issues: Sometimes, DNS servers can experience issues or go down. This can happen for several reasons, such as server overload or maintenance. When this happens, this error can occur.
- Expired Domain Names: If the domain name of the website you are trying to access has expired, it can result in the DNS_PROBE_FINISHED_NXDOMAIN Error. This can happen if the website owner forgets to renew their domain name registration.
- DNS Hijacking: DNS hijacking is a technique hackers use to redirect users away from legitimate websites. If your device has been affected by DNS hijacking, it can result in the DNS_PROBE_FINISHED_NXDOMAIN Error.
- DNS Propagation Lag: When a website’s DNS records are changed, it can take some time for these changes to propagate throughout the internet. During this propagation period, some users may experience the DNS error, as their device is still trying to access the old DNS records.
Troubleshooting the DNS_PROBE_FINISHED_NXDOMAIN Error: For Desktop
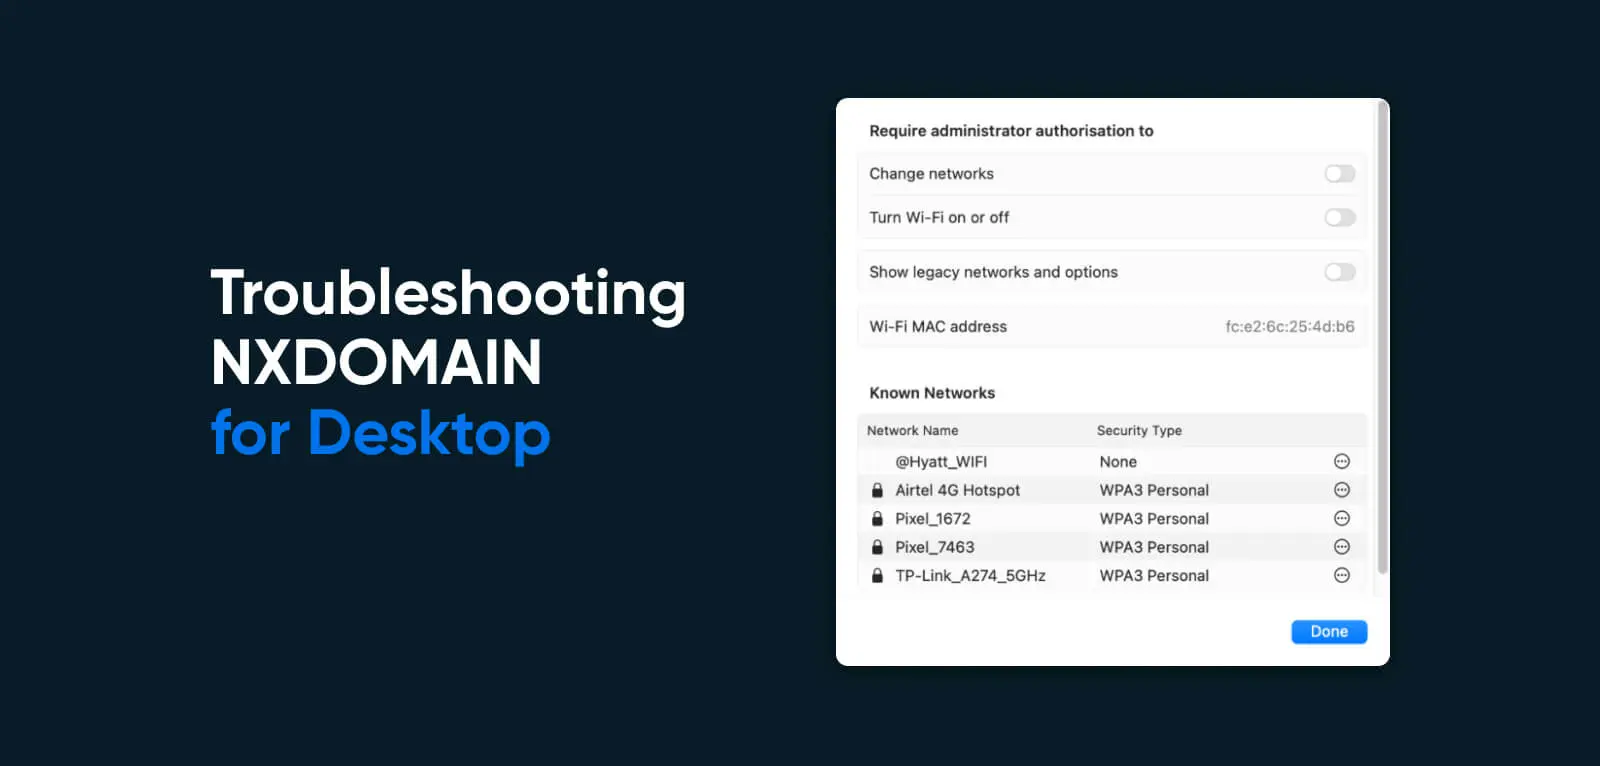
If you keep encountering a DNS_PROBE_FINISHED_NXDOMAIN error when trying to visit a specific website, there are a few things you can do to resolve any client-side issues that may be causing the problem.
These will vary depending on the type of device and operating system you are using, but here are some ways to troubleshoot the DNS error on a desktop device (Windows or Mac). Try these only after you’ve performed basic troubleshooting steps, like rebooting your internet connection and disabling your antivirus software.
Flush Your DNS Cache
The DNS cache is a temporary database stored on your device that contains information about previously accessed domain names and their corresponding IP addresses.
Cache
A “cache” (pronounced “cash”) is hardware or software that stores data. Many devices, web browsers, web servers, and applications use caching. In theory, cache memory allows for data to be fetched more rapidly. A corrupted or overfull cache can cause performance issues.
Read MoreWhen you access a website, your device first checks its DNS cache to see if it already has the IP address for that website. If it does, then your device doesn’t need to query a DNS server to find the IP address, which can speed up the website loading process.
However, if the DNS cache becomes corrupted or contains outdated information, it can lead to issues like the DNS_PROBE_FINISHED_NXDOMAIN Error. In such cases, flushing the cache can often resolve the issue. Here’s how to flush the DNS cache in Windows, macOS, and Google Chrome:
Windows: To flush the DNS cache in Windows, follow these steps:
- Open the Command Prompt by pressing the Windows key + R, typing “cmd” in the Run dialog box, and pressing Enter.
- In the Command Prompt, type “ipconfig /flushdns” and press Enter.
- You should see a message saying, “Successfully flushed the DNS Resolver Cache.”
macOS: To flush the DNS cache in macOS, follow these steps:
- Open the Terminal app by going to Applications > Utilities > Terminal.
- Type “sudo killall -HUP mDNSResponder” in the Terminal and press Enter.
- You will be prompted to enter your administrator password. After entering it, press Enter.
- You should see a message saying “mDNSResponder restarted.”
Google Chrome: To flush the DNS cache in Google Chrome (Chrome has its own DNS cache that’s separate from Windows or macOS), follow these steps:
- Open a new tab in Google Chrome.
- Type “chrome://net-internals/#dns” in the address bar and press Enter.
- Click the “Clear host cache” button.
- You should see a message saying, “Host cache has been flushed.”
Release and Renew IP Address
When you release your IP address, you are essentially telling your device to forget its current network configuration. When you renew your IP address, your device will request a new IP address from the DHCP server, which can often resolve issues with your network connections. Here’s how to release and renew your IP address on Windows and macOS:
Windows: To release and renew your IP address on Windows, follow these steps:
- Open the Command Prompt by pressing the Windows key + R, typing “cmd” in the Run dialog box, and pressing Enter.
- Type “ipconfig /release” in the Command Prompt and press Enter.
- You should see a message saying, “Successfully released the IP address.”
- Next, type “ipconfig /renew” and press Enter.
- You should see a message saying, “Successfully renewed the IP address.”
macOS: To release and renew your IP address on macOS, follow these steps:
- Click on the Apple menu and select System Preferences.
- Click on the Network icon.
- Select the network interface you are currently using (e.g., Wi-Fi, Ethernet) from the list on the left.
- Click on the Advanced button in the bottom-right corner.
- Click on the TCP/IP tab.
- Click on the “Renew DHCP Lease” button.
Change your DNS Servers
If the default DNS servers provided by your internet service provider (ISP) are not working correctly, changing them to a third-party DNS provider may help. Here’s how to change DNS servers on Windows and macOS:
Windows: To change the DNS servers on Windows, follow these steps:
- Open the Control Panel and click on “Network and Sharing Center.”
- Click on the connection you are currently using (e.g., Wi-Fi, Ethernet).
- Click on the “Properties” button.
- Select “Internet Protocol Version 4 (TCP/IPv4)” and click on the “Properties” button.
- Select the “Use the following DNS server addresses” option.
- Enter the IP addresses of the preferred DNS servers you want to use (e.g., 8.8.8.8 for Google DNS).
- Click on the “OK” button.
macOS: To change the DNS servers on macOS, follow these steps:
- Click on the Apple menu and select System Preferences.
- Click on the Network icon.
- Select the network interface you are currently using (e.g., Wi-Fi, Ethernet) from the list on the left.
- Click on the Advanced button in the bottom-right corner.
- Click on the DNS tab.
- Click on the “+” button to add a new DNS server.
- Enter the IP address of the alternate DNS server you want to use (e.g., 8.8.8.8 for Google’s public DNS server).
- Click on the “OK” button.
Restart your DNS Client Service
The DNS client service is responsible for resolving domain names into IP addresses. If the service is not working correctly, it can lead to issues with internet connectivity. Here’s how to restart the DNS client service on Windows:
- Open the Run dialog box by pressing the Windows key + R.
- Type “services.msc” in the Run dialog box and press Enter.
- In the Services window, scroll down and locate the “DNS Client” service.
- Right-click on the “DNS Client” service and select “Restart” from the context menu.
- After a few moments, a message should appear saying that the service has been restarted.
In addition to resolving DNS-related issues, restarting the DNS Client service can also help improve internet speeds and reduce latency.
Check your Local Hosts File
The local host file is a text file stored on your computer that maps domain names to IP addresses. When you type a domain name into your web browser, your computer checks the local host file first, to see if it has a mapping for that domain. If the mapping exists, your computer uses that IP address to connect to the website. If it doesn’t, your device queries a DNS server to get the IP address.
The NXDOMAIN error occurs when the DNS server cannot find a mapping for the domain name you entered. Editing the local hosts file can fix this issue.
Windows: To edit the local hosts file on Windows, here’s what you need to do:
- Open File Explorer and navigate to the following directory: C:WindowsSystem32driversetc
- Right-click the “hosts” file and select “Open with,” and then choose “Notepad.”
- Scroll down to the bottom of the file and find the line that contains the incorrect entry causing the NXDOMAIN error.
- Edit or delete the line as necessary to fix the error.
- Save the changes to the file and close Notepad.
- Open the Command Prompt by clicking on Run as Administrator and enter the following command: ipconfig /flushdns
- Restart your computer to ensure the changes take effect.
macOS: To edit the local hosts file on macOS, here’s what you need to do:
- Open the Terminal app from the Applications > Utilities folder.
- Type the following command and press Enter: sudo nano /etc/hosts
- Enter your user password when prompted.
- Use the arrow keys to navigate to the line that contains the incorrect entry causing the NXDOMAIN error.
- Edit or delete the line as necessary to fix the error.
- Press Command+O to save the changes to the file, and then press Command+X to exit nano.
- Run the following command to clear the DNS cache: sudo killall -HUP mDNSResponder
- Restart your computer to ensure the changes take effect.
Reset your Chrome Flags
Chrome flags are experimental features that allow users to enable and disable various settings in the Chrome browser. These flags are not recommended for general users as they may impact the stability and security of the browser. However, some users may enable certain flags to test new features or resolve issues.
One flag that may cause the NXDOMAIN error is the “Async DNS resolver” flag. This flag is designed to speed up DNS resolution by performing lookups in parallel with other browser activities. However, it may conflict with certain DNS servers or network configurations, resulting in the NXDOMAIN Error.
To reset Chrome flags and resolve an NXDOMAIN error, follow these steps:
- Open the Chrome browser and type “chrome://flags” in the address bar.
- Scroll down to the “Reset all to default” button at the bottom of the page and click it.
- Confirm that you want to reset all flags to their default settings.
- Restart the Chrome browser to ensure the changes take effect.
After resetting the Chrome flags, the “Async DNS resolver” flag will be disabled, and the browser should no longer encounter the NXDOMAIN error. If you want to re-enable specific flags, you can do so one at a time and test each individually to ensure they do not cause any issues.
Troubleshooting the DNS_PROBE_FINISHED_NXDOMAIN Error: For Mobile
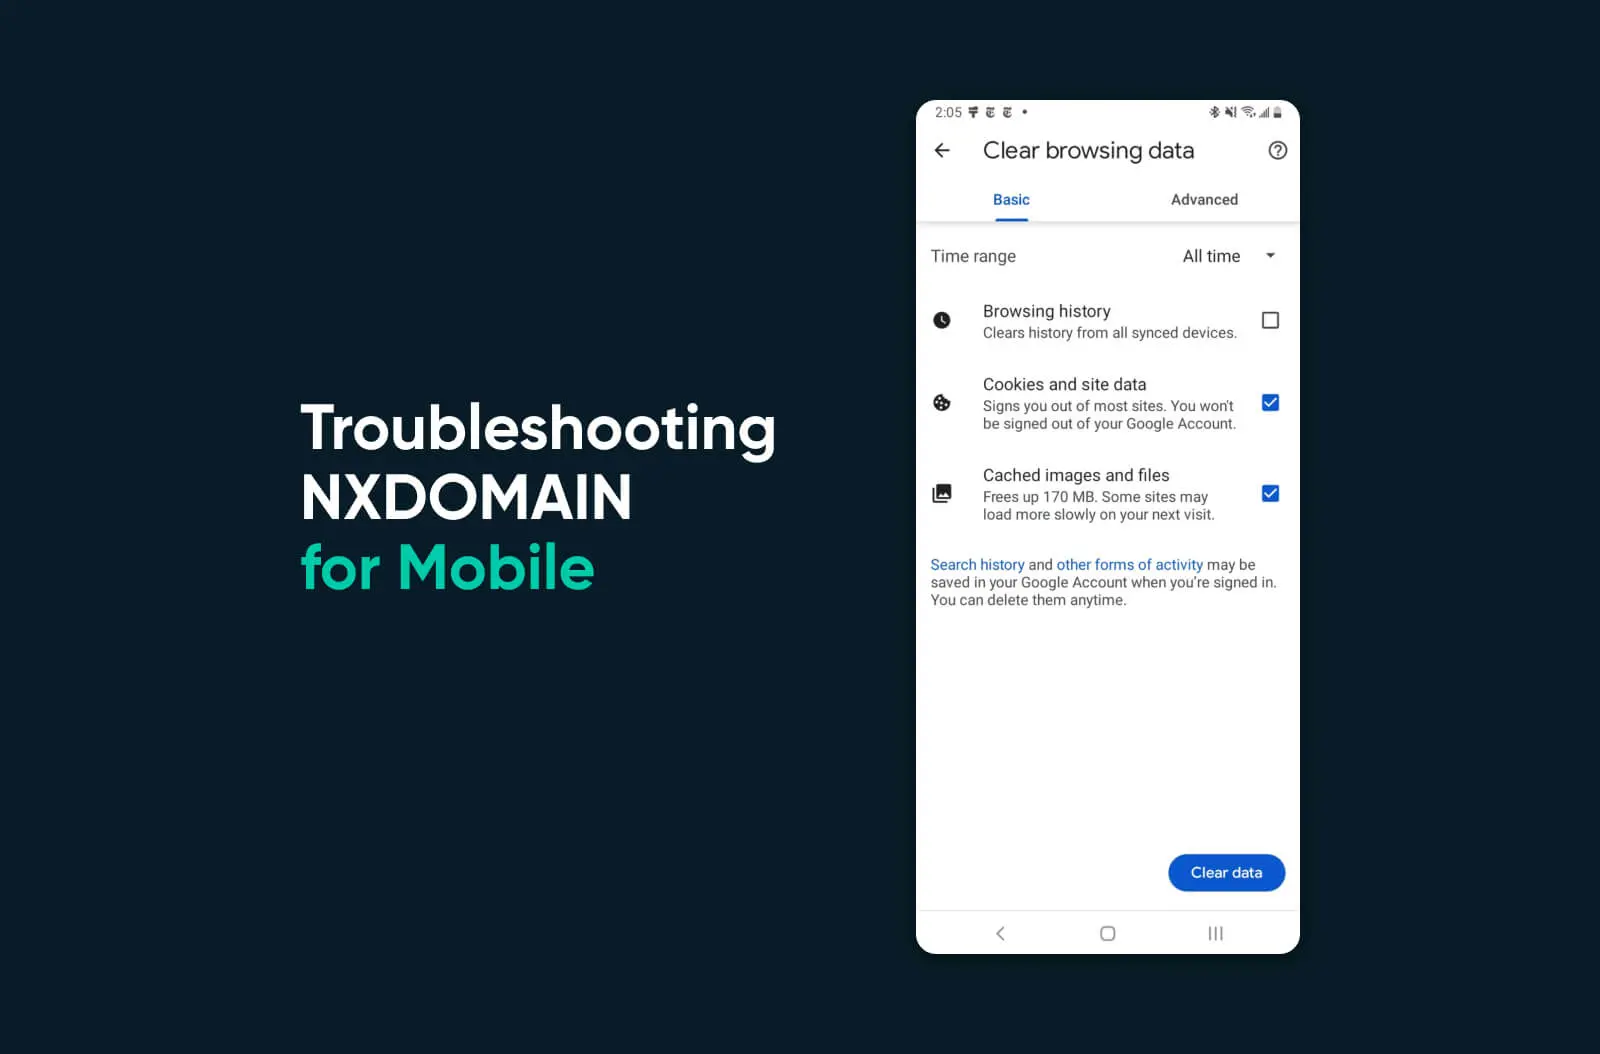
The reasons leading to an NXDOMAIN error on smartphones differ from those on desktop devices. If you’re an Android or iOS user who keeps running into this DNS issue, here are some tutorials to help resolve the issue:
Android
- Make sure that your device is connected to a stable Wi-Fi or mobile data network. If your connection is unstable, it may cause the NXDOMAIN error. To check your connection, go to Settings > Wi-Fi, or Settings > Network & Internet, and ensure that your device is connected to an active network.
- Clearing the browser cache can help resolve the NXDOMAIN error. To clear the cache, go to Settings > Apps & notifications > See all apps > Chrome (or the browser you’re using) > Storage & cache > Clear cache.
- Changing the DNS settings can also help resolve the error. To do this, go to Settings > Wi-Fi (or Network & Internet) > Wi-Fi preferences > Advanced > Private DNS. If you have a custom DNS server, select “Private DNS provider hostname” and enter the hostname. If you don’t have a custom DNS server, select “Automatic” to use your mobile carrier’s DNS server.
- VPN or proxy settings may cause the NXDOMAIN error, especially if they are misconfigured. To disable VPN or proxy settings, go to Settings > Network & Internet > VPN (or Proxy) and turn off any enabled settings.
- If the NXDOMAIN error persists on your current browser, try using a different browser to access the website. This will help rule out any browser-specific issues. Some popular browsers for Android include Chrome, Firefox, Ecosia, and Opera.
- Resetting the network settings can help resolve any network-related issues that may be causing the NXDOMAIN error. To do this, go to Settings > System > Reset options > Reset Wi-Fi, mobile & Bluetooth.
iOS
- To check your connection on your iPhone, go to Settings > Wi-Fi, or Settings > Cellular, and ensure that your device is connected to an active network.
- To clear browsing data on Safari, the default web browser for iOS, go to Settings > Safari > Clear History and Website Data.
- Restarting your device can also help resolve any network or DNS issues. To restart, press and hold the power button until the “slide to power off” option appears. Slide the button to power off your device, then press and hold the power button again to turn it back on.
- To disable VPN or proxy settings on iOS, go to Settings > General > VPN (or Profiles) and turn off any enabled settings.
- If the NXDOMAIN error persists on your current iOS browser, try using a different browser to access the website. This will help rule out any browser-specific issues. Some popular browsers for iOS include Safari, Chrome, and Firefox.
- To reset the network settings on your iPhone and resolve an NXDOMAIN error, go to Settings > General > Reset > Reset Network Settings.
Troubleshooting the DNS_PROBE_FINISHED_NXDOMAIN Error: As a Site Administrator
When client-side solutions fail, visitors will inevitably reach out to you — the website owner — for help with the NXDOMAIN Error. Here’s what you can do as an administrator to help diagnose and fix the issue:
- The first step in troubleshooting the NXDOMAIN error is to check your DNS configuration. Ensure that your DNS records are correctly configured, and your domain name is registered with a valid DNS provider. You can use tools like DNS Checker or MX Toolbox to check your DNS configuration.
- If your DNS server is experiencing issues or not running, this can cause an NXDOMAIN error. To verify that your DNS server is running, check your server logs or use a tool like DNSstuff to perform a DNS lookup.
- If your domain name is not registered correctly, it can cause the NXDOMAIN error. Check with your domain registrar to ensure your domain name is registered and that your DNS records are correctly configured.
If your DNS records are incorrect or outdated, it can cause the NXDOMAIN error. Update your DNS records to ensure that they are correct and up-to-date. You can use tools like DNSimple or Cloudflare to manage your DNS records.
DNS_PROBE_FINISHED_NXDOMAIN Error: Wrapping Up
DNS servers can be complicated. If nothing else works out for you, site admins always have the option to speak to their domain registrar or hosting provider for help diagnosing the issue. If you don’t have access to a support team, consider bringing in a freelance developer to fix it for you.
However, working through the above solutions should fix your NXDOMAIN error about 95% of the time. We hope this helps!

Private Domain Registration For All
Don’t let someone else register your domain first. Search DreamHost’s 400+ TLDs to find the perfect fit for your website.
Master Your Domain