There are three simple ways to add Lottie animations to your WordPress site: paste an animation’s oEmbed URL into an Embed block, use the free LottieFiles plugin for Gutenberg, or embed one manually with HTML and JavaScript. The first two take just a few minutes and require no code at all.
Lottie animations work well for loading indicators, interface feedback, and small illustrations. They’re usually far lighter than GIFs, but too many looping animations can distract visitors and increase rendering work. LottieFiles provides a free library of animations you can add to your website in minutes.
In this post, we’ll explain what a Lottie animation is and when it’s worth using. Then, we’ll walk through all three methods step by step, plus where to host your Lottie files and how to create your own animations. Let’s get started!
What is a Lottie animation?
A Lottie animation is a lightweight, JSON-based vector animation format. Instead of storing video frames, a Lottie file describes shapes and motion as data, so it stays crisp at any size and is far smaller than a comparable GIF or video. A small JavaScript player renders the animation directly in the browser.
Lottie files come in two formats. A Lottie JSON file (.json) is the original, plain-text version. A dotLottie file (.lottie) is a newer, compressed container that bundles one or more animations and their assets into a single, smaller file, per LottieFiles’ dotLottie player documentation. The LottieFiles WordPress plugin and LottieFiles’ current web player both accept either format, so the methods below work with whichever file you download.
The benefits of adding Lottie animations to your site
While videos and images can make your website more engaging, they’re seen all over the internet. A well-placed animation, like a loading state or an animated icon, is rarer and does the same job with less weight.
Lottie animations are an excellent choice, largely due to their small file sizes:
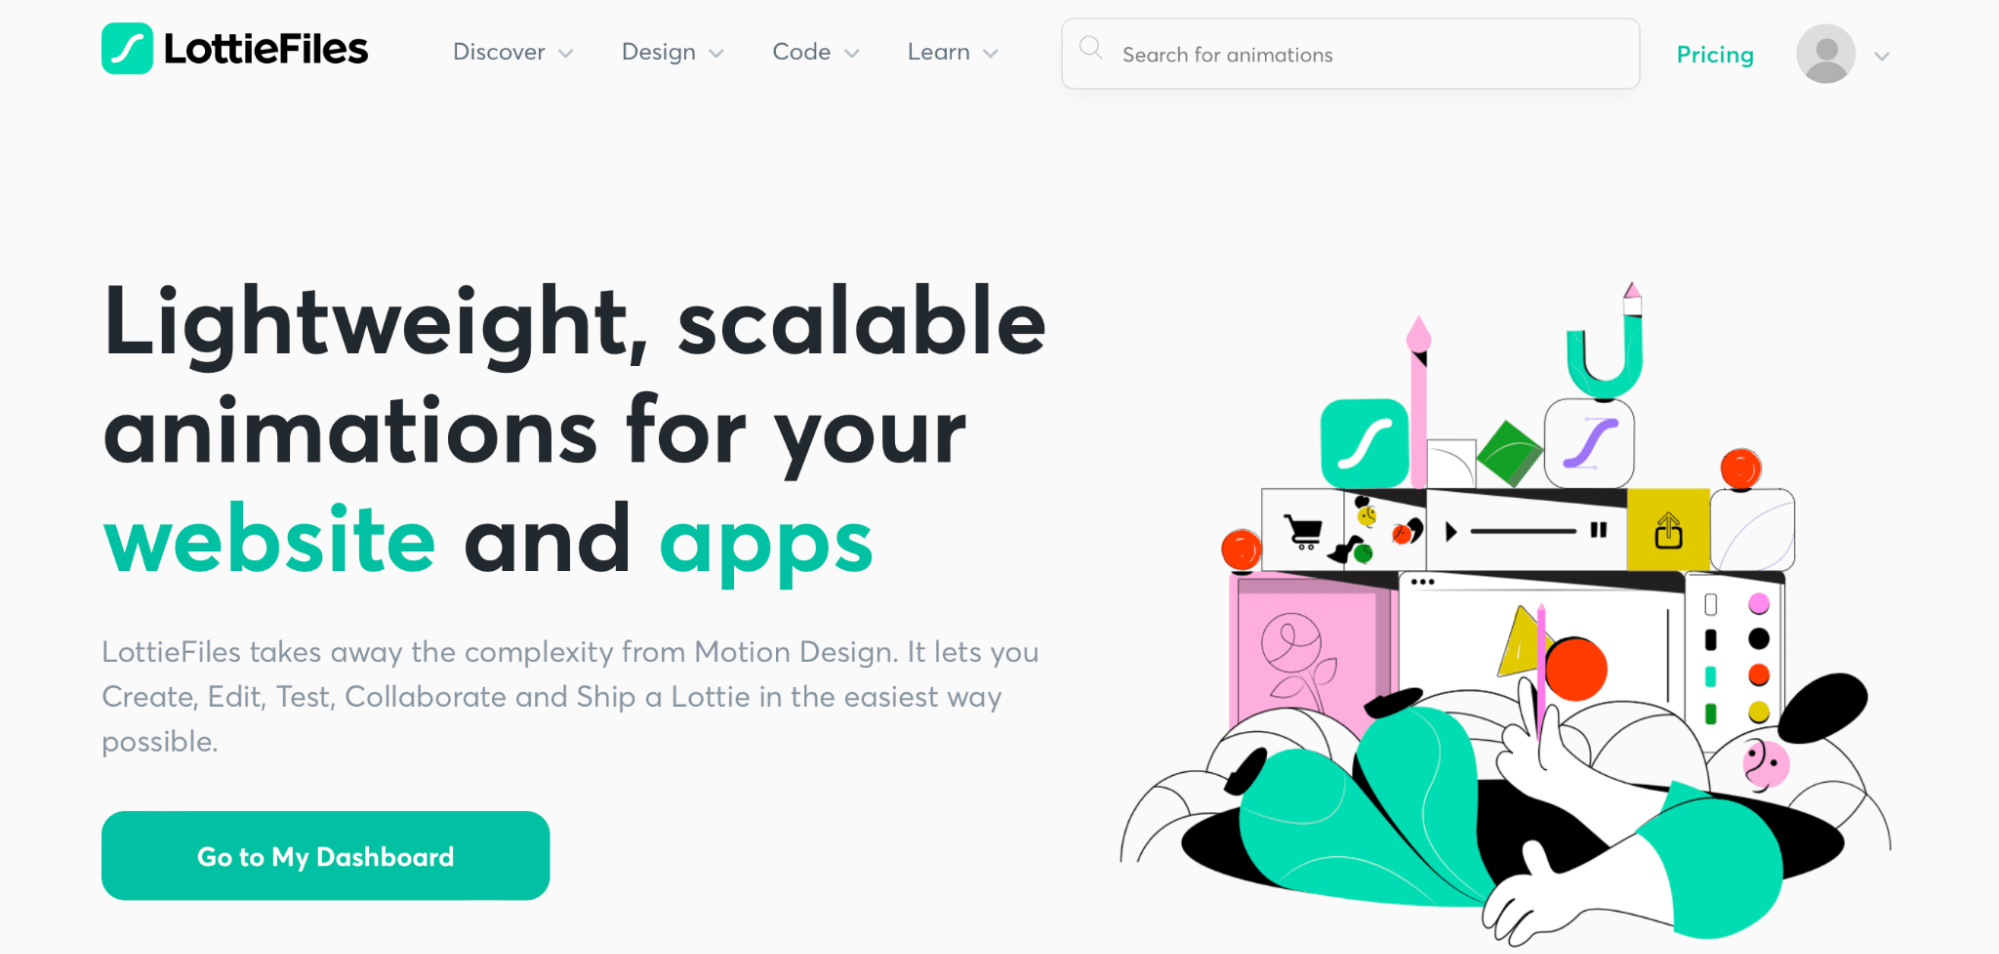
Per LottieFiles, a Lottie animation is 600% smaller than a GIF (roughly one-sixth the size), so you can add one to your site without weighing anything down. Just remember that the player still uses CPU and memory to render each animation, so keep the number of looping animations per page modest.
Better yet, Lottie animations can be completely customized to suit your brand identity. It’s an affordable solution, too: LottieFiles offers over 50,000 free animations (including UI elements, characters, and illustrations) per its WordPress plugin listing.
How to add Lottie animations to your site (3 ways)
Now that you know the benefits of using Lottie animations, let’s look at three ways to add them to your site.
Method 1: Add your animation with oEmbed
Adding your Lottie animations through oEmbed is the simplest method in this guide. The only downside is that you won’t be able to edit the animation settings or set them up to react to user interactions.
To get started with this method, browse the LottieFiles animations library to find the perfect animation for your site. Once you find a design that you like, click on the animation and copy the oEmbed URL (you’ll need to be logged into a free account to do this). Note that LottieFiles updates its interface regularly, so the screenshots in this guide may differ slightly from what you see today:
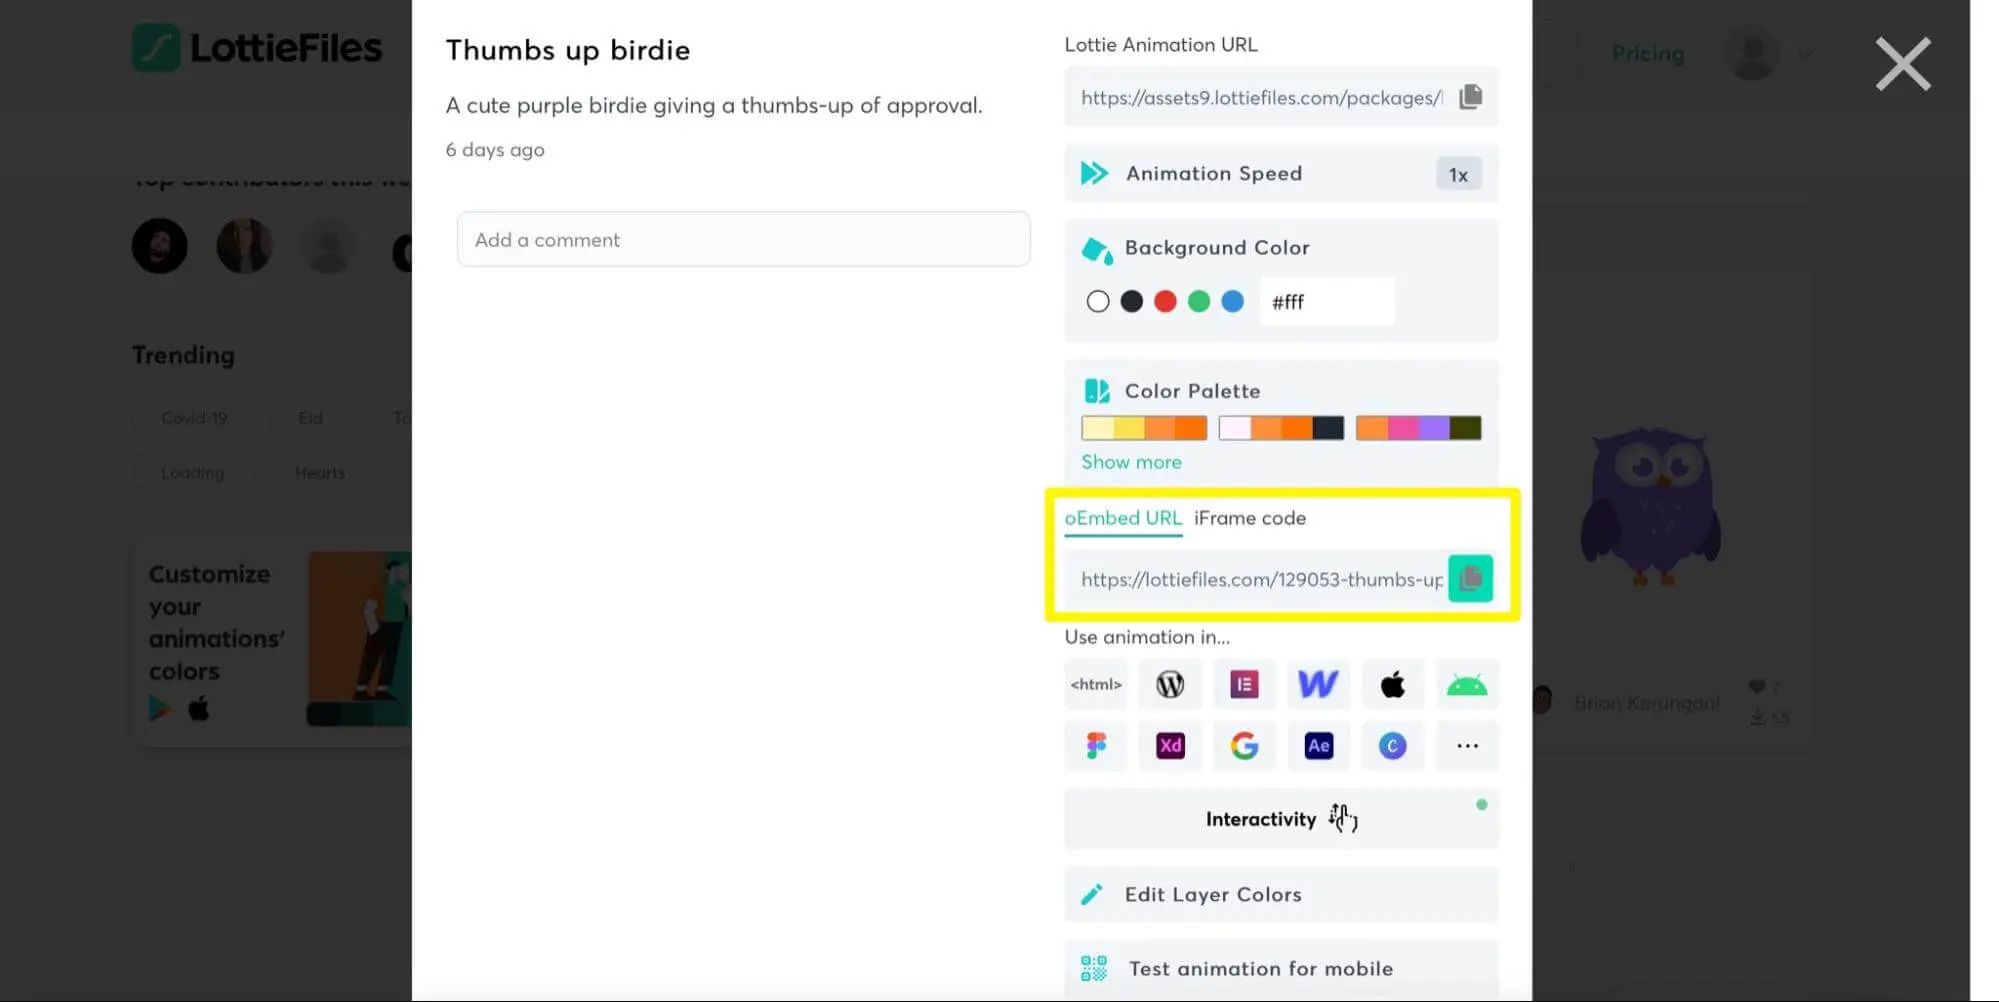
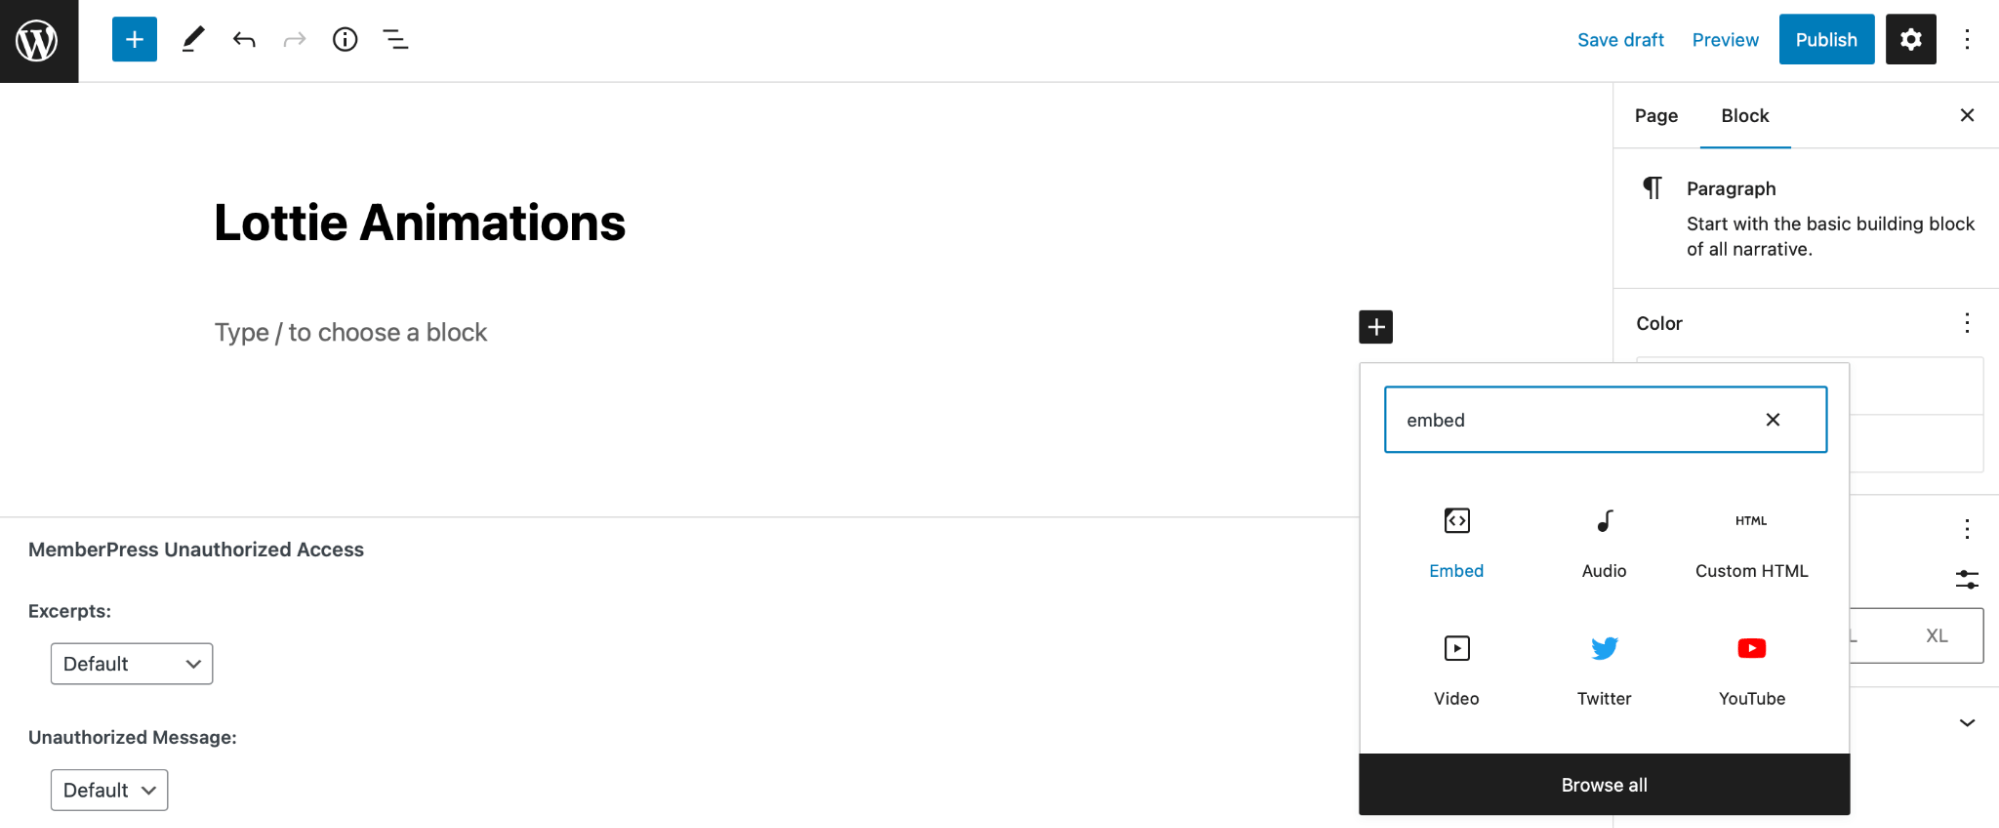
Then, head to WordPress and open the page or post where you want to include your animation. Next, simply add a new Embed Gutenberg block:
Now, paste the oEmbed URL that you copied from the Lottie website:
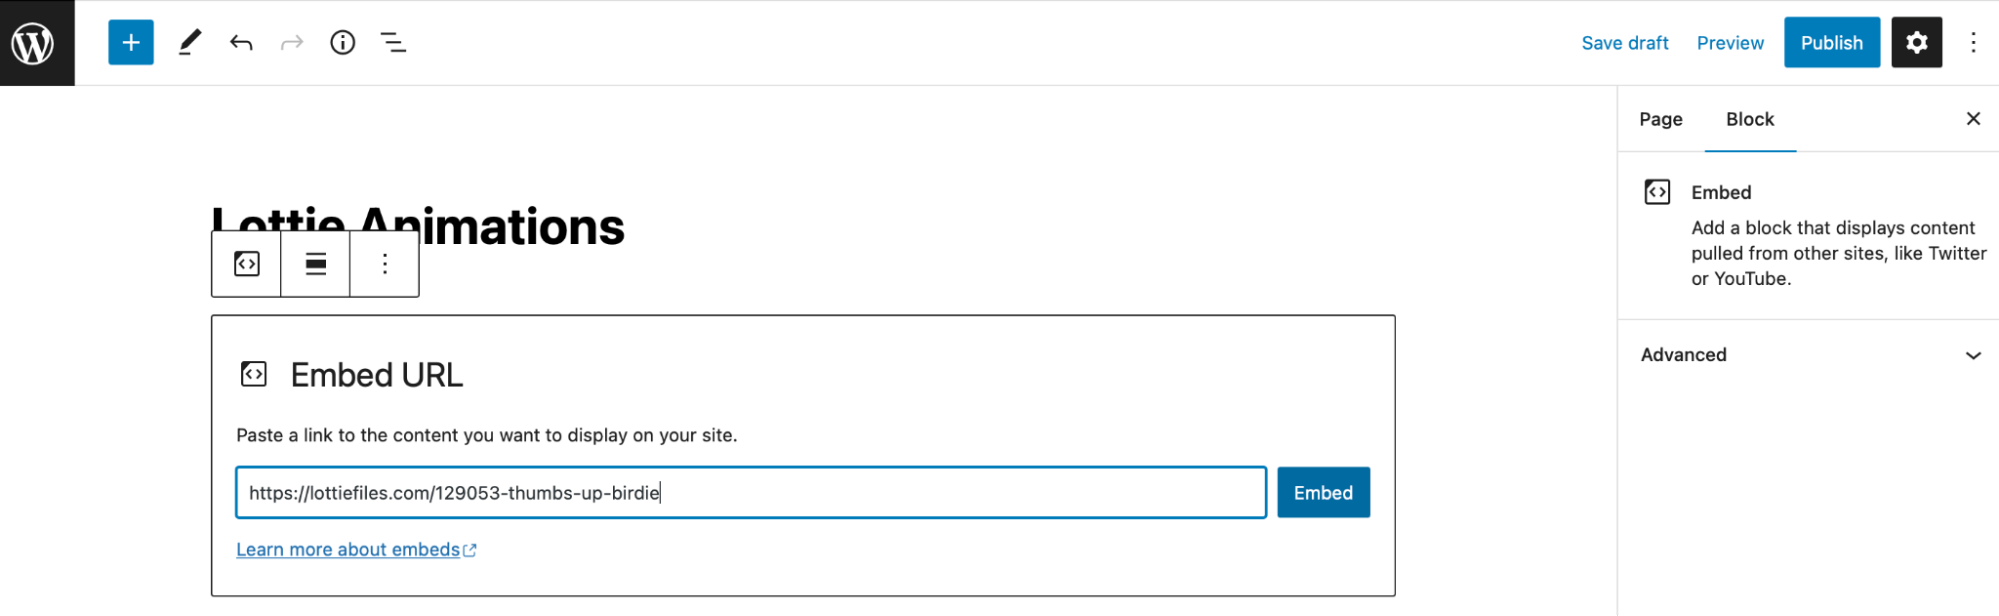
Hit the Embed button to confirm the action.
At this point, you should see the animation appear on your page:
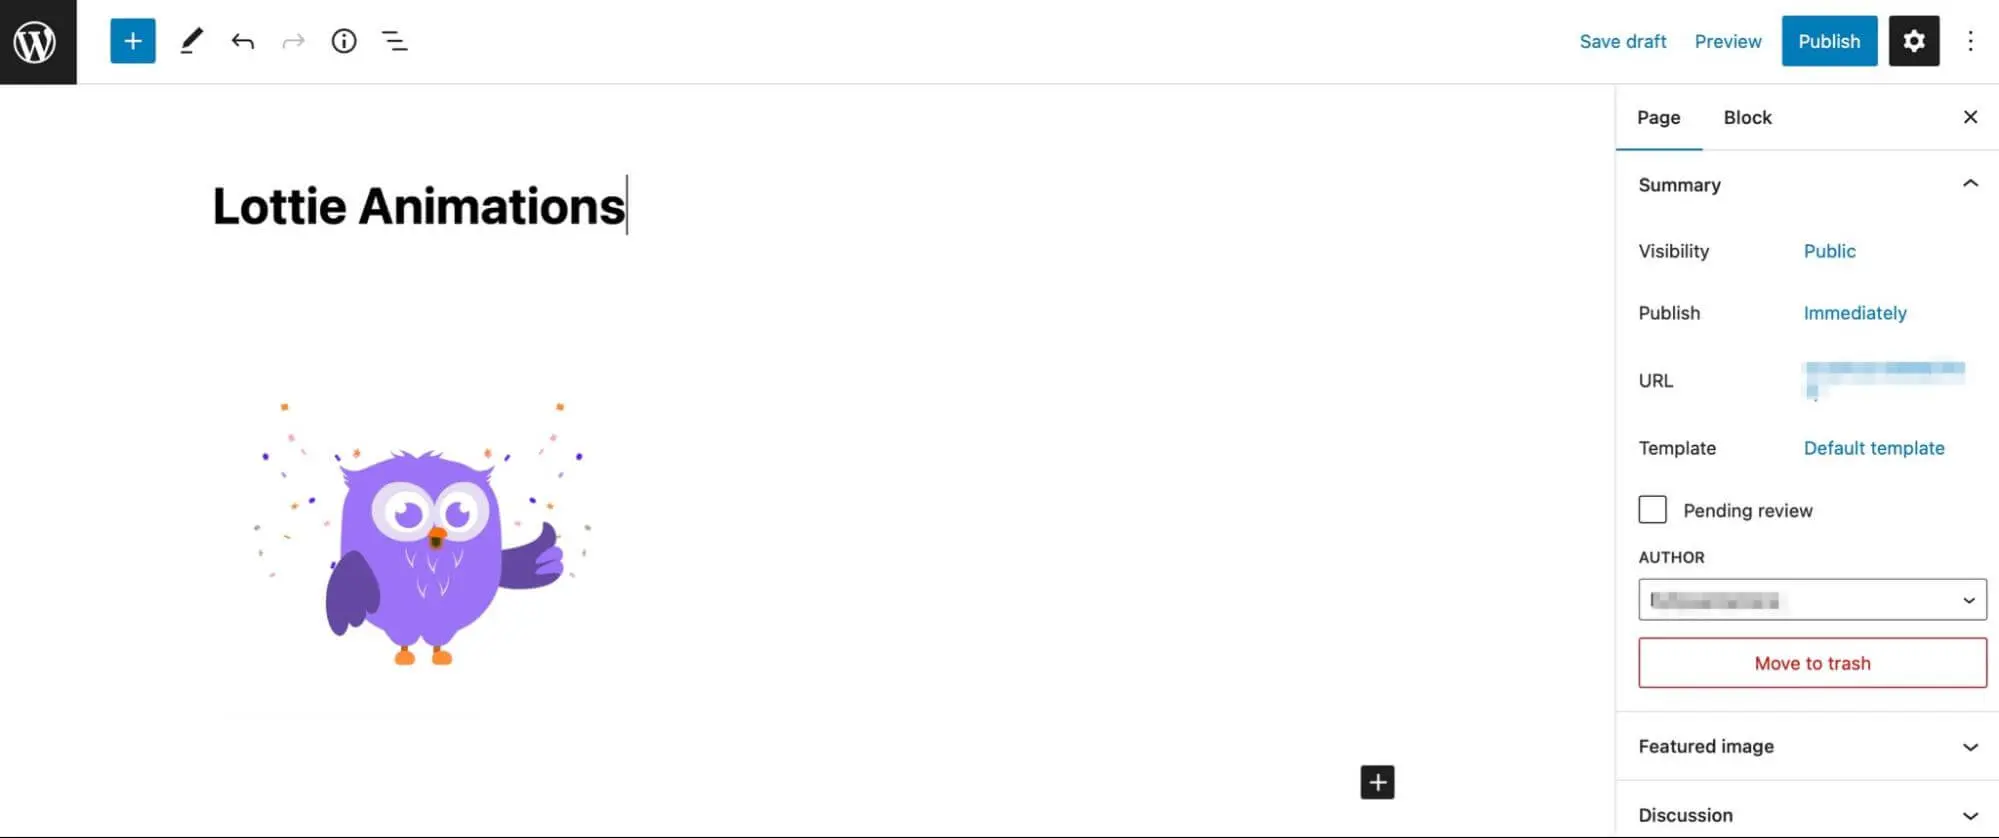
As we mentioned earlier, you won’t be able to customize the animation once you’ve added it to your WordPress page or post. Therefore, it’s crucial you make all the edits you want beforehand while you’re still on the Lottie website.
Method 2: Add your animation using the LottieFiles plugin
While the oEmbed method is the simplest, using the LottieFiles plugin (formerly named “Lottie block for Gutenberg”) is also very easy. Plus, it allows you to immediately preview any changes you make to your designs.
First off, go to Plugins > Add New to install and activate the LottieFiles plugin in WordPress:
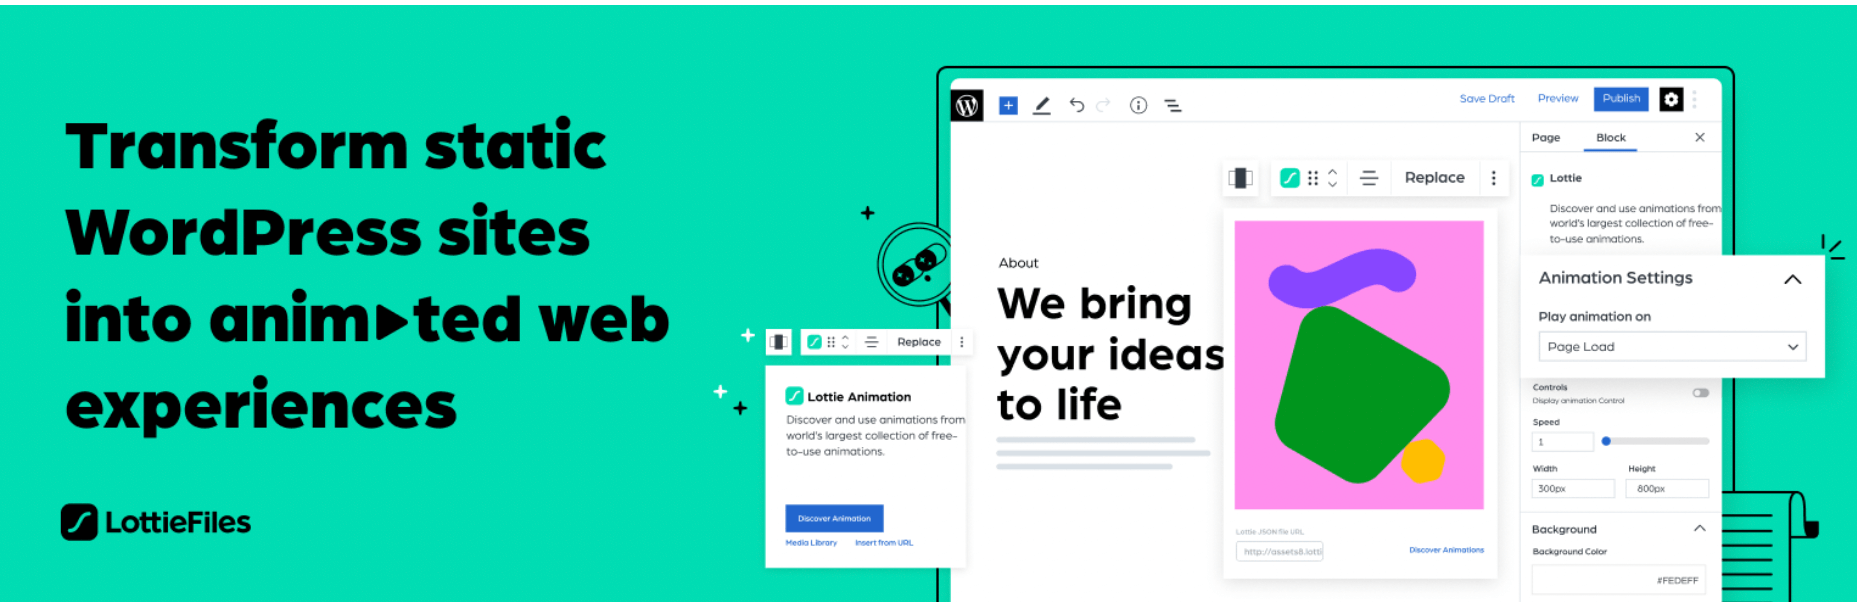
You can then log into your LottieFiles account or create an account for free.
Next, add a new block in the Gutenberg editor. Search for the Lottie block and add it to your page:
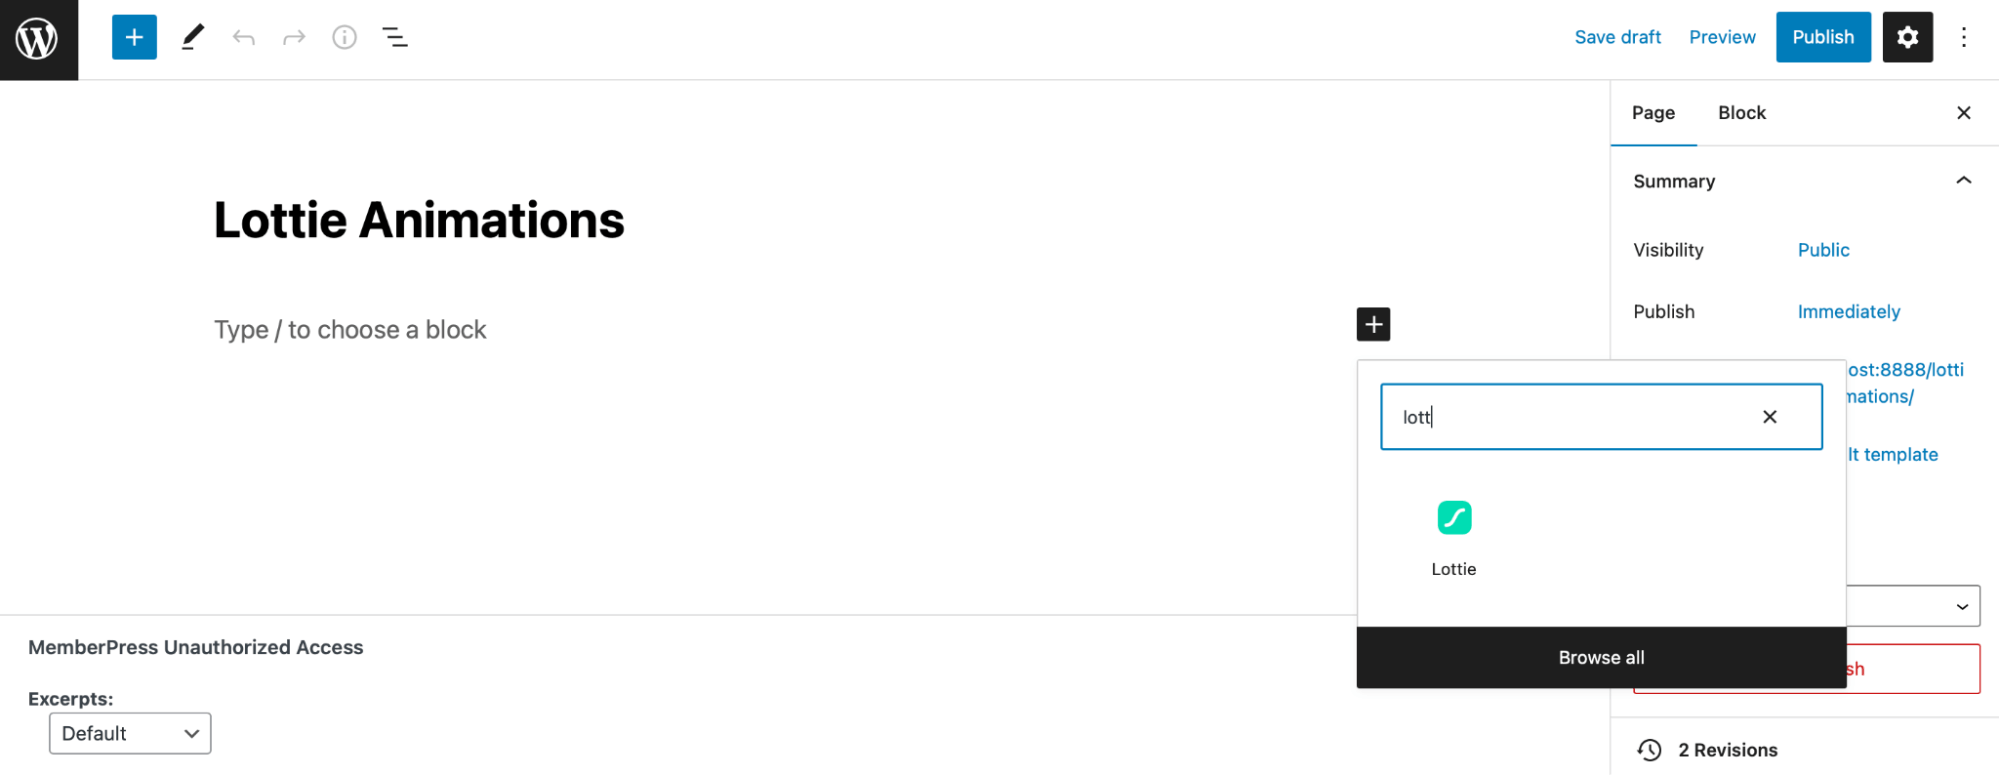
Here, you’ll find three ways to insert a Lottie animation in WordPress:
- Click on Discover animation to browse the LottieFiles library (you’ll need an account to do this).
- Select Media Library to find an animation you’ve previously uploaded.
- Hit Insert from URL to paste a JSON link.
If you choose the final method, you can find the JSON link on the Lottie website:
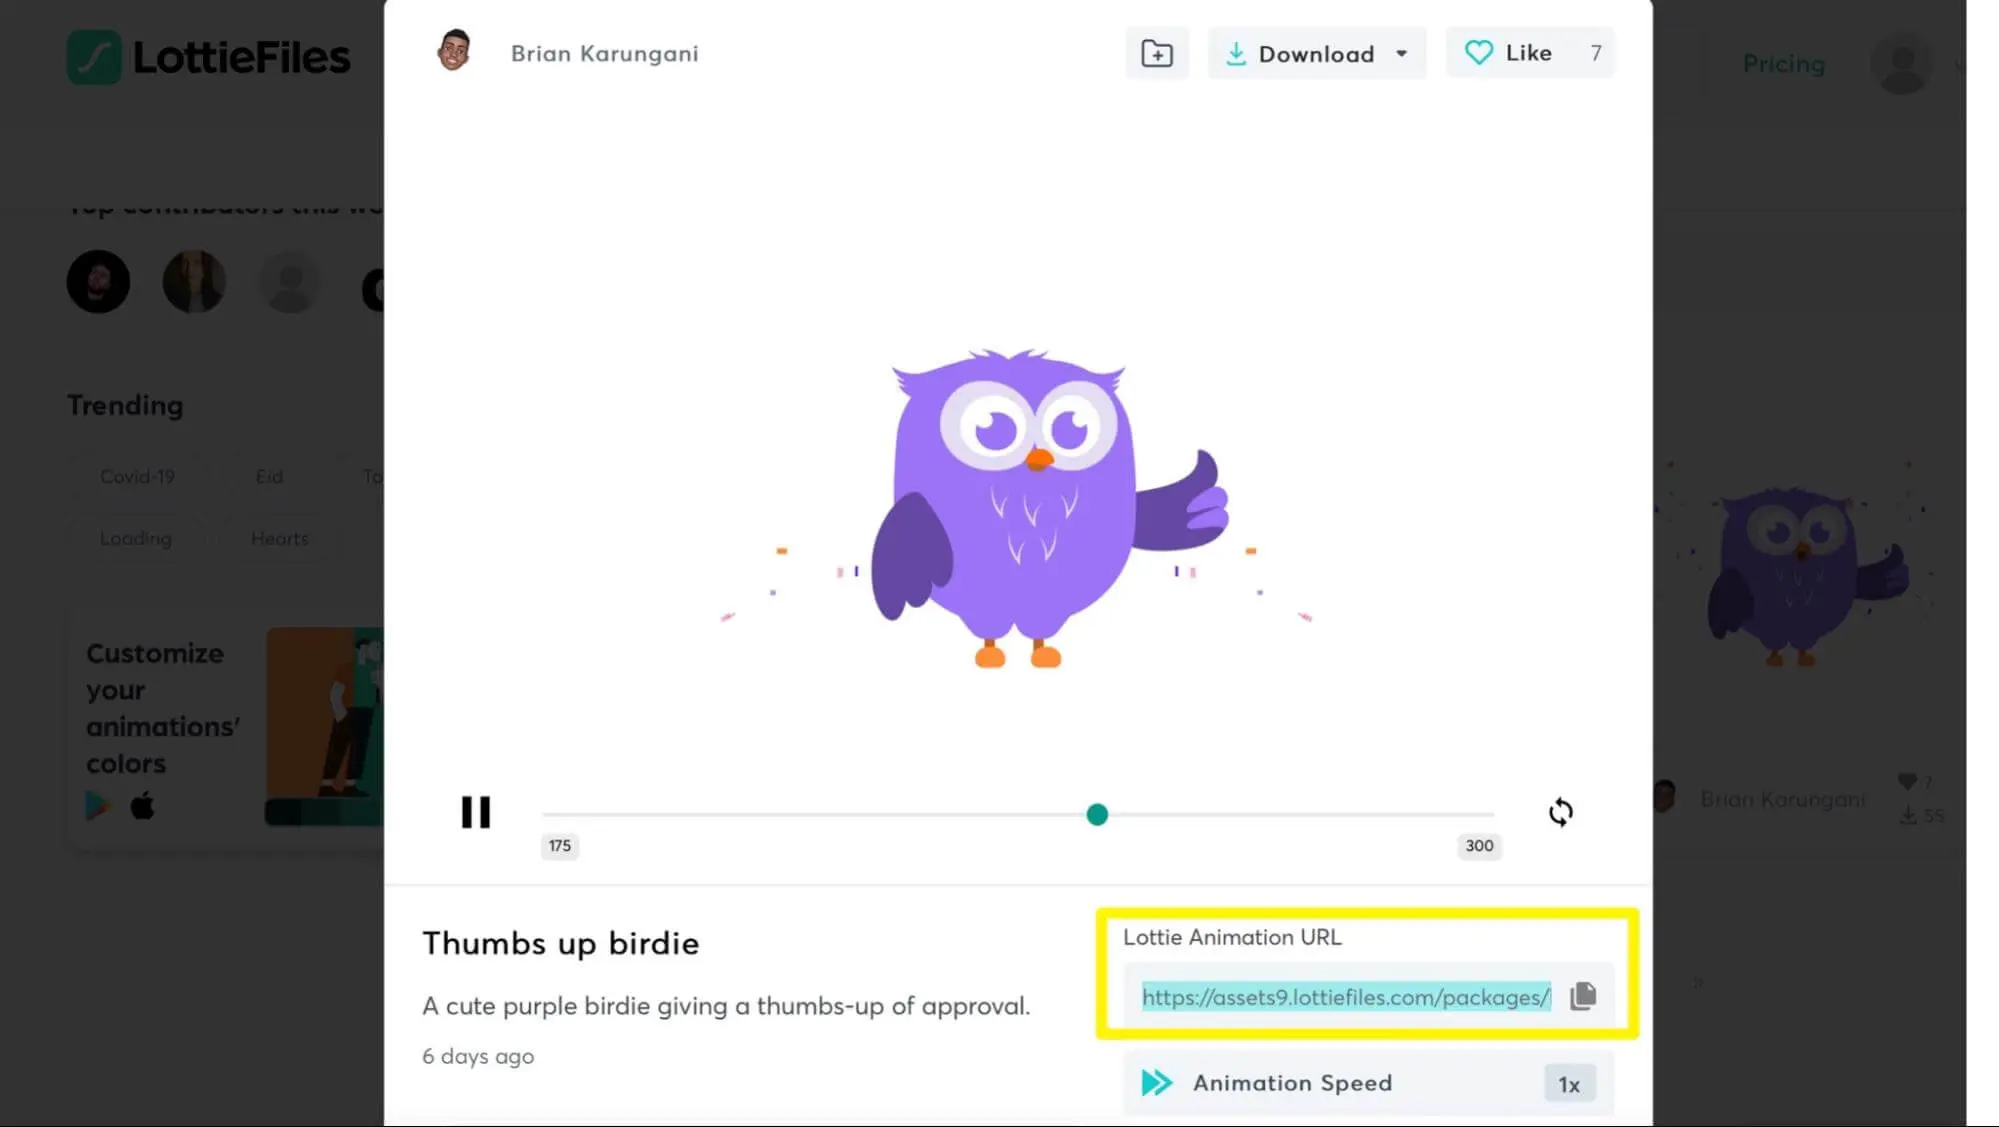
Once you’ve added the animation to your page, you can preview the design in Gutenberg:
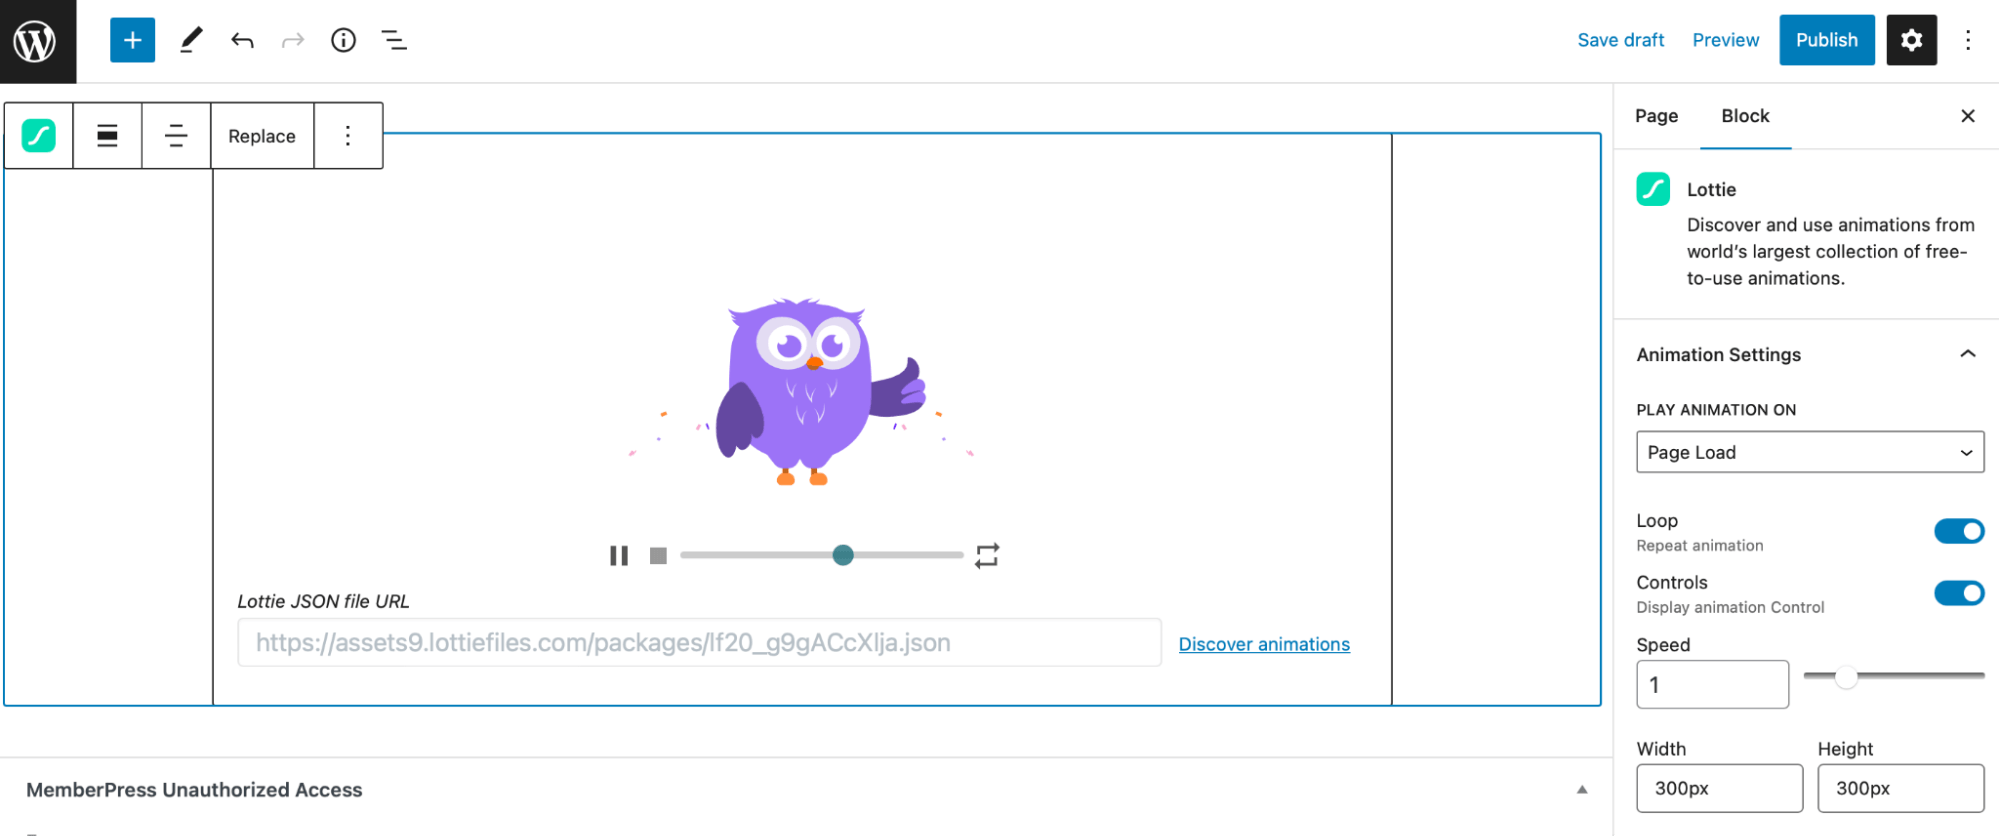
Now, in the Block settings, you can customize your animation. For instance, you can give it a transparent background, change the dimensions, or trigger the animation with different actions. You can also use the plugin to add a Lottie animation as a WordPress background.
Method 3: Add your animation with HTML and JavaScript
Adding your Lottie animation with HTML and JavaScript is still fairly easy, but it’s the most complex method. Plus, you aren’t able to see updates in real time. Instead, you have to switch between Gutenberg and your website to preview your changes. Still, you may want to use this method if you’re familiar with HTML and looking for enhanced customization options.
One important note before we start: older tutorials (including a previous version of this one) used the lottie-player web component. LottieFiles has deprecated that player and recommends the @lottiefiles/dotlottie-wc web component instead, so that’s what we’ll use below.
To get started, click on the animation in the LottieFiles library and copy the animation’s file link (a URL ending in .lottie or .json):
Then, in WordPress, open the page or post where you want the animation and add a new Custom HTML block:
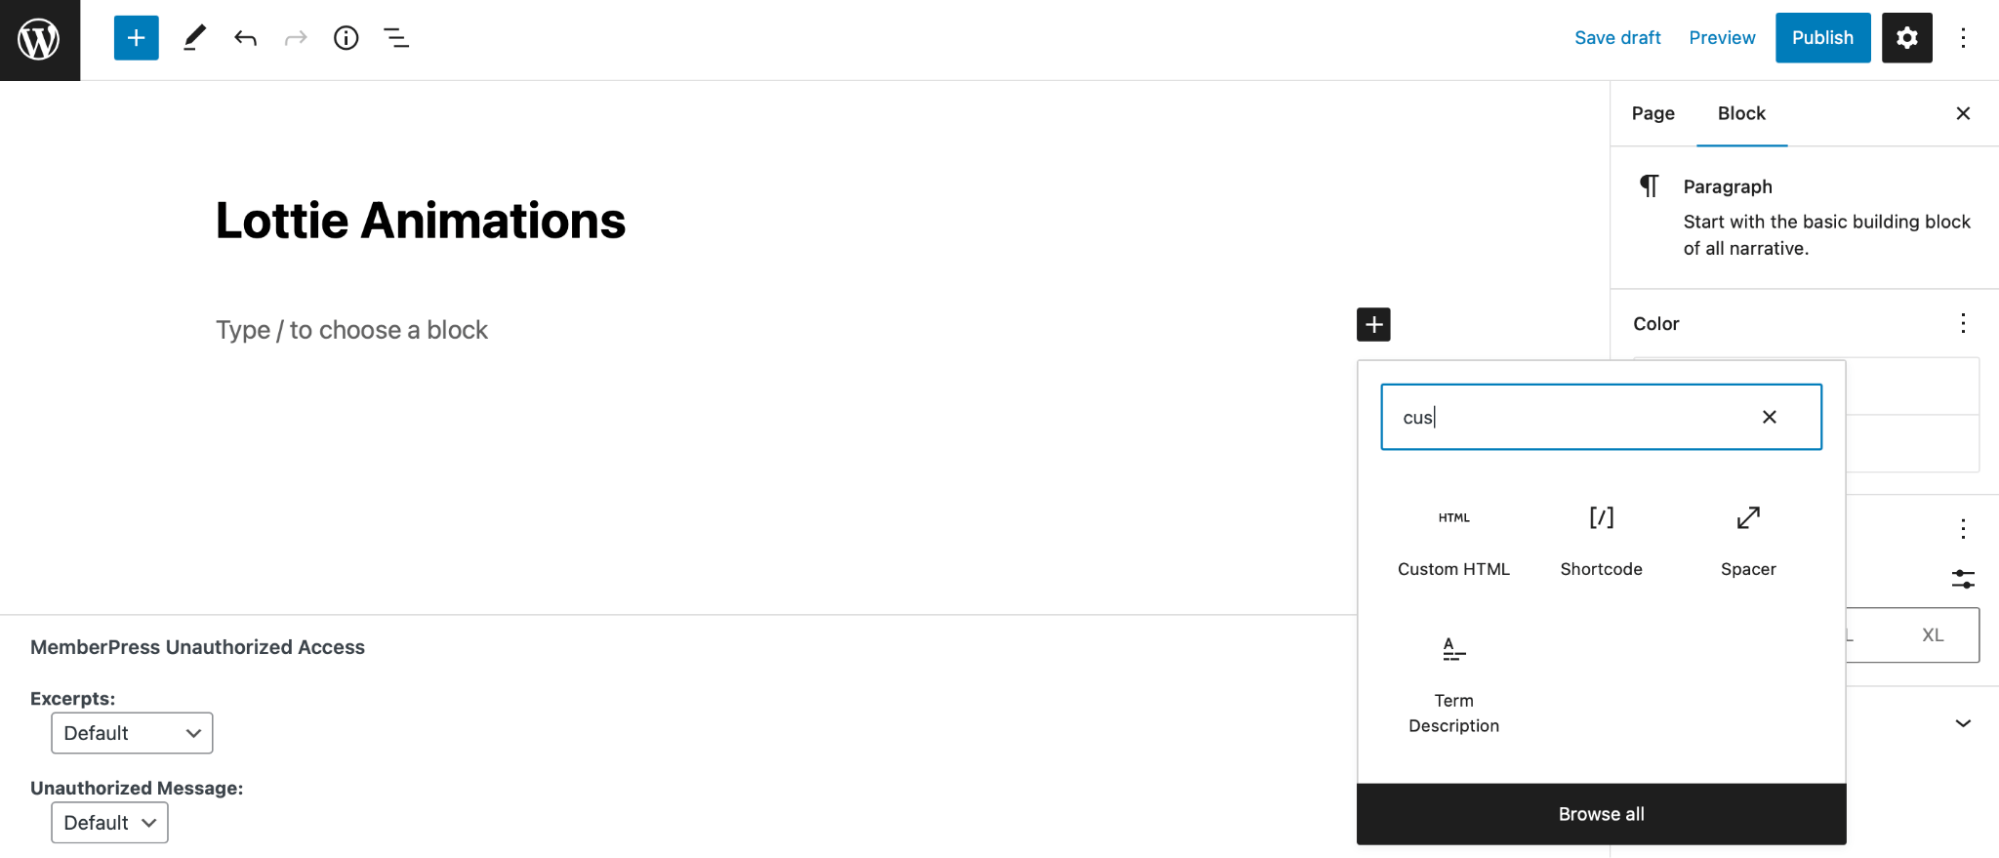
Paste in the player element, replacing the src value with the link you just copied, and click on Save Draft:
<dotlottie-wc src="YOUR-ANIMATION-URL.lottie" style="width: 300px; height: 300px" loop autoplay></dotlottie-wc>The loop and autoplay attributes are optional. Remove them when continuous motion isn’t necessary, and test your page with your device’s reduced-motion preference turned on so visitors who are sensitive to motion aren’t overwhelmed.
Your animation won’t work just yet. First, you’ll need to load the dotLottie player JavaScript file in WordPress. A quick security lesson before you do: in October 2024, the old lottie-player package was briefly compromised, and the malicious code reached sites that loaded the player’s “latest” version from a CDN. That’s why you should always pin a specific, verified version number in your script tag instead of @latest, like this:
<script src="https://unpkg.com/@lottiefiles/dotlottie-wc@0.9.25/dist/dotlottie-wc.js" type="module"></script>Version 0.9.25 was current in August 2026. Check the package’s version listing for the newest release before copying this tag, and keep the version pinned rather than using @latest.
To add that script site-wide, install the Simple Custom CSS and JS plugin:
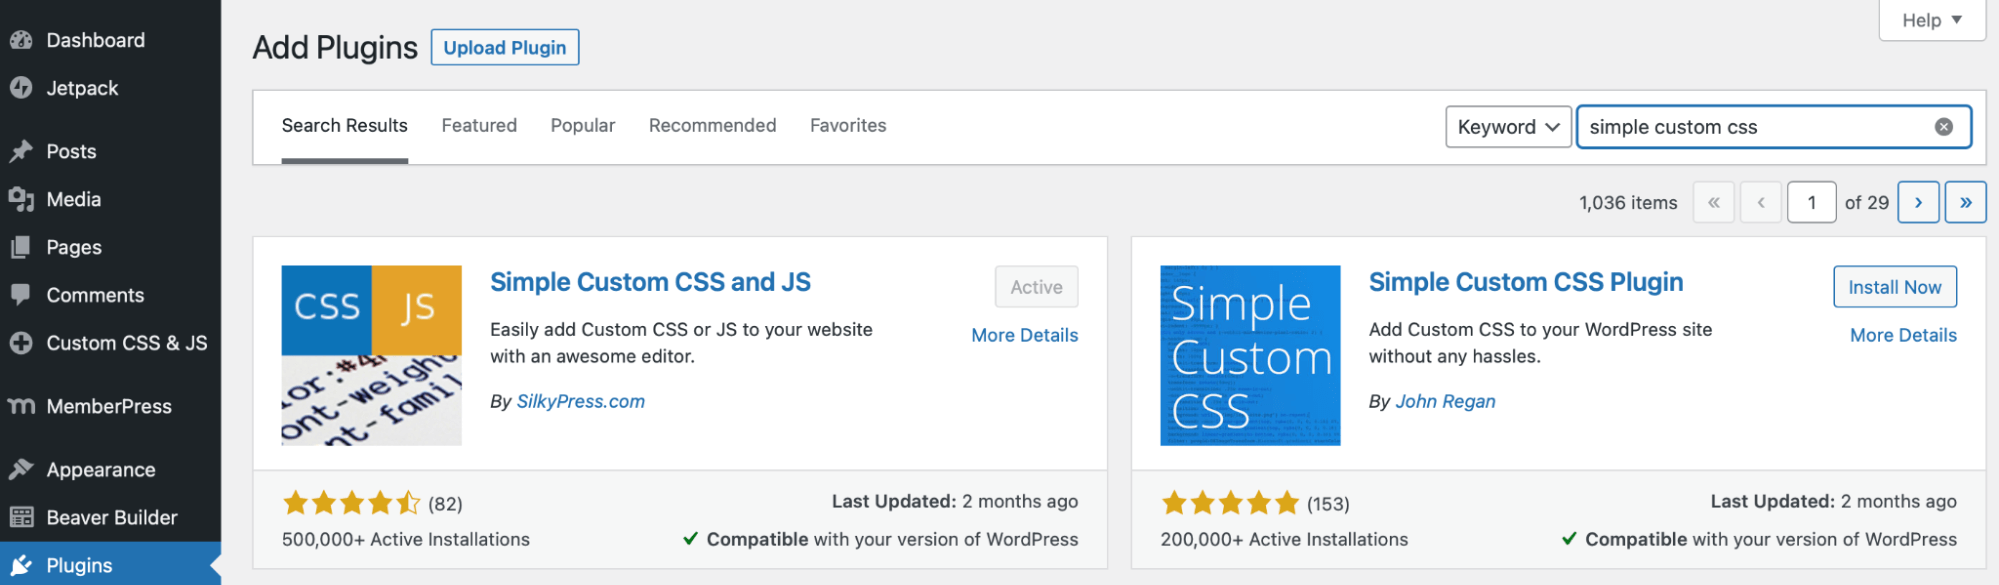
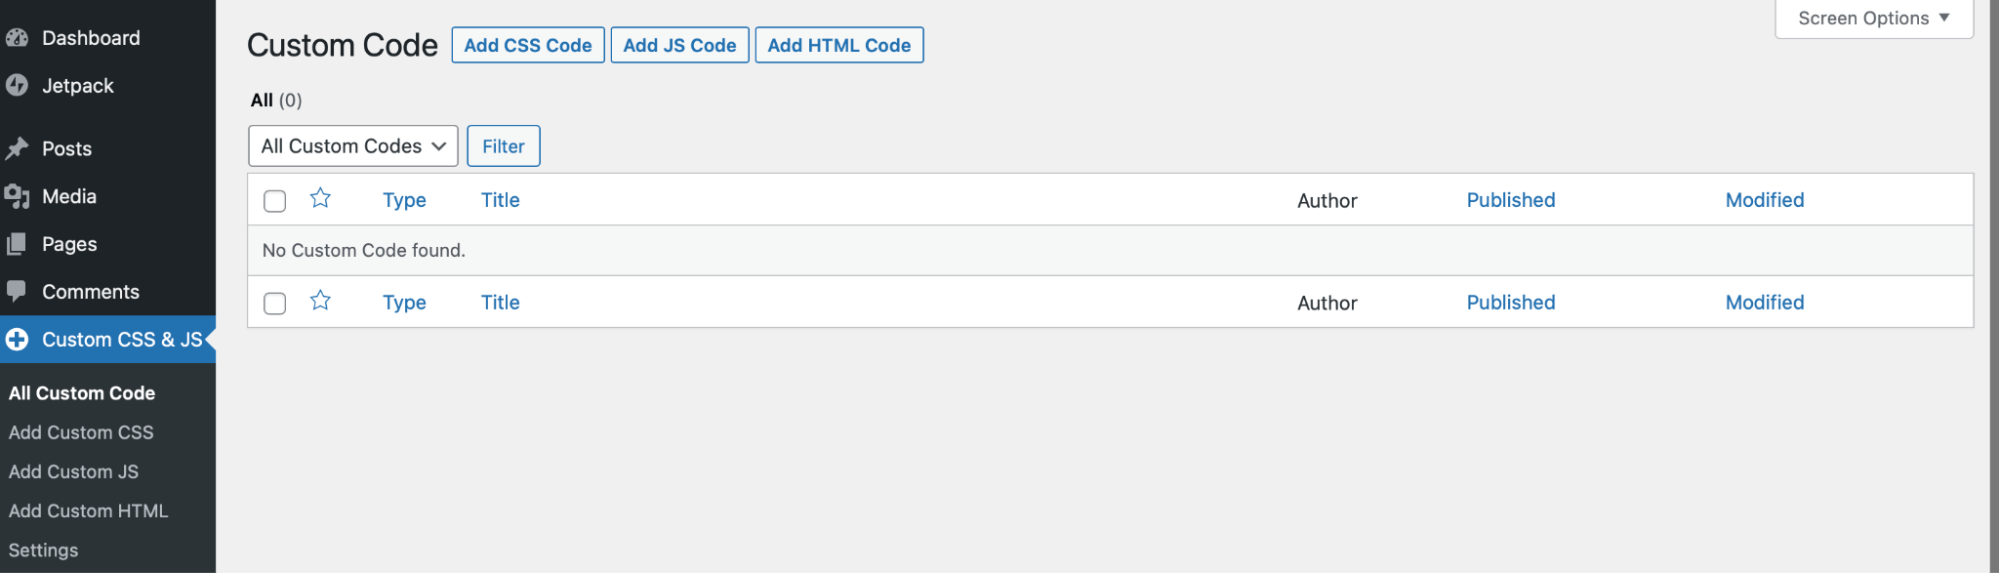
Once active, go to the plugin’s dashboard and choose Add HTML Code:
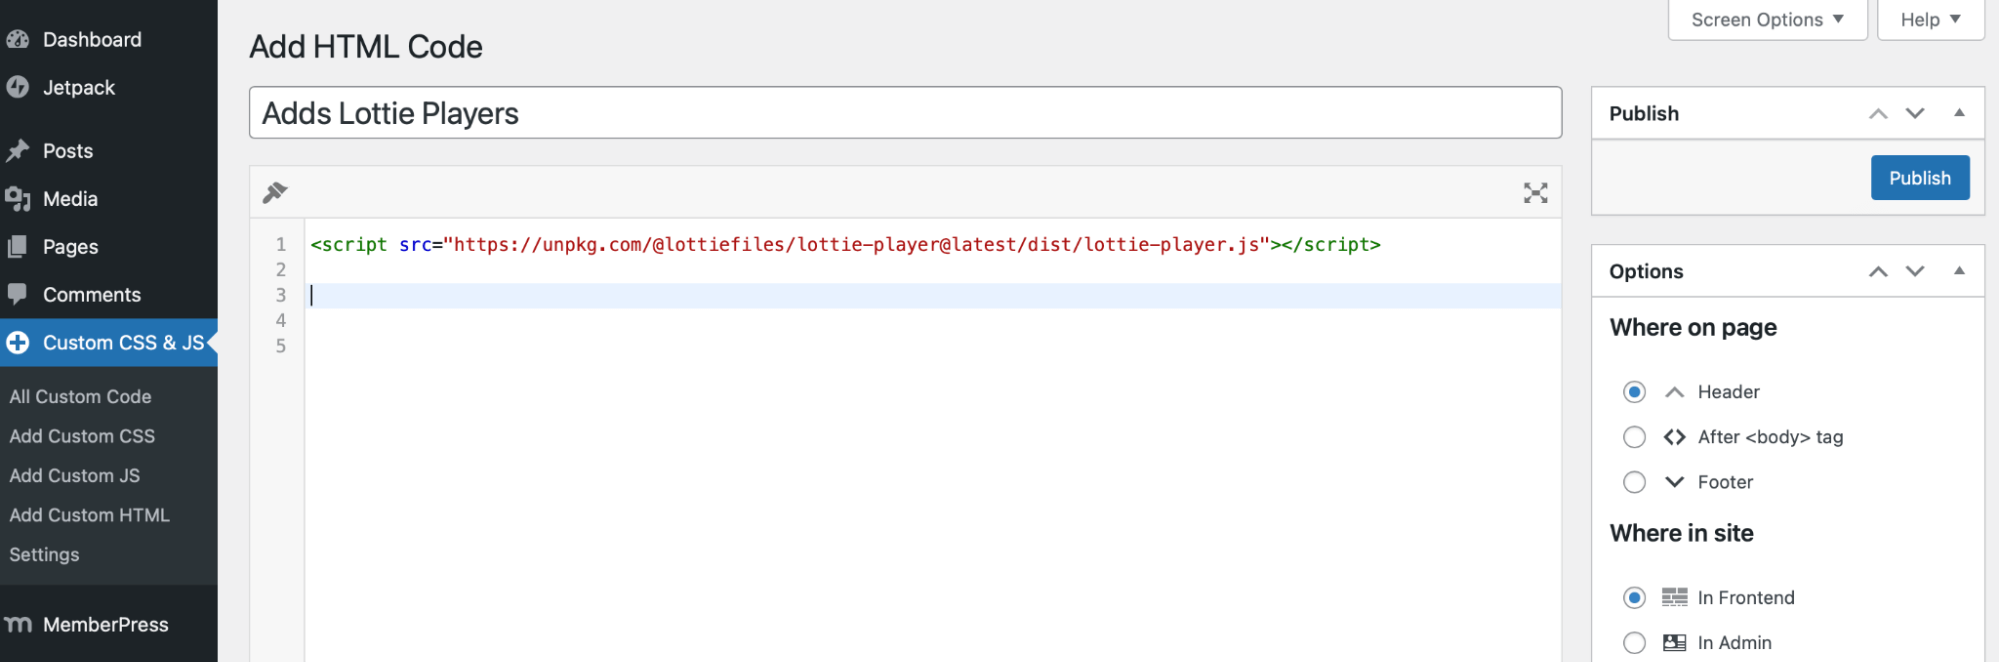
You can give your code a title like “Adds dotLottie Player”. Then, paste the pinned script tag in the editor and click on Publish:
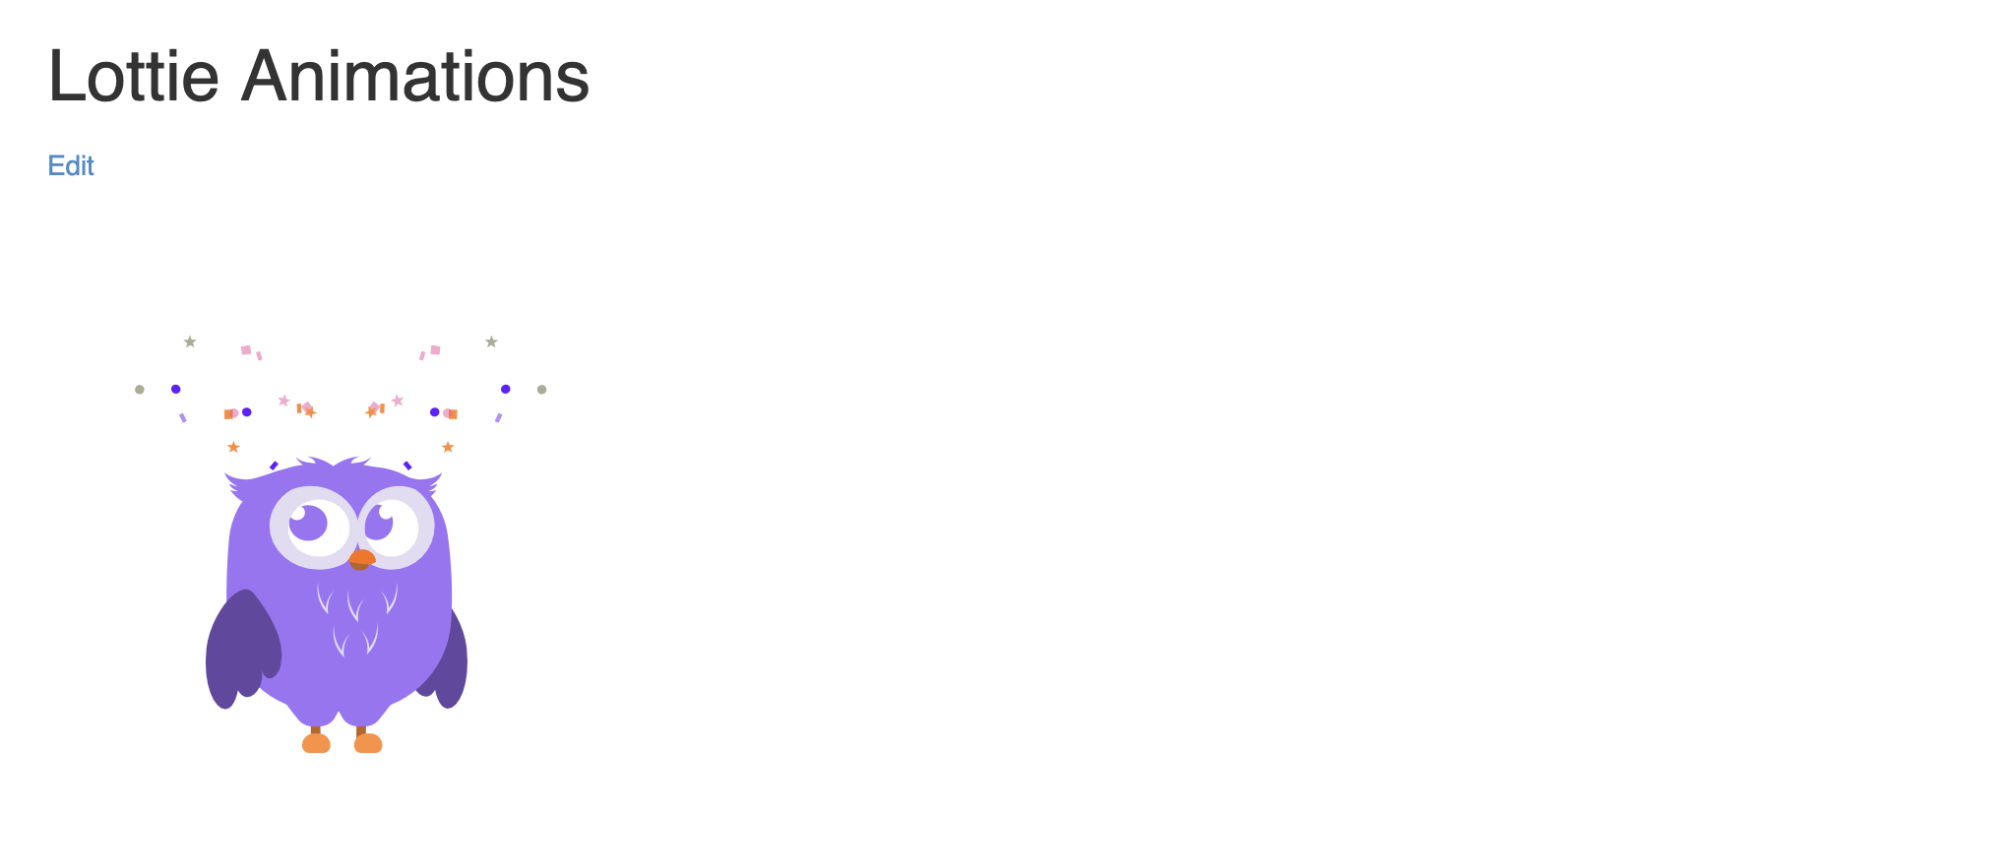
Now, return to the page where you inserted your HTML code. You should see your Lottie animation when you switch to the preview:
If the animation is too big or too small, adjust the values in the element’s style=”width: X; height: X” attribute.
Where should you host your Lottie files?
If you use a URL copied from LottieFiles, the animation is served from LottieFiles’ servers rather than yours. (The plugin’s Media Library option and the manual player can also use a self-hosted file.) That’s convenient, but it makes your page depend on a third party: if the animation is removed from the library or the service has an outage, the animation on your page breaks with it.
For full control, you can host the file yourself. Download the .json or .lottie file from LottieFiles, upload it to your own hosting (via SFTP, or through the WordPress Media Library; the LottieFiles plugin lets you save and reuse Lottie JSON files there), and point the block or the player’s src attribute at your own URL. Self-hosting removes the external dependency at the cost of a couple of extra steps.
How to create your own Lottie animations
You don’t have to settle for premade animations, either. There are two main ways to make your own:
- Lottie Creator: LottieFiles’ browser-based editor builds Lottie and dotLottie animations with no After Effects required, and it’s free to start. Its built-in AI assistant, Motion Copilot, can even generate an editable animation from a plain-text prompt.
- Adobe After Effects: If you already design in After Effects, the LottieFiles for After Effects plugin exports your compositions as Lottie or dotLottie files.
Either way, you’ll end up with a .json or .lottie file you can add to your site using any of the three methods above.
Lottie animation FAQs
What is a Lottie JSON file?
A Lottie JSON file (.json) is a text file that describes a vector animation as data — shapes, colors, and keyframes — rather than video frames. A JavaScript player reads that data and renders the animation in the browser, which keeps files small and quality sharp at any scale.
What is a dotLottie (.lottie) file?
A dotLottie file (.lottie) is a compressed container that bundles one or more Lottie animations and their assets into a single, smaller file. The LottieFiles WordPress plugin and the current dotLottie web player both support it alongside plain Lottie JSON.
Do I need JavaScript to use Lottie animations?
Yes. A Lottie animation needs a JavaScript player to render in the browser. If you use the oEmbed method or the LottieFiles WordPress plugin, that player is loaded for you. Only the manual HTML method requires you to add the player script yourself.
Where should I host my Lottie files?
Links copied from LottieFiles point to LottieFiles’ servers, which works fine for most sites. For full control, download the .json or .lottie file, upload it to your own hosting or WordPress Media Library, and point the player at your own URL.
Can I create my own Lottie animations?
Yes. LottieFiles’ browser-based Lottie Creator makes Lottie animations without After Effects (including AI-assisted generation with Motion Copilot), and the LottieFiles for After Effects plugin exports compositions as Lottie or dotLottie files.
Add Lottie animations to your site today
Lottie animations are a lightweight way to add motion where it earns its place: loading states, interface feedback, and small illustrations that reflect your branding. Used sparingly, they give your pages polish without the file-size cost of video or GIFs.
To recap, here are three ways to add Lottie animations to your site:
- Add Lottie animations with oEmbed.
- Add Lottie animations using the LottieFiles plugin.
- Add Lottie animations with HTML and JavaScript.
Another way to set your website apart from the rest is by designing custom pages that are unique to your brand. At DreamHost, we can build you a site that’s one-of-a-kind, mobile-friendly, and optimized for search engines. Check out our web design plans today!

Get a Beautiful Website You’re Proud Of
Our designers will create a gorgeous website from scratch to perfectly match your brand.
Learn More