
You’ve put real work into driving traffic to your website. If your pages crawl once visitors arrive, many of them will leave before reading a word, and all of that work goes to waste.
Website caching can remove repeated server work and speed up cached page views. Caching saves a ready-made copy of your site’s pages and files (in the visitor’s browser, on your web server, or on servers around the world) so repeat requests are served from the stored copy instead of being rebuilt from scratch. The result: faster load times, less strain on your server, and a better user experience (UX).
In this guide, we’ll explain how caching works and what it does for your website. Then we’ll show you two ways to set up caching in WordPress, compare our top three caching plugins, and cover how to clear your cache when a change isn’t showing up. Let’s get started!
An Introduction to Caching
When someone visits your WordPress site for the first time, their browser asks your origin server for the page. The server then has to build it: PHP runs, WordPress queries the database for your content, and the finished HTML travels back across the internet along with your images, CSS, and JavaScript.
Two things commonly slow that process down. Distance is one: your server sits in a physical location, and the farther away a visitor is, the longer every round trip takes. Weight is the other: pages loaded with large images and scripts simply take longer to send.
Caching cuts out most of that work by saving the finished result the first time it’s produced. When the same page is requested again, the stored copy is ready and waiting, and the server skips rebuilding the page from scratch.
Types of Caches
Caches can live at several layers between your database and your visitor’s screen:
- Browser caching (client-side). The visitor’s browser stores your files (images, CSS, JavaScript) on their own device, following the Cache-Control instructions in your HTTP headers, so a return visit doesn’t re-download everything.
- Page caching (server-side): The server stores a complete HTML snapshot of each page and serves that snapshot instead of running PHP and database queries on every request.
- Object caching: Tools like Redis and Memcached store the results of repeated database queries in fast memory, so dynamic pages come together quicker.
- Opcode caching: OPcache keeps compiled PHP code in the server’s memory, so scripts don’t need to be recompiled on every run.
- CDN caching: A Content Delivery Network (CDN) stores copies of your content on servers around the globe and serves each visitor from the nearest one.
The Benefits of Website Caching
The main benefit of caching is speed: a cached page skips the work of being rebuilt, so it loads faster for your visitors. And speed has a concrete target. Google’s Core Web Vitals guidance recommends a Largest Contentful Paint (LCP), the time until a page’s main content is visible, of 2.5 seconds or less, measured at the 75th percentile of page loads. Page caching can reduce server response time for cached views, but LCP also depends on how quickly the browser loads and renders the page’s main content.
Faster pages also support your SEO. Google states that Core Web Vitals are used by its ranking systems, and it also notes that good scores alone don’t guarantee top rankings. In other words, speed won’t rescue thin content, but slow pages leave a ranking signal on the table.
Caching also protects your server during traffic spikes. When a post takes off, a surge of visitors is served stored copies instead of each one triggering fresh PHP execution and database queries, so your site is less likely to buckle at exactly the moment it matters.
One honest caveat: caching mostly helps repeat views and already-cached pages. The first visit to an uncached page still requires the full round trip, and no cache can fix oversized images or a bloated theme. Pair caching with the other fixes in our guide to speeding up WordPress.
Not sure where you stand? Test your speed with a free tool such as Pingdom. Enter your URL, and it reports your load time and what’s slowing it down:

Don’t be discouraged by a poor result. Implementing caching, compressing images, and optimizing CSS files are all fixable problems, and if your site has simply outgrown its plan, upgrading your hosting helps too.
How to Implement Caching in WordPress (2 Methods)
Once you decide caching is right for your website, it’s time to implement it. You can configure caching manually with HTTP caching headers, but for most WordPress owners, that’s the hard way. Start with your host, and only then reach for a plugin.
1. Use Your Host’s Caching Service
Before you install a caching plugin, check whether your hosting provider already caches your site at the server level. Many hosts do, and a server-level cache can serve a stored page before WordPress even loads. It’s also one less thing for you to configure. On DreamPress, third-party caching plugins aren’t necessary and could conflict with the built-in cache; with another host, check its documentation before adding a caching plugin.
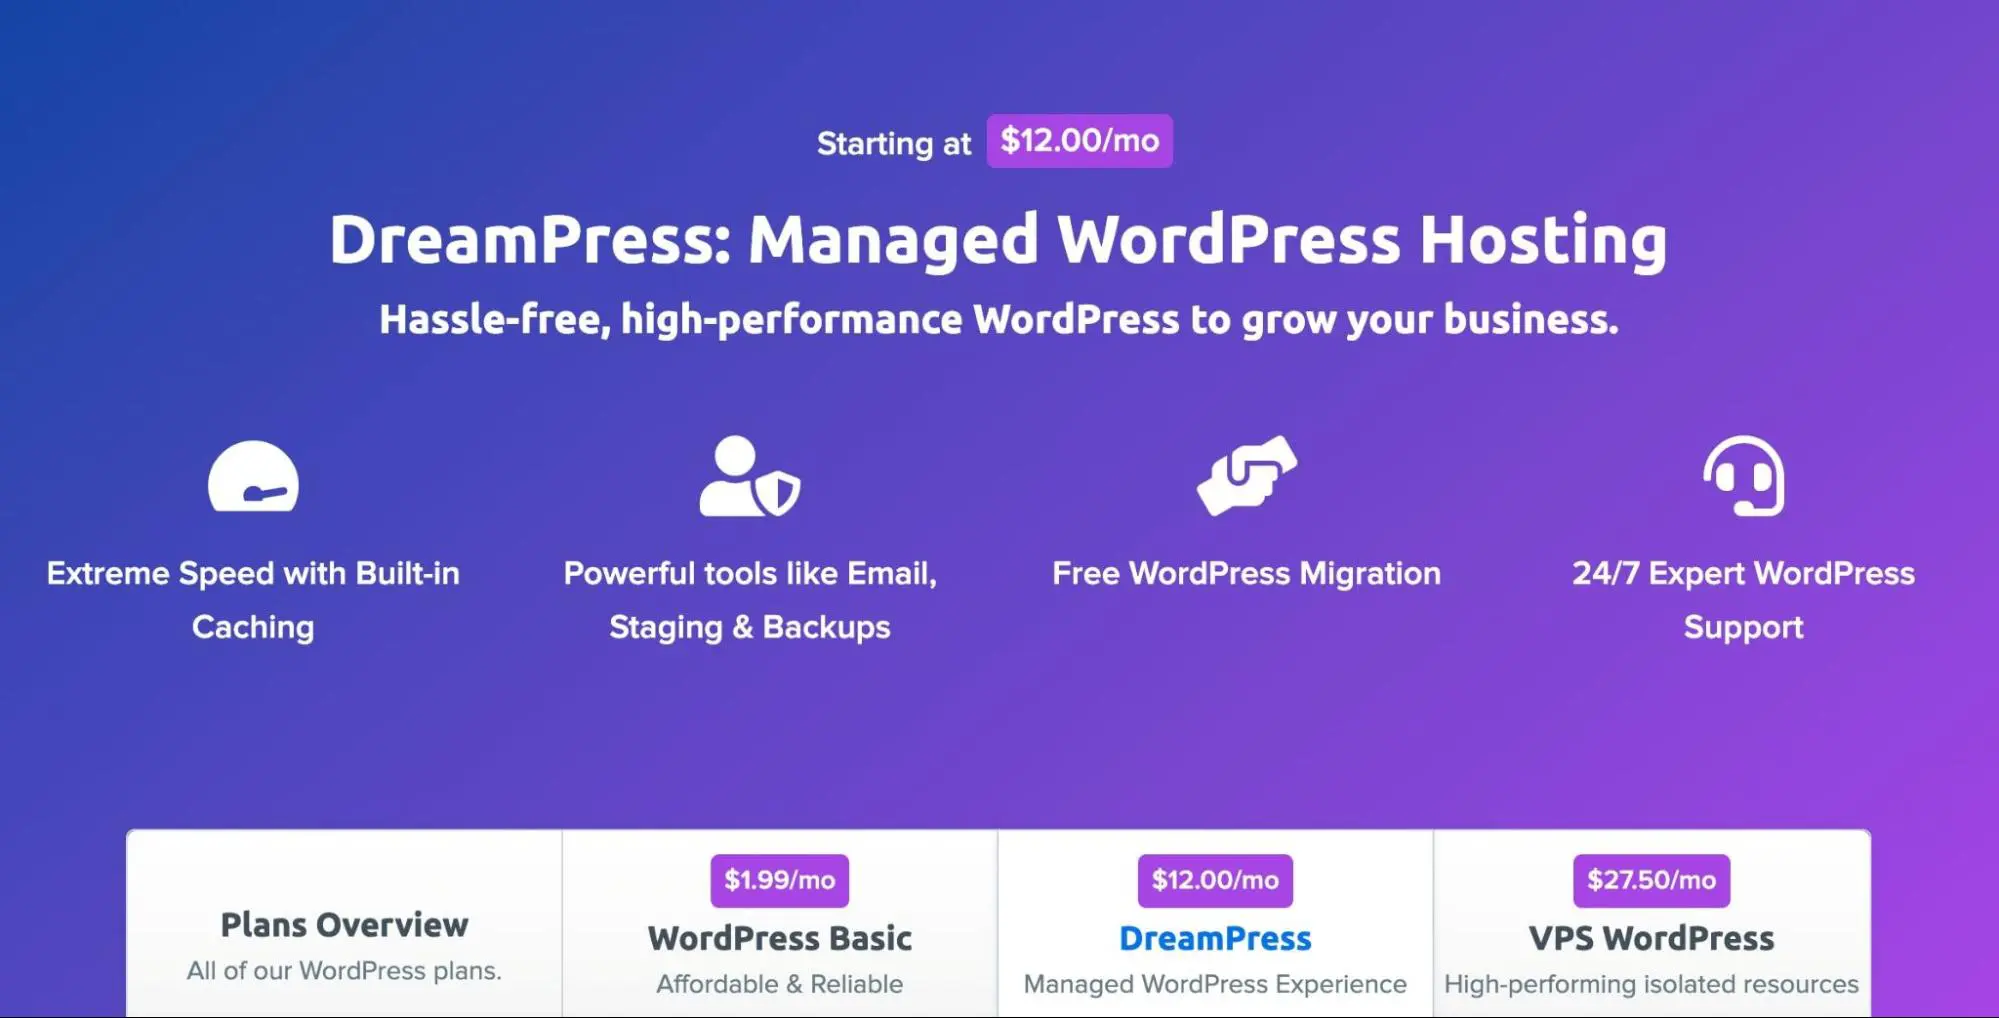
Here at DreamHost, caching is one of the main things we handle for you on DreamPress, our managed WordPress hosting. Every DreamPress plan includes built-in multi-layer caching that covers both your website and the hosting environment, so there’s no caching plugin to choose, install, or configure:
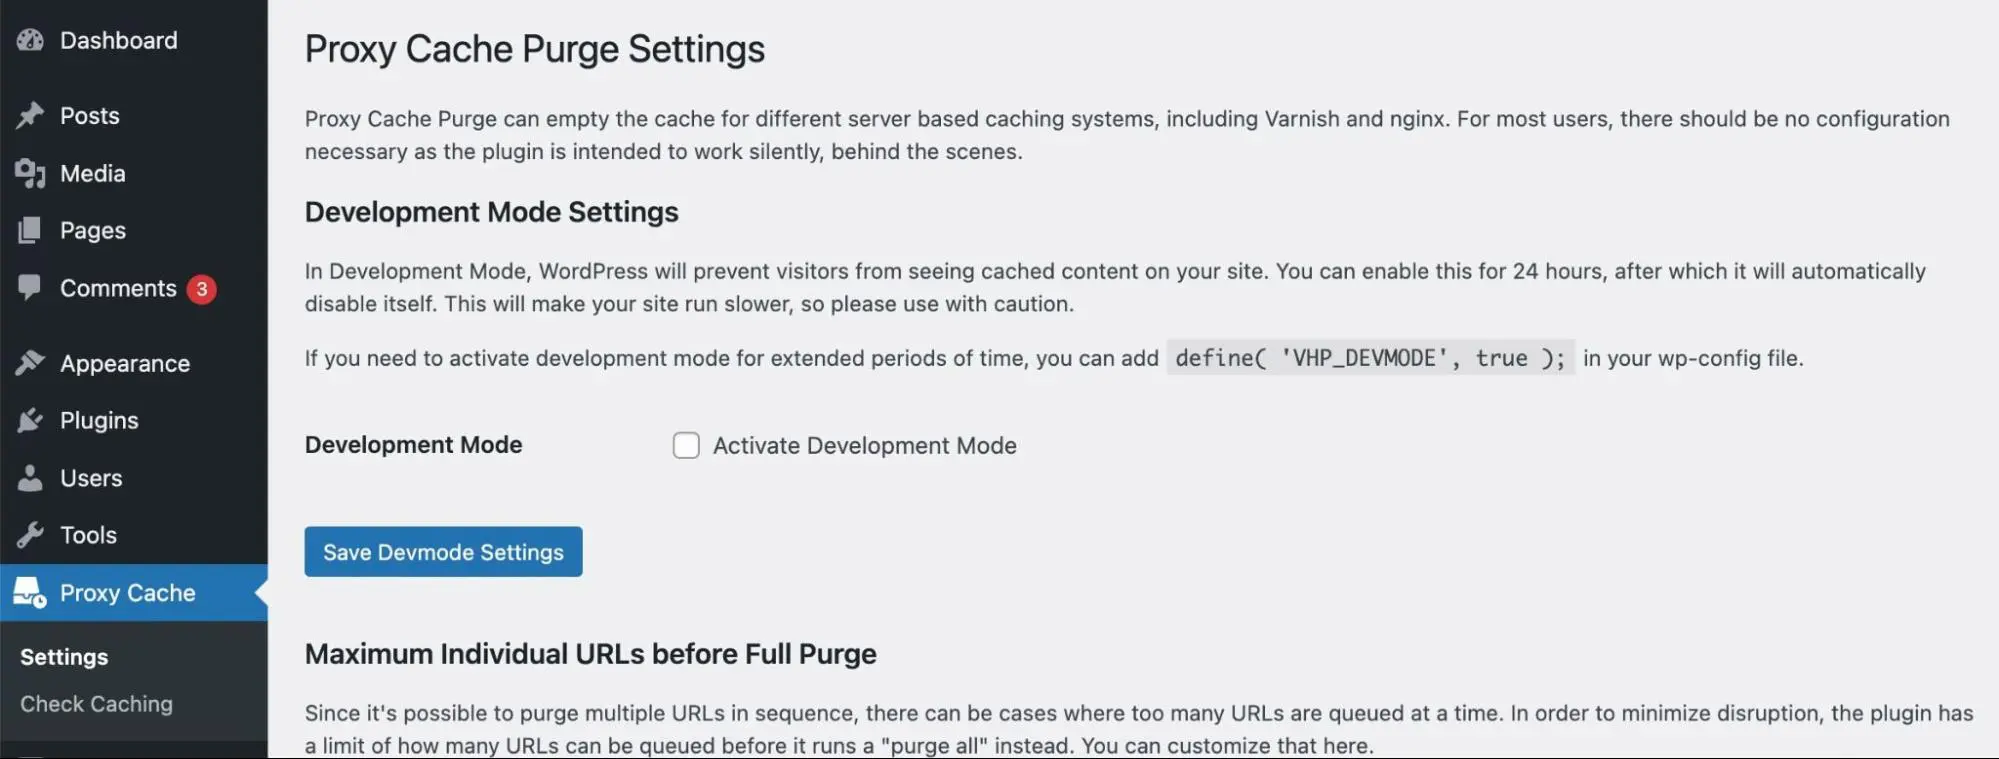
You still keep control. DreamPress includes one-click purging, so you can flush the cache for an individual post or page, or for your entire site, the moment you publish changes. There’s also a Cache Pause option: switch caching off while you’re developing, and it turns itself back on after 24 hours. To confirm caching is actually working, our in-house WordPress experts built the Proxy Cache Purge plugin, which can scan any page on your site:
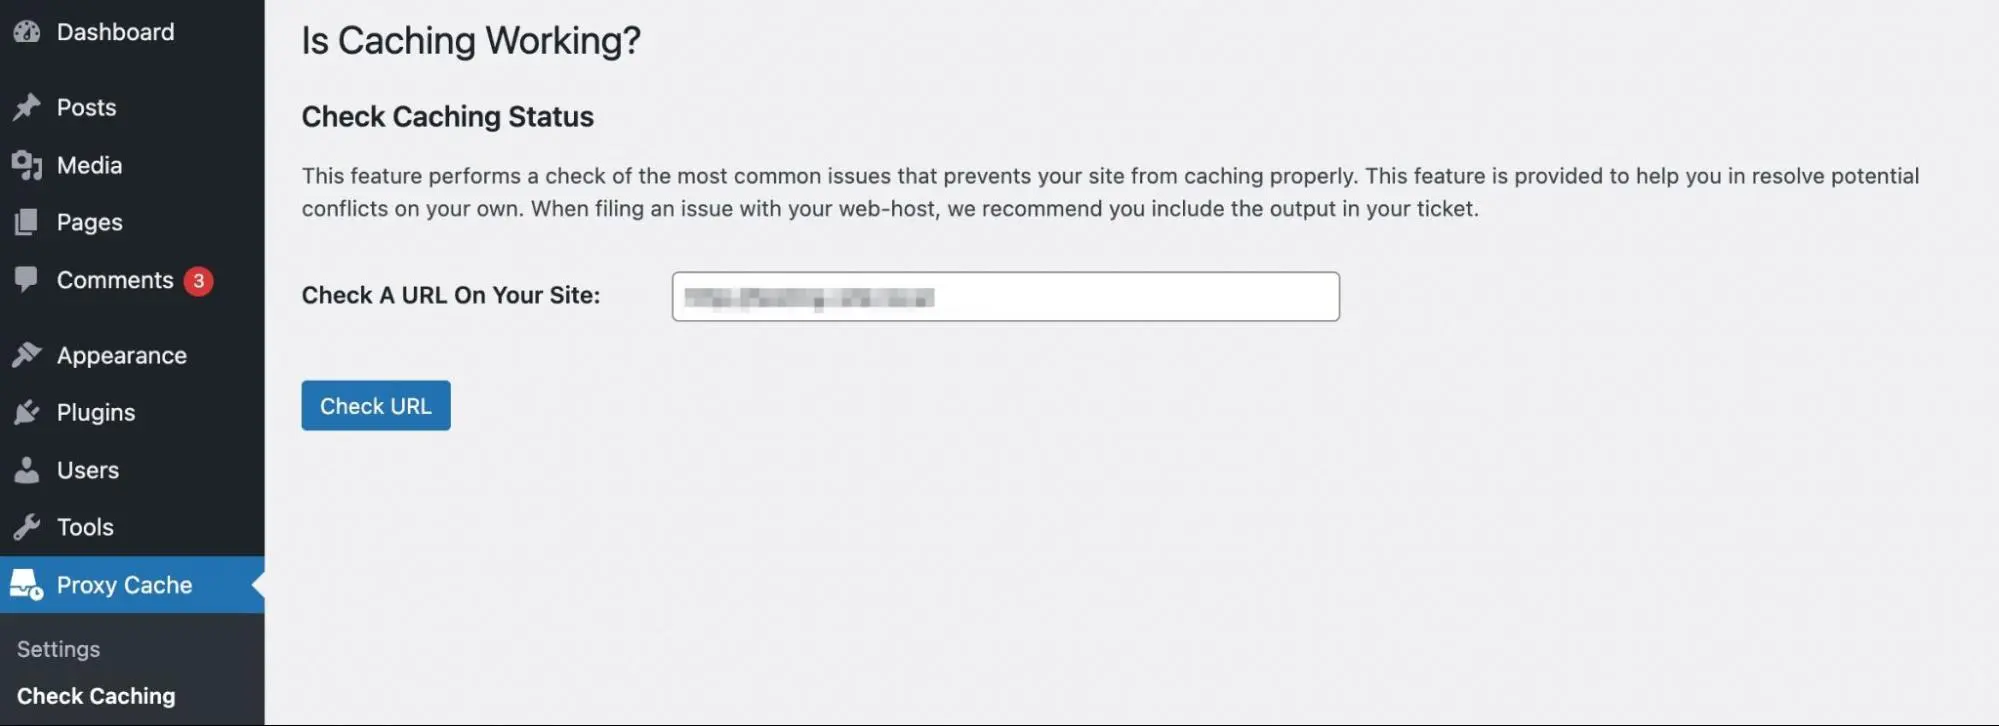
Open the plugin’s Check Caching page in your WordPress dashboard, then enter the URL of your website or a specific page you want to test:
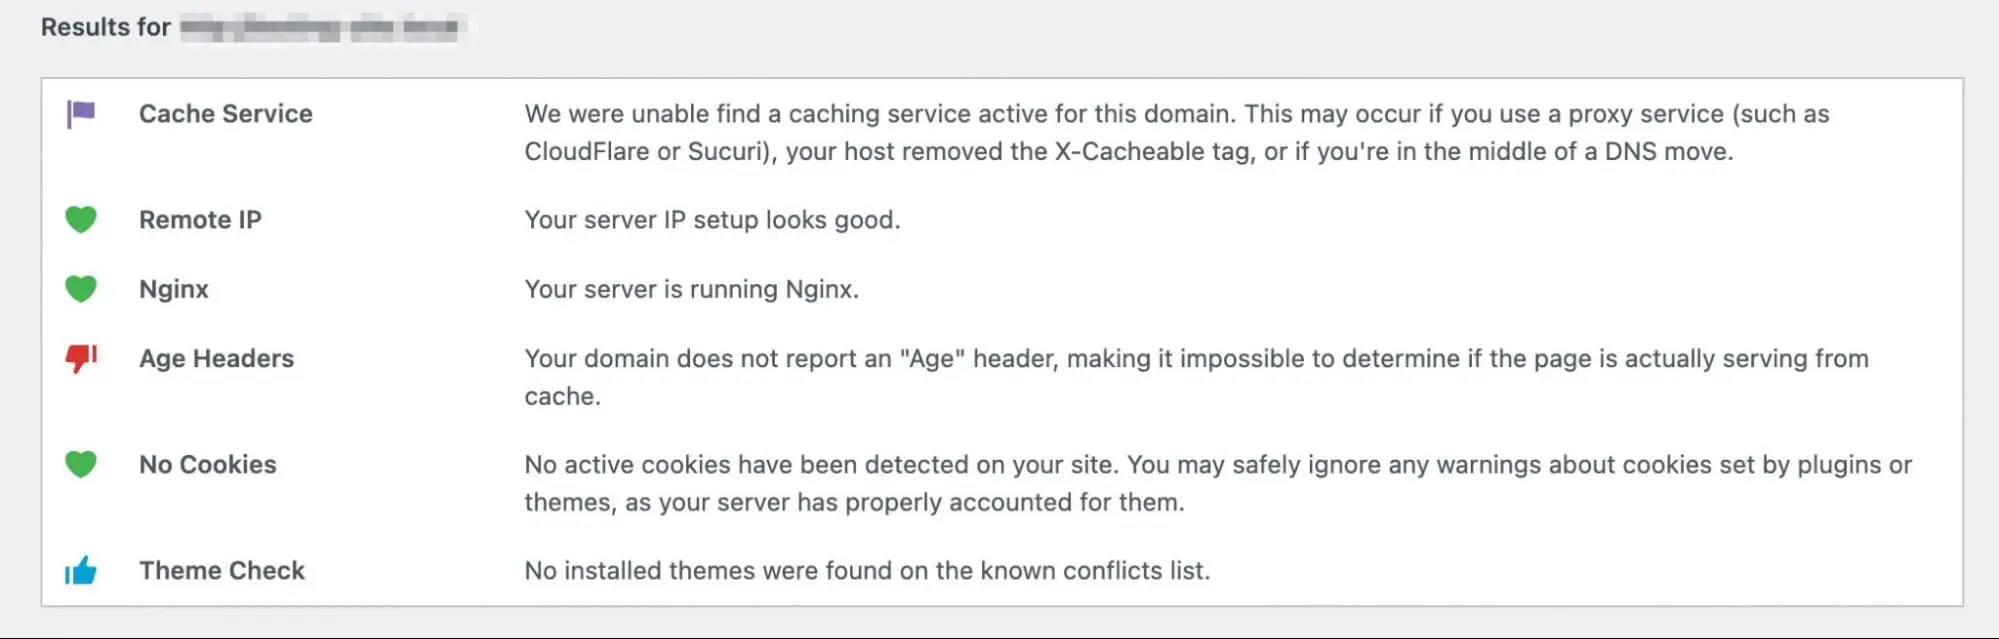
Then, click on Check URL to view a report of any caching issues, along with information about your active cookies and any theme conflicts:
Day to day, the Nginx Helper plugin manages the NGINX server cache on every DreamPress plan and handles purging when you update your content. DreamHost’s guide to managing the DreamPress cache walks through all of it.
If your website receives lots of international visitors, you may also want a Content Delivery Network (CDN): a globally distributed group of servers that caches your content, which speeds up loading times even when users are far from your origin server. Every DreamPress plan includes the Bunny-powered Essential CDN for free, with 10 global points of presence and 500 GB of monthly CDN traffic. On Web Hosting, Managed VPS Hosting, and Dedicated plans, the Bunny CDN add-on can be purchased directly in the DreamHost panel.
2. Install a Caching Plugin
If your web host doesn’t provide a built-in caching service, install a caching plugin. This is likely necessary if you self-host your website or use an entry-level web hosting plan without server-side caching. Most caching plugins provide customizable settings that are simple for beginners to configure.
However, with so many options available, you might not know how to pick the right plugin. When reviewing any tool, keep these factors in mind:
- Features: Read each plugin’s description to see how it caches your pages and whether it fits your site. A plugin that only minifies files, for example, isn’t a page cache.
- Reviews and ratings: High user ratings can tell you whether other website owners have found success with a plugin or frequently run into issues.
- Updates: Check that the plugin is actively maintained and compatible with your current WordPress and PHP versions.
- Support: When something breaks, you’ll want fast, informative help from the plugin’s developers.
- Price: Many caching plugins are free, while premium versions offer extended features and support.
Once you pick the right option for your website, test it on a staging site first. Caching plugins change how your pages are delivered, and a misconfigured one can serve stale content or break dynamic features like shopping carts.
Top 3 Caching Plugins
Now that you know what to look for, here are our top picks. The short version: choose WP Super Cache if you want free and simple, WP Rocket if you’d rather pay for automation, and LiteSpeed Cache if your host runs LiteSpeed or you plan to use QUIC.cloud.
1. WP Super Cache

WP Super Cache is a free caching plugin from Automattic, the company behind WordPress.com. It generates static HTML files from your dynamic WordPress site, so your web server can serve those files instead of processing heavier PHP scripts. By the plugin’s own description, 99% of your visitors (everyone who isn’t logged in, commenting, or viewing a password-protected post) will be served static HTML.
Its three caching modes fit different experience levels. Simple mode is the recommended default and doesn’t require editing your .htaccess file. Expert mode uses mod_rewrite and requires an .htaccess change. WP-Cache mode handles logged-in users and other dynamic content.
Features:
- 3 caching modes (Simple, Expert, and WP-Cache caching)
- Cache timeouts and scheduled garbage collection
- Cache preloading for posts, categories, and tags
- Basic CDN support and REST API endpoints
Price: WP Super Cache is a free WordPress plugin.
2. WP Rocket
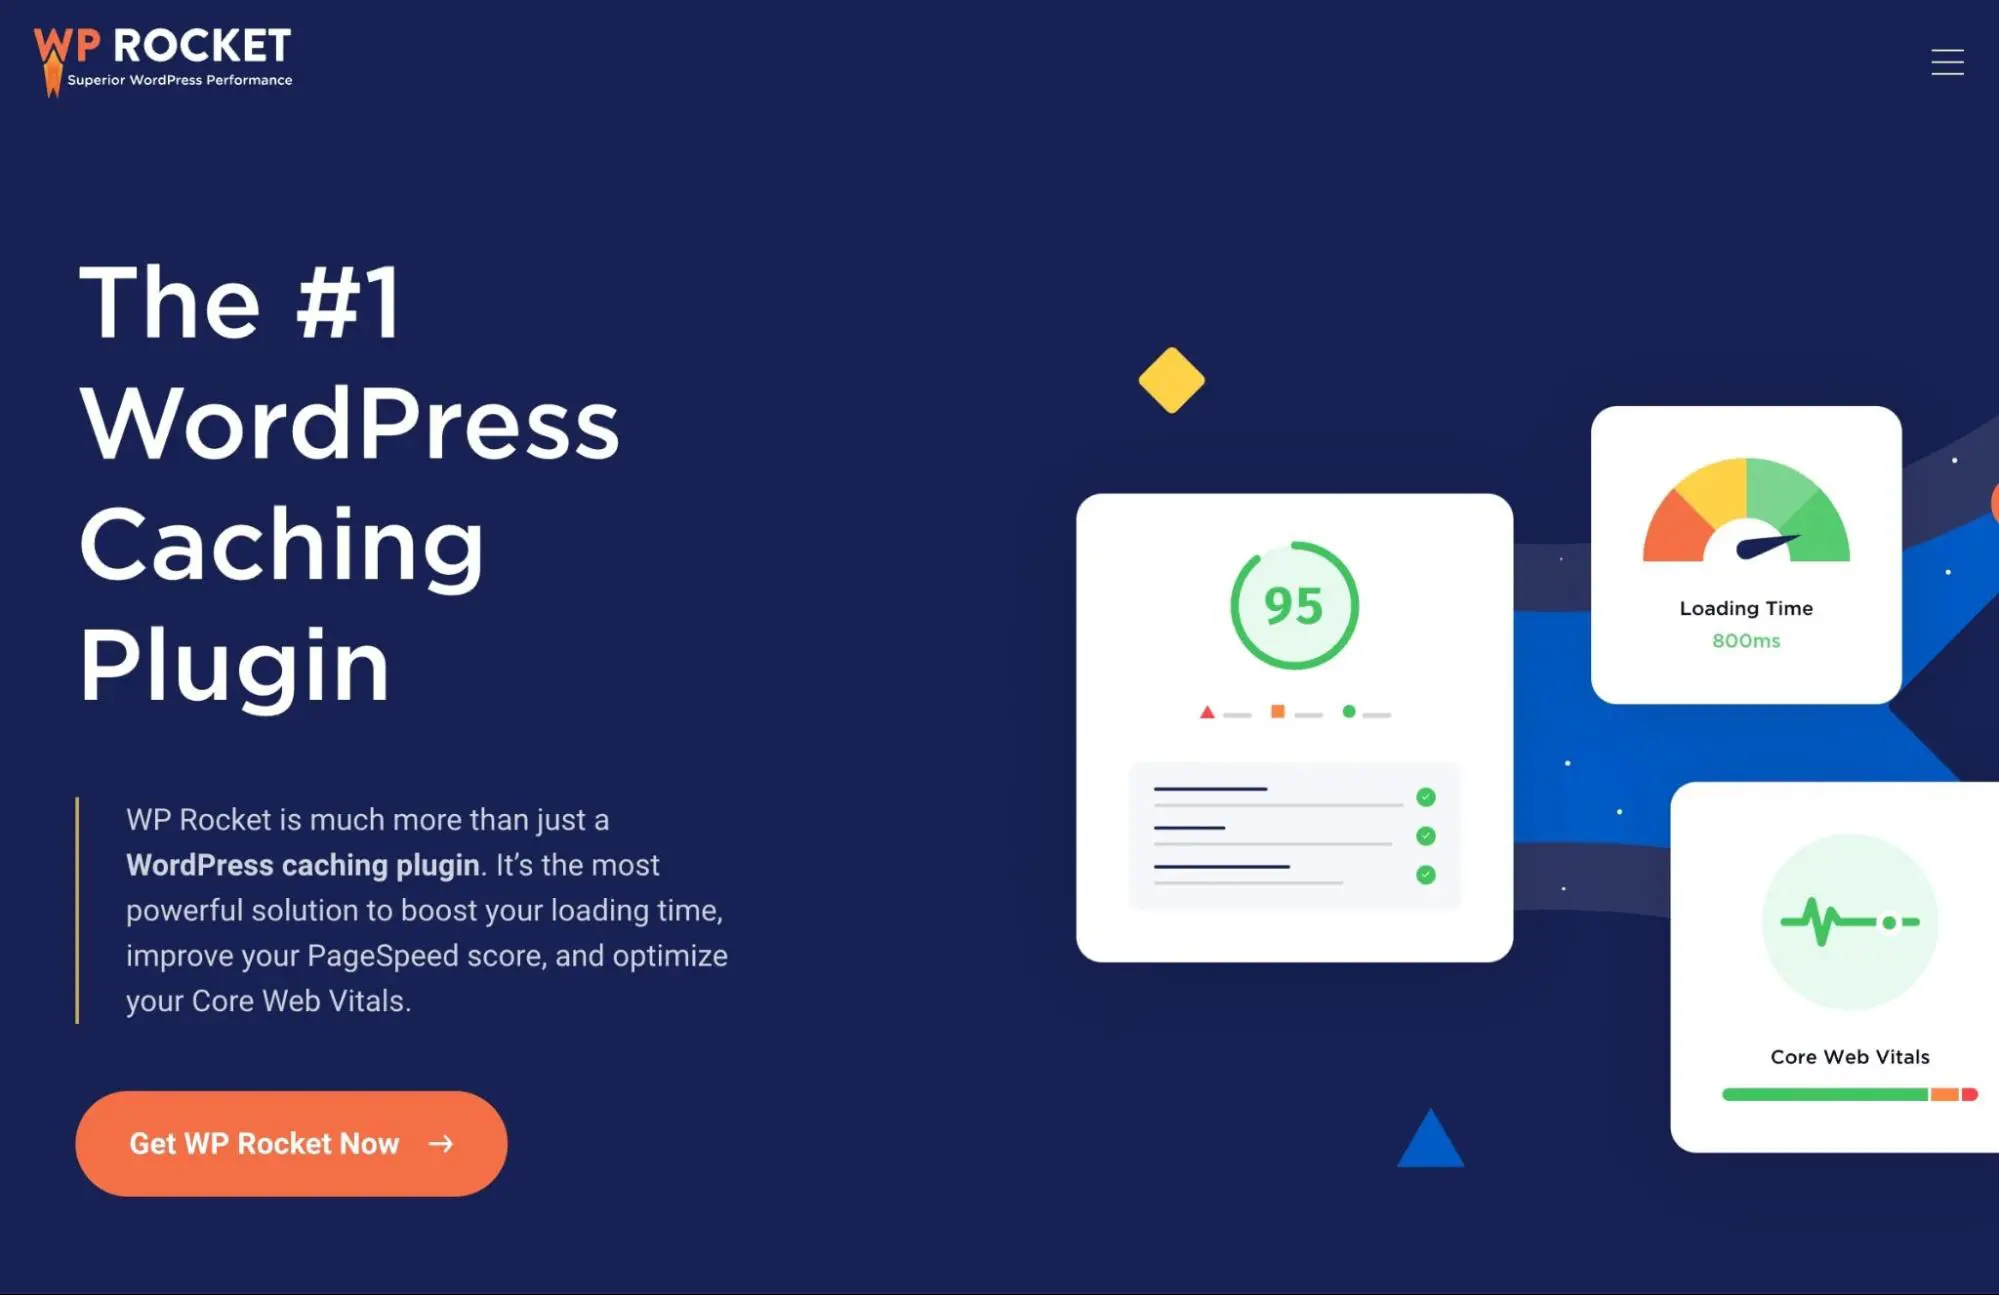
If you’d rather pay for a plugin that mostly configures itself, consider WP Rocket. By its maker’s count, 80% of web performance best practices are applied automatically when you activate it, with no code to touch, so your pages start being cached within a few clicks.
There’s no free version and no trial, though there is a 14-day refund policy. What you’re paying for is breadth: beyond page caching, WP Rocket handles lazy loading, preloading, delayed JavaScript execution, and unused-CSS removal from a single dashboard.
Features:
- Automatic page caching on activation
- Lazy loading and cache preloading
- Delayed JavaScript execution and unused-CSS removal
- Ecommerce plugin compatibility
Price: WP Rocket licenses start at $59 per year (as of August 2026) for plugin updates and support on one website.
3. LiteSpeed Cache

Unlike the other plugins on this list, LiteSpeed Cache works with a server-level cache: the plugin tells a LiteSpeed web server’s built-in cache which pages are cacheable rather than caching through PHP. The catch sits in that sentence. Its caching features require LiteSpeed software (such as OpenLiteSpeed or LiteSpeed Web Server) or the QUIC.cloud CDN service, which brings LiteSpeed caching to sites on any server.
If you do run on a LiteSpeed server, it’s a strong all-in-one: automatic page caching with separate caches for mobile and desktop views, plus general optimization features (minification, image optimization, lazy loading, and database cleanup) that work on any web server, LiteSpeed or not.
Features:
- Server-level page caching with separate mobile and desktop views
- Minifies CSS, JavaScript, and HTML
- Optimizes images and supports WordPress Multisite
- Compatible with WooCommerce, bbPress, and Yoast SEO
Price: LiteSpeed Cache is a free plugin. However, you’ll need a LiteSpeed Web Server or the QUIC.cloud CDN service to use its caching features; the optimization features work anywhere.
How to Clear Your WordPress Cache
To clear (or “purge”) your cache, you delete the stored copies so the next request rebuilds the page fresh. Do this whenever a change you’ve published isn’t showing up on the live site. Stale content can hide in several layers, so clear each cache your site uses. Start with these common layers:
- Your caching plugin: Every major caching plugin has a purge option. Look for a Delete Cache, Purge, or Clear Cache button in the plugin’s settings page or the WordPress admin toolbar.
- Your host’s server cache: On DreamPress, the Nginx Helper plugin manages the NGINX server cache, and you can purge an individual post, a page, or your entire site. DreamHost’s guide to managing the DreamPress cache has the steps.
- The browser: You can’t remotely purge your visitors’ browsers; their stored files expire on the schedule set by your Cache-Control headers. To check your own view of the site, reload the page while bypassing your browser cache (a “hard refresh”) or open it in a private browsing window.
Website Caching FAQs
Can every website be cached?
Most public, non-personalized pages can be page-cached. Personalized or highly dynamic content is the exception: shopping carts, checkouts, and logged-in dashboards change per visitor, so page caches typically exclude them. WP Super Cache, for example, serves its static files to visitors who aren’t logged in and haven’t left a comment. For dynamic pages, object caching speeds up the underlying database work instead.
When should I use a CDN vs. an object cache like Redis?
Use both if you can, because they solve different problems. A CDN fixes distance: it stores copies of your content on servers around the world so every visitor downloads from a nearby location. A Redis object cache fixes repeated database queries: it keeps query results in fast memory on your server, which speeds up dynamic and logged-in pages. If your audience is global, start with the CDN; if your pages lean heavily on the database, start with Redis.
Will a caching plugin conflict with my host’s built-in caching?
It can. When your host already caches at the server level, a caching plugin duplicates the work at best and serves stale pages at worst. DreamHost’s documentation says it plainly for DreamPress: third-party caching plugins “are not necessary and could even conflict with the built-in DreamPress cache.” Check your host’s documentation before installing one.
How do I clear the DreamHost cache?
On DreamPress, purge the built-in cache from your WordPress dashboard: DreamPress provides controls to flush an individual post or page, or your entire site, after you make changes. The Nginx Helper plugin manages the NGINX server cache and handles purging when content is updated. DreamHost’s knowledge base article on managing the DreamPress cache has step-by-step instructions.
Does caching improve SEO?
Indirectly, yes. Caching makes pages load faster, and Google states that Core Web Vitals, its page experience metrics that include loading speed, are used by its ranking systems. Speed won’t outrank better content, but when many pages answer a query well, Google says a great page experience “can contribute to success in Search.”
Keep Website Visitors Happy with Faster Load Times
Ultimately, caching your WordPress website is one of the most effective ways to speed it up. After you implement browser or server-level caching, returning visitors get stored copies of your pages instead of waiting for the server to rebuild them, and your site stays steady when traffic spikes.
To get started, install a free caching plugin such as WP Super Cache and leave it in Simple mode; that alone puts static copies of your pages in front of most visitors.
Or skip the setup entirely. DreamPress, our managed WordPress hosting, includes built-in multi-layer caching with one-click purging on every plan, so your cache is configured, running, and easy to clear from day one.

Do More with DreamPress
DreamPress’ automatic updates, caching, and strong security defenses take server management off your hands so you can focus on content creation.
Check Out Plans