When updating your website’s content, you may find that you’ve accidentally created some broken links. That’s okay, it happens!
You see, when a URL changes and it’s not properly redirected, it will cause those broken links, also known as 404 Errors. These issues harm user experience and Search Engine Optimization (SEO).
The good news is that you can use redirects to fix broken links by rerouting traffic from old content to new web pages. In this way, you can optimize your website’s structure and avoid common front-end errors.
This post will discuss what redirects are and when you might consider using them. Then we’ll give you an overview of the basic redirect types and explain how you can implement them on your website. Ready?
An Introduction to Redirects
A redirect is a method that takes users visiting an old URL and sends them to a new page. Whenever a visitor clicks on the original URL, the redirect takes them to the relevant, updated page the site owner wants them to find instead.
One of the main reasons to use a redirect is to prevent visitors from seeing error pages. For example, if there are any broken links on your site, users may see a 404 error instead of the content they came for. This is also known as a 404 (Page Not Found) error:
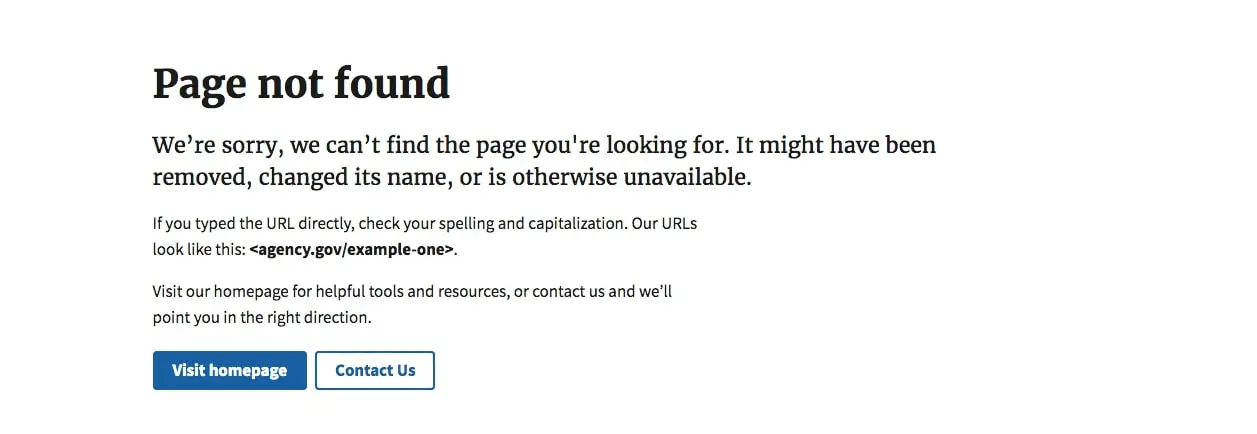
After encountering a 404 message, visitors are more likely to leave your website. This is not ideal under any circumstances. Plus, a higher bounce rate can harm your SEO.
However, you can avoid these issues by using a redirect. You can send users to relevant content even after the URL changes. Here are some instances when you might need to redirect a link:
- After deleting a page
- Following content updates
- When changing your Content Management System (CMS)
- After modifying your permalink structure
Redirects can offer many benefits, but only when used correctly. Therefore, it’s important to consider some redirect best practices. That way, you can avoid common mistakes.
For example, ‘redirect chains’ occur when there are multiple redirects going from the original content to the final URL. This can increase page loading time, decrease link equity, and negatively impact SEO.
If your content has a redirect loop, this means there are multiple redirects that eventually lead back to the original URL. As a result, visitors may end up waiting longer for the same error message instead of your content.
To check your website for redirect chains and loops, you can use a platform such as Screaming Frog. This tool provides a website crawler that can audit redirects:
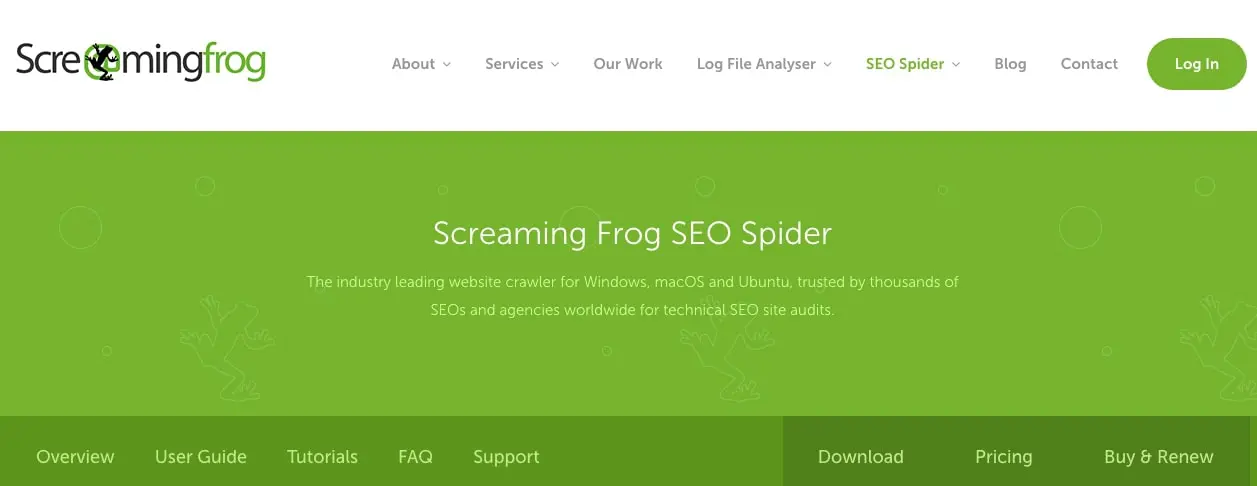
With Screaming Frog’s SEO Spider, you can bulk check your redirects. Using this tool, you can identify any redirect loops or chains and use a new redirect to fix any problems.
6 Types of URL Redirects (And Why You Might Use Them)
Now that you know the basics of URL redirects, let’s discuss the available different types. That way, you can choose the best option for your website.
301 Redirect
A 301 redirect is a permanent redirect from a deleted or moved web page. This is one of the most common redirect types.
Since a 301 redirect is permanent, you’ll want to use this option only when you don’t need to access the original content again. When you implement a 301 redirect, its code informs search engine crawlers that certain content has been removed and no longer needs to be indexed.
You should consider using a 301 redirect when:
- Permanently deleting a website page
- Moving your website to a new domain
- Changing a page URL by shortening or cloaking links
- Consolidating multiple pieces of content into a combined web page
A 301 redirect can be very useful for improving the user experience on your website. With it, you can permanently prevent users from seeing a 404 error page.
For instance, if one of your products is no longer available, you could redirect traffic to your other product collections. This can keep visitors on your website by giving them similar recommendations:

This tactic may also benefit your SEO. For instance, with 301 redirects, you can merge multiple pieces of thin content into a single in-depth resource. This is a smart way to repurpose content and improve underperforming web pages.
302 Redirect
A 302 redirect is similar to a 301, except that it’s a temporary redirect. It indicates that the original content has been temporarily moved to a new URL.
On the browser side (i.e., from the user’s perspective), there isn’t much difference between a 302 and 301 redirect. However, a 302 redirect has a different HTTP response status code. This code informs search engines not to update their links to the original resource.
Consider using a 302 redirect when:
- Making changes to the original content
- Performing A/B testing
- Informing your audience about sold-out products
302 redirects can often improve user experience by keeping visitors informed about website changes and updates. For example, you could temporarily redirect to a countdown page when relaunching a product:

The best part about 302 redirects is that you can return to the original content at a later time. So rather than permanently preventing search engines and viewers from seeing certain pages, you can simply redirect to a temporary stand-in page.
303 Redirect
A 303 redirect is an HTTP response status code that means “see other.” Similar to a 302 redirect, it is a temporary code that informs the browser and search engine that the original content was replaced with a similar resource.
The main difference between 303 and 302 redirects is that a 303 is not cacheable. This can be useful if you don’t want Google to store a certain web page over the long term.
303 redirects are useful for rerouting after PUT or POST request methods. This ensures that refreshing the page doesn’t trigger the redirect again.
For example, you can use a 303 redirect to handle form submissions. These are commonly used to redirect to thank you pages after entries:
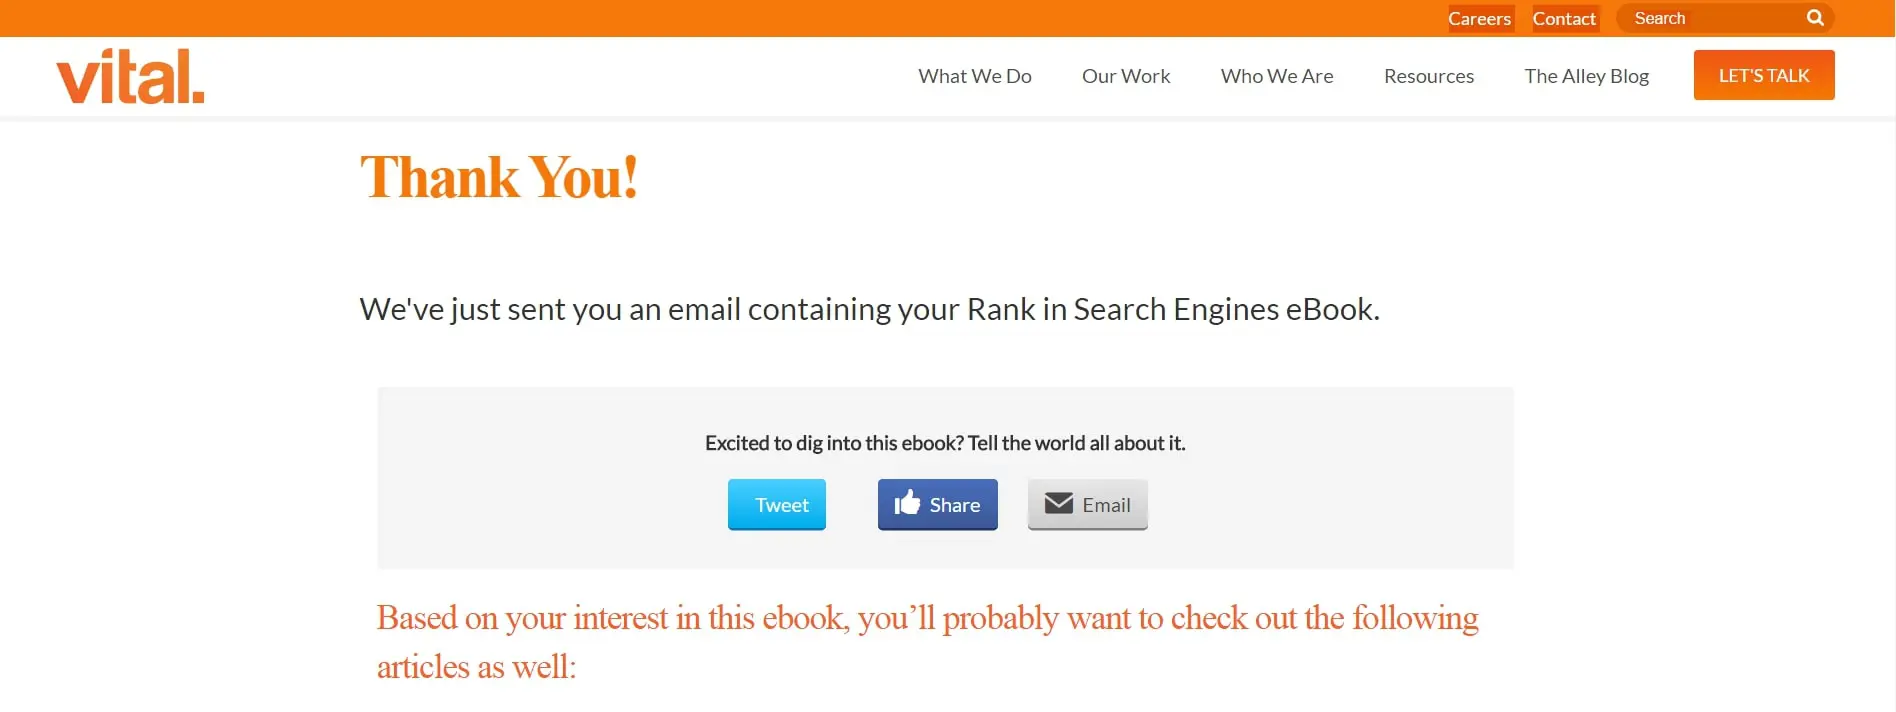
After a visitor completes the form, a 303 redirect won’t allow them to use the back button to refresh the page. By using this redirect, you can avoid receiving duplicate form submissions.
307 Redirect
Another temporary option is the 307 redirect. This is a server-side redirect that informs search engines that you might change the URL in the future. What makes a 307 redirect unique is that it requires the HTTP request method to stay consistent.
Although they are similar to 302 redirects, 307 redirects can be more clear. That’s because a 307 redirect doesn’t allow conversions from the POST to the GET request method.
You may want to use a 307 redirect when running a recurring promotion or giveaway. This can be useful for performing frequent URL updates:

A 307 redirect can enable you to periodically update a link’s content while still using the original URL. This way, you can avoid losing any web traffic.
308 Redirect
Similar to a 301 redirect, a 308 redirect indicates that the original URL is being permanently relocated. However, 308 redirects don’t allow changing the request method from POST to GET.
You can use 308 redirects for all the same 301 redirect use cases, such as when permanently moving a resource to a new location. Additionally, a 308 redirect can come in handy when you’re migrating a website that contains many forms created via the POST method.
Additionally, using a 308 redirect can give you greater control over browser requests. Since you can specify either a POST or GET request method, this can often be cleaner and more efficient than 301 redirects.
Meta Refresh
Unlike the other methods on this list, a meta refresh is a client-side redirect. Instead of redirecting on the web server, this happens in the web browser. You might recognize this redirect as a refresh countdown timer on certain pages:

You can use this type of redirect to refresh a web page that a visitor is already on. This can be beneficial for updating dynamic web pages such as online auctions.
Unfortunately, implementing a meta refresh can also come with some downsides. When you use this technique, search engines could possibly flag your website as spam. Also, meta refreshes can impact user experience due to increased loading times.
How to Implement Redirects (3 Methods)
Each redirect type can offer specific benefits to your website. As such, you’ll want to carefully consider which is the most appropriate redirect for your goals. Then, you can easily implement your redirects via one of the following methods.
1. Use a WordPress Redirect Plugin
WordPress is open-source software, and web developers are always creating new plugins to enhance its functionality. For WordPress website owners, a redirect plugin is one of the simplest ways to create your redirects.
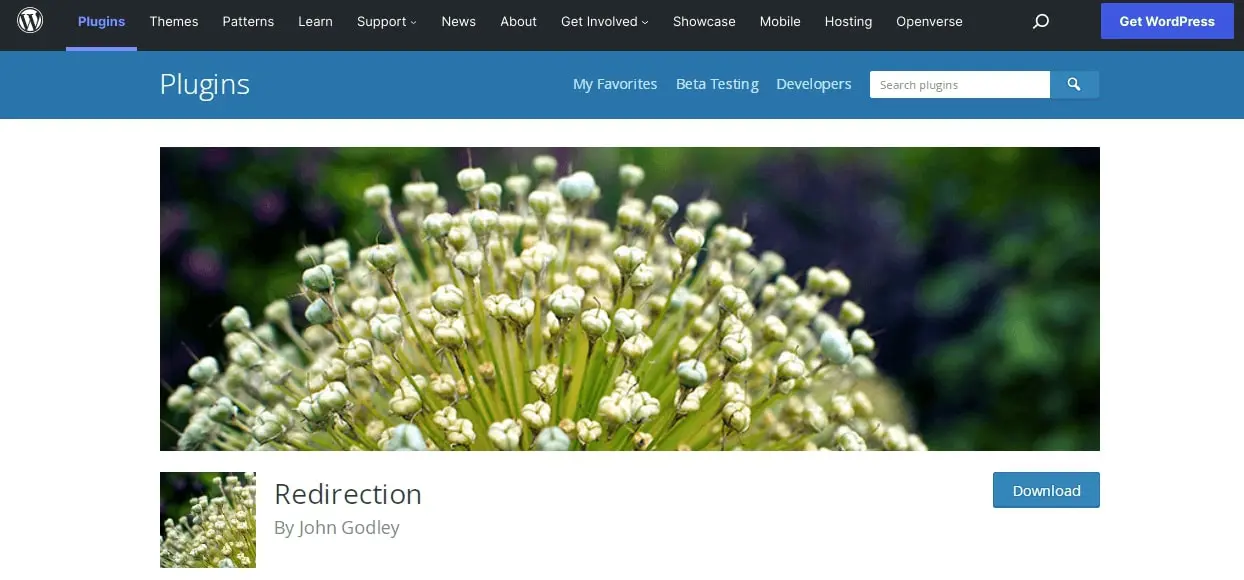
If this option appeals to you, we’d recommend downloading and installing the Redirection plugin. This is a free tool that enables you to manage all of your redirects in one place:
If you use this plugin, you won’t have to rely on complicated coding. As long as your WordPress website supports permalinks, you can use Redirection to scan for broken links and fix them with redirects.
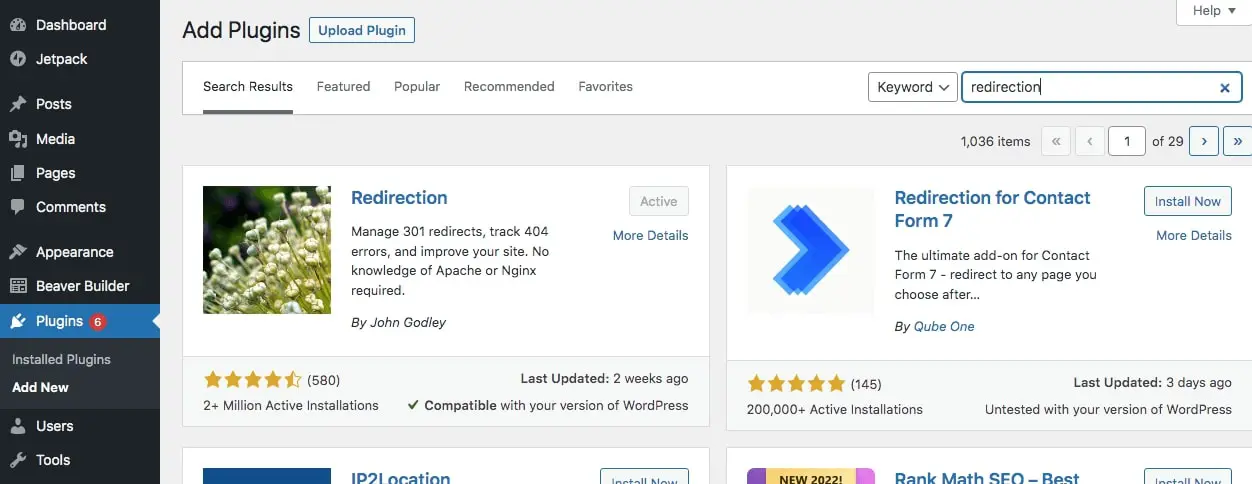
To get started, navigate to your WordPress dashboard. Then go to Plugins > Add New. Look for the Redirection plugin using the search tool. When you find it, simply install and activate it:
Next, go to Tools > Redirection. This will allow you to create new redirects or edit existing ones:
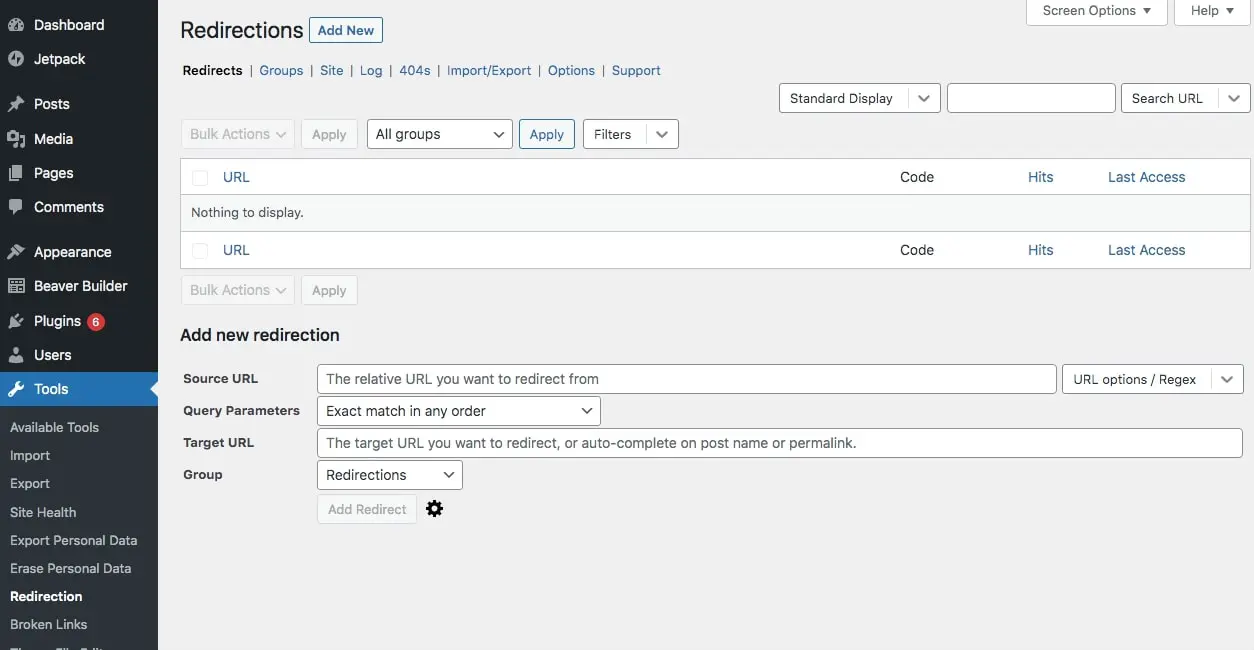
Click on Add New, and enter both the source URL and the target URL:
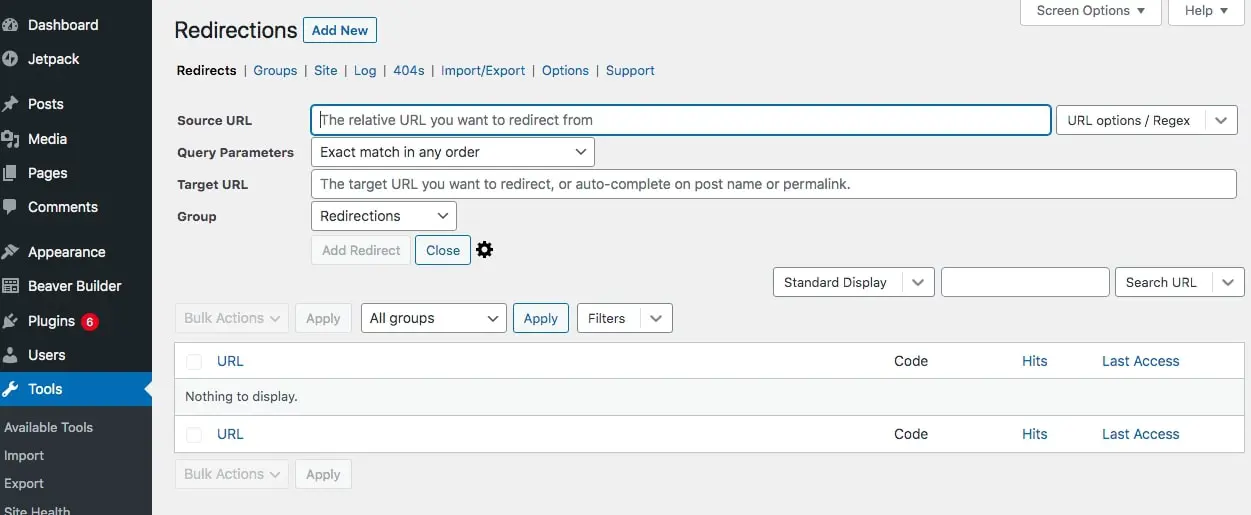
Then, find HTTP code in the advanced options and pick from the list of redirect types. You’ll be able to choose from 301, 302, 303, 304, 307, and 308 redirects:
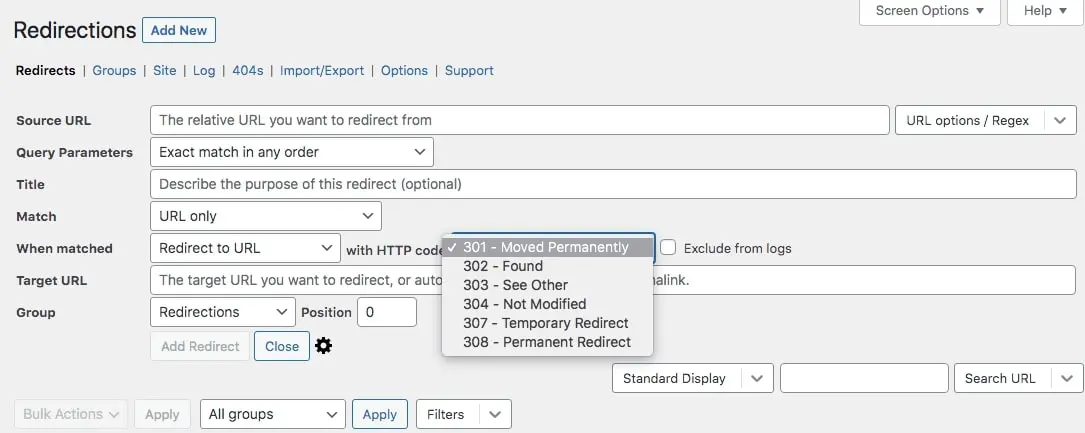
When you’re finished customizing your redirect, click on Add Redirect. It’s as simple as that!
2. Create a Redirect Using Your .htaccess File
.htaccess is a configuration file that you can use to make changes to your server software. Using this method, you can redirect certain URLs, make custom 404 error pages, and change your permalinks from HTTP to HTTPS. However, this file is only accessible on Apache servers.
You can find your .htaccess file in your website’s root folder. Exactly how you access this will depend on your web host and plan. If you have a plan here at DreamHost, you can access your account, select the site you want to work with, and go to Manage Files. Look for the folder named after your site and click on it:

Then locate the .htaccess file. Right-click on it, and choose Edit:
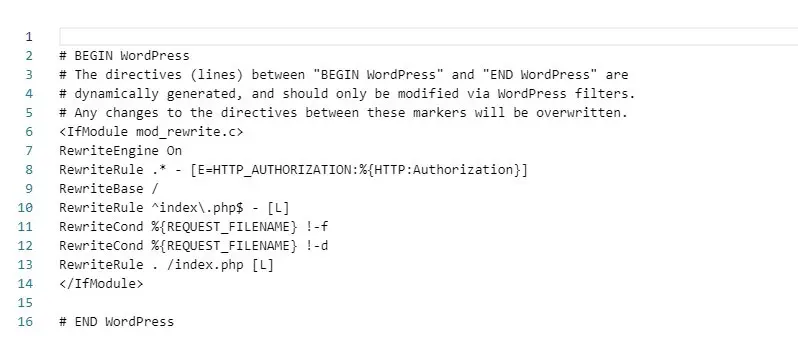
Use the text editor to add your redirect code. If you’re redirecting from one internal page to another, here is the basic formatting you should use:
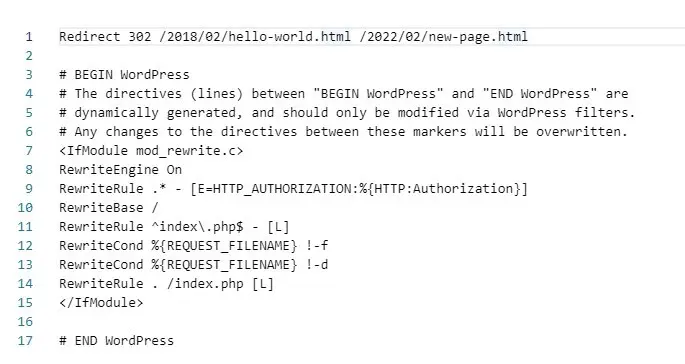
Redirect [redirect type] [/path/to/old/file/old.html] [/path/to/new/file/new.html]
If redirecting to an external page, replace the final part with the full URL for the page you want to send visitors to.
For example, we implemented a 302 redirect. This is what our .htaccess code looked like:
If you’re implementing a meta refresh, you can use this code instead:
<meta http-equiv="refresh" content="2;url=http://example.com/" />
Once you’ve finished, click on Save & Close. Then you’ll probably want to check your work. To do this, simply visit the old URL in a browser to see if it directs to the new page.
3. Make a Redirect in Your PHP file
Another easy way to implement a redirect is by using PHP. This involves adding the header () function to a PHP file to direct visitors to a new URL. However, your original source will need to be a PHP file for this process to work.
To get started, open a text editor. For those using a Microsoft computer, we’d recommend Notepad++. For Mac users, Tumult Whisk is a good alternative.
Then, make sure the language is set to PHP. Open your source PHP file, and add your redirect code as the first line of the document. For example, a 301 redirect source code looks like this:
<?php
header("HTTP/1.1 301 Moved Permanently");
header("Location: https://www.domain.com/the-new-name.php");
header("Connection: close");
?>
Remember that if you don’t define your 301 redirect in the header, it will automatically default to a 302 redirect. When you’re finished, save the file and test your results by visiting the old link.
A Solution to Broken Links
Broken links may increase your website’s bounce rate, but you can avoid this problem by using redirects. While 301 redirects are the most common solution for rerouting traffic, there are many other temporary options. By choosing the right redirect, you can avoid displaying 404 error pages and keep visitors on your website longer.
With DreamHost, you can avoid this kind of complicated website management. We offer professional website management services that leave any technical problems to the experts. Check out our plans today to ensure that all your pages are primed for peak performance!

Website Management Made Easy
Let us handle the backend — we’ll manage and monitor your website so it’s safe, secure, and always up.
Learn More