18 Common WordPress Errors (And How To Fix Them)
Nothing can ruin your day quite like an unexpected WordPress error.
Thankfully, WordPress is generally a well-oiled machine that lives up to its reputation and isn’t likely to throw errors without reason. Alas, that can make it all the more frustrating when a problem does appear, especially if you don’t know how to fix it.
Many errors are intimidating at first glance, especially to WordPress beginners. Luckily, most errors stem from minor issues that are easy to deal with, and once you understand the source of the problem, all it takes is some basic troubleshooting to get your site back up and running.
So, let’s get into it! This article will show you how to diagnose the most common WordPress errors, but we’re not stopping there! We’ll also walk you through how to fix the WordPress errors, step-by-step, to get your site back to normal. And remember, if you don’t see your error listed here, you can always head to WordPress’ official list of common issues to find more help.
Let’s start from the top!
- 1. This Site Is Experiencing Technical Difficulties
- 2. Parse Error/Syntax Error
- 3. Maximum Execution Time Exceeded
- 4. White Screen Of Death (WSoD)
- 5. 400 Errors
- 6. 500 Errors
- 7. Error Establishing A Database Connection
- 8. Connection Timed Out Error
- 9. Secure Connection Error
- 10. Your Site’s Sidebar Appears Below The Main Content
- 11. You’re Unable To Upload Images
- 12. Changes Aren’t Visible On Your Live Site
- 13. You’re Unable To Access The WordPress Admin Area
- 14. WordPress Is Stuck In Maintenance Mode
- 15. Missed Scheduled Post Error
- 16. WordPress Failed To Auto-Update
- 17. The Site Ahead Contains Harmful Programs
- 18. Your Connection Is Not Private
- Trial And Error
1. This Site Is Experiencing Technical Difficulties
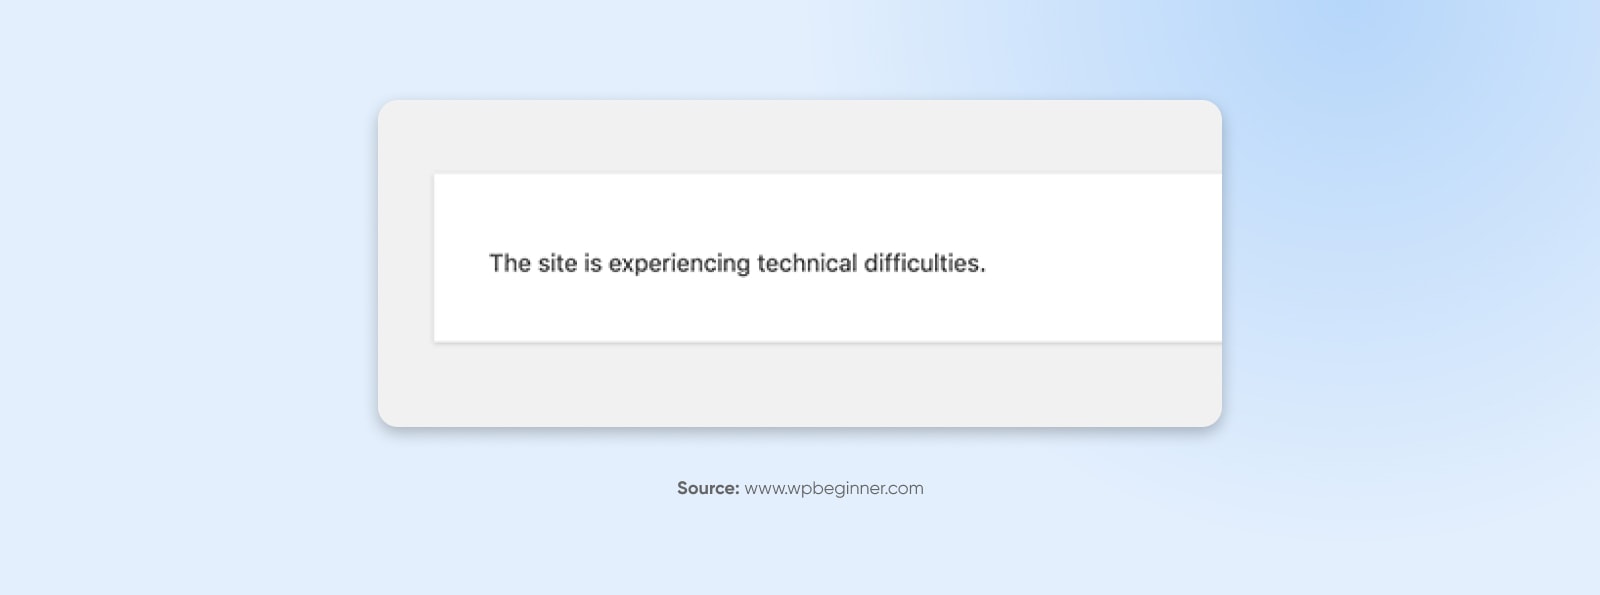
WordPress introduced fatal error protection features in WordPress 5.2. If your site encounters a fatal error, you’ll get a simple message: “This site is experiencing technical difficulties.”
Luckily, WordPress also has built-in features to fix these errors. You’ll receive a full report with the cause of the error to your admin email address, along with a link to access your site’s backend, where you can fix it.
2. Parse Error/Syntax Error
Here’s another easy one — While many of the errors we’ll be learning about can be frustrating because of how little information they give you, the ‘parse error’ (or ‘syntax error’), a type of PHP error, is at least helpful enough to tell you exactly what’s wrong.
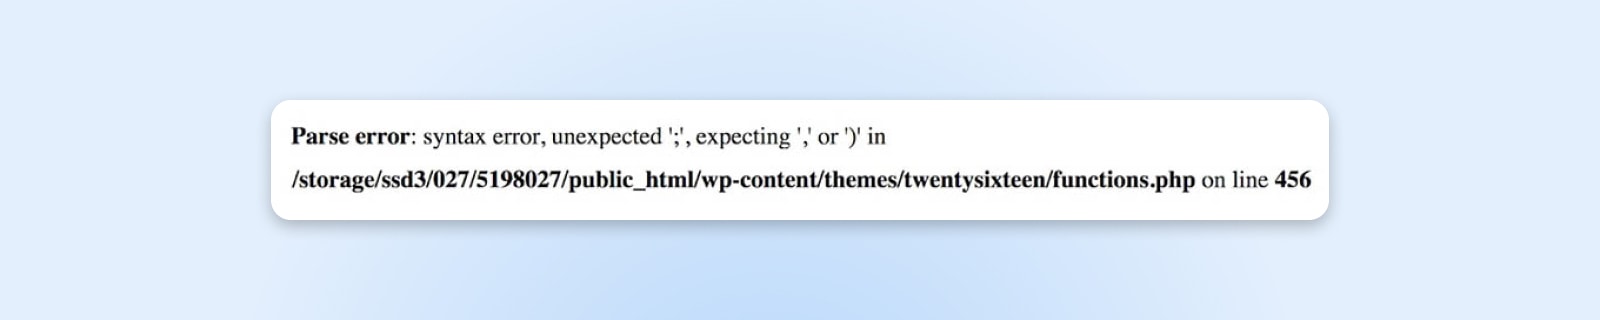
This error occurs when there’s an issue with your site’s code, usually when you’ve added a code snippet with some incorrect syntax (most commonly in the functions.php file.) Instead of loading your page, a simple message appears, explaining what the issue is and where it occurred.
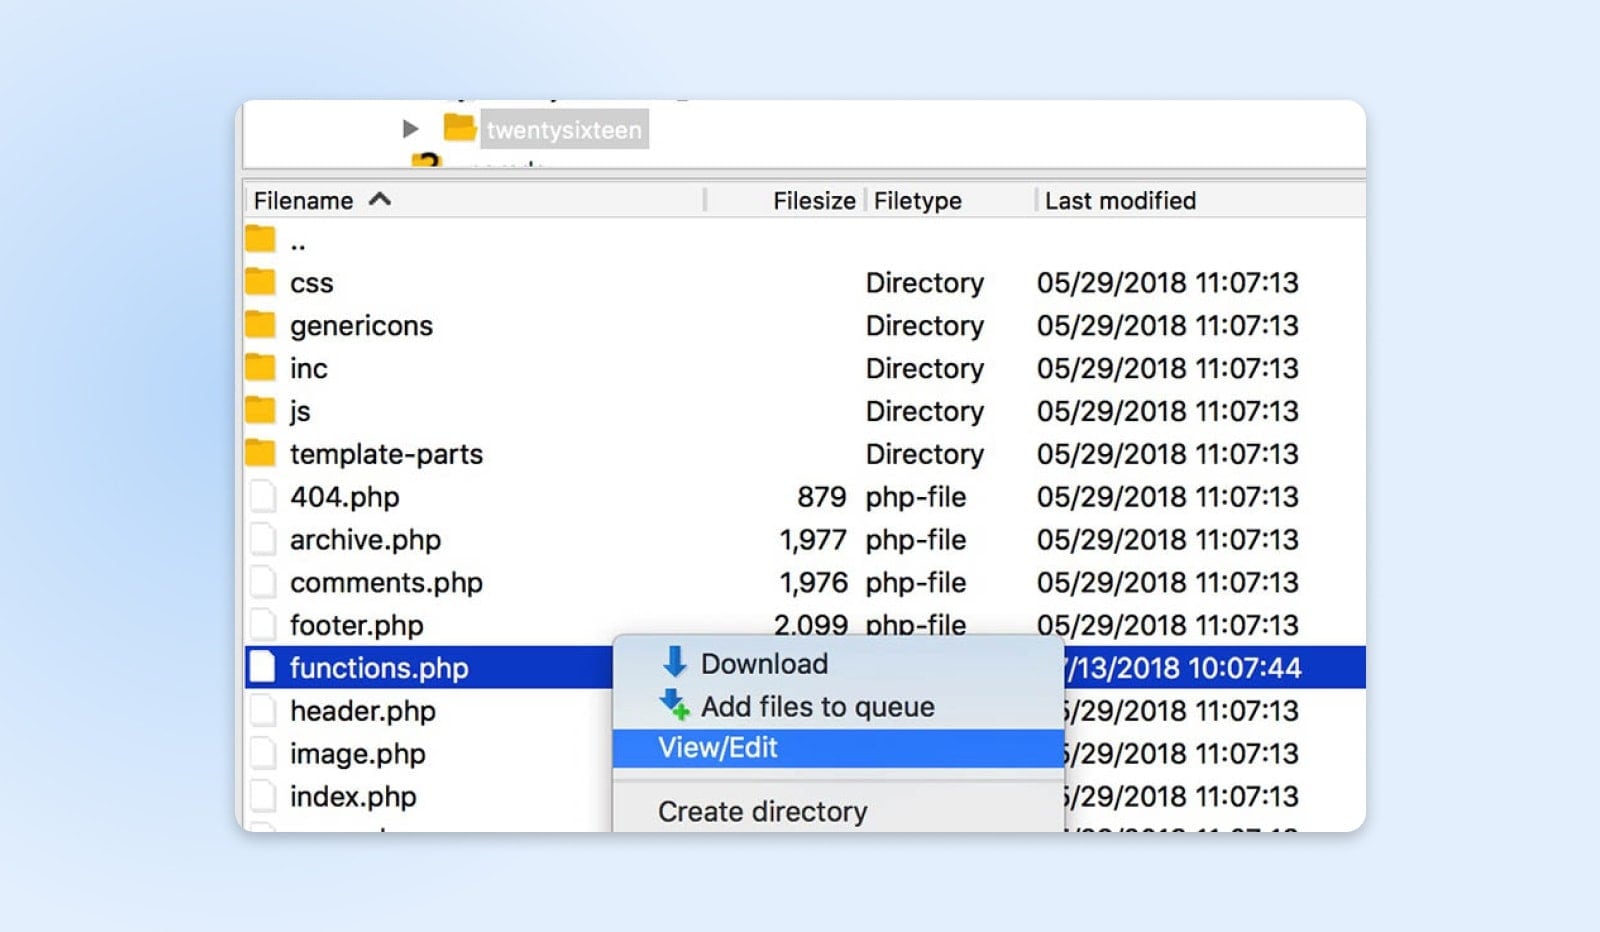
To fix the problem, you’ll need to access the specified file using SFTP. In our example, we will be using FileZilla, since it’s a free and open-source tool. Just use the SFTP credentials provided by your web host to access your site’s backend.
Then, you need to find the file in question. In the example pictured above, you can see that the problem is in the functions.php file for the site’s current theme. As such, we’ll access that theme’s folder, right-click on functions.php, and select View/Edit.
If you check the Parse error message, you can see it even tells you the exact line of code where the problem exists. Now, we just need to find that line and fix the problem. In our example, it’s a simple case of a missing parenthesis, so let’s sort that out.
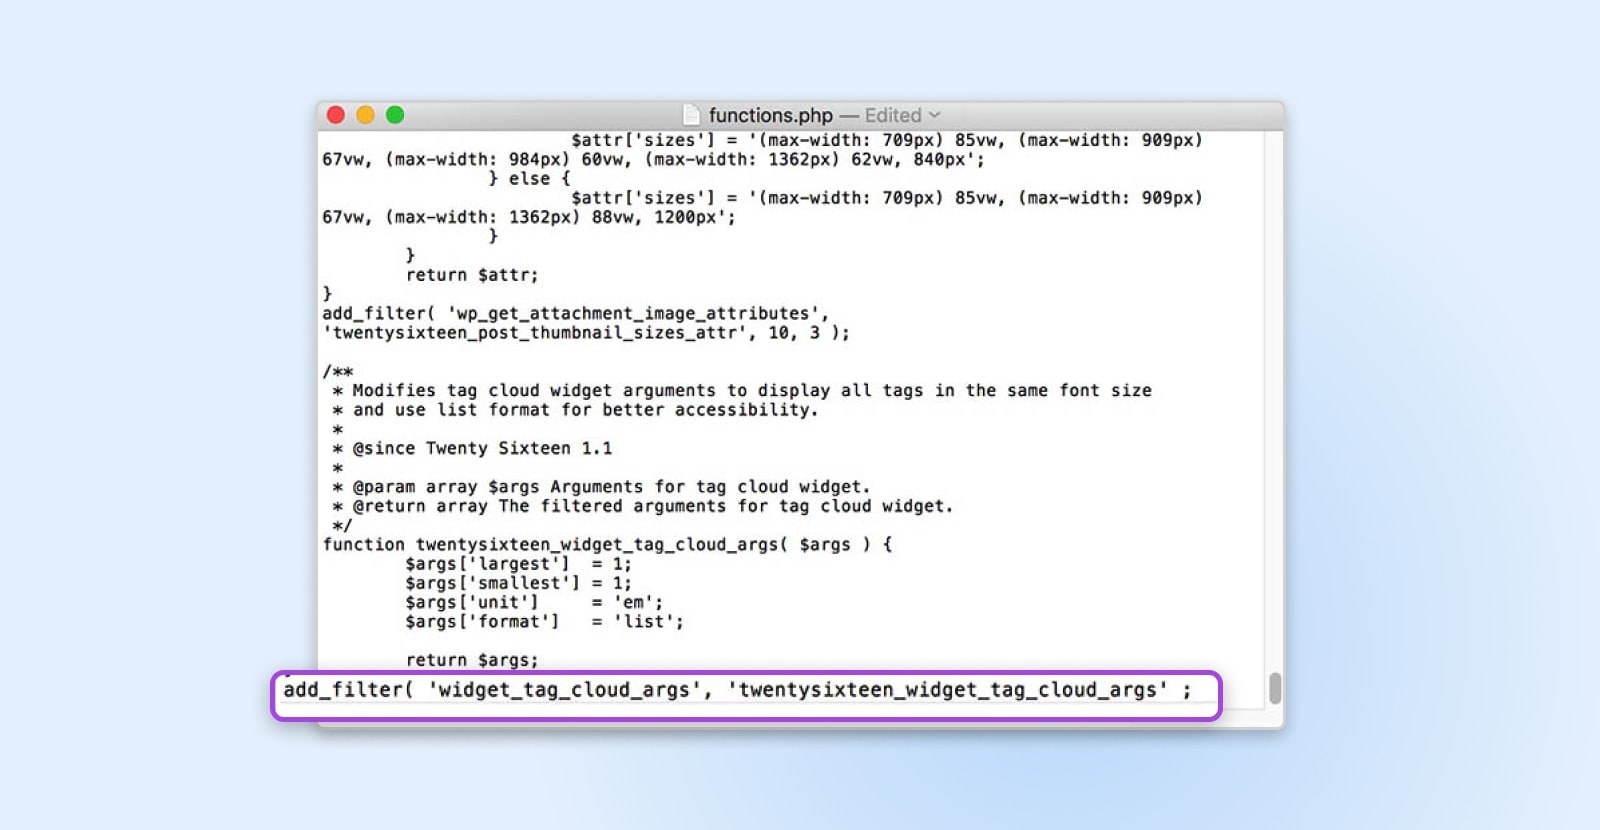
Save your file, and select Yes when your FTP client asks if you want to replace the existing file on the server. You should now be able to check your site and see that it’s back to normal.
3. Maximum Execution Time Exceeded
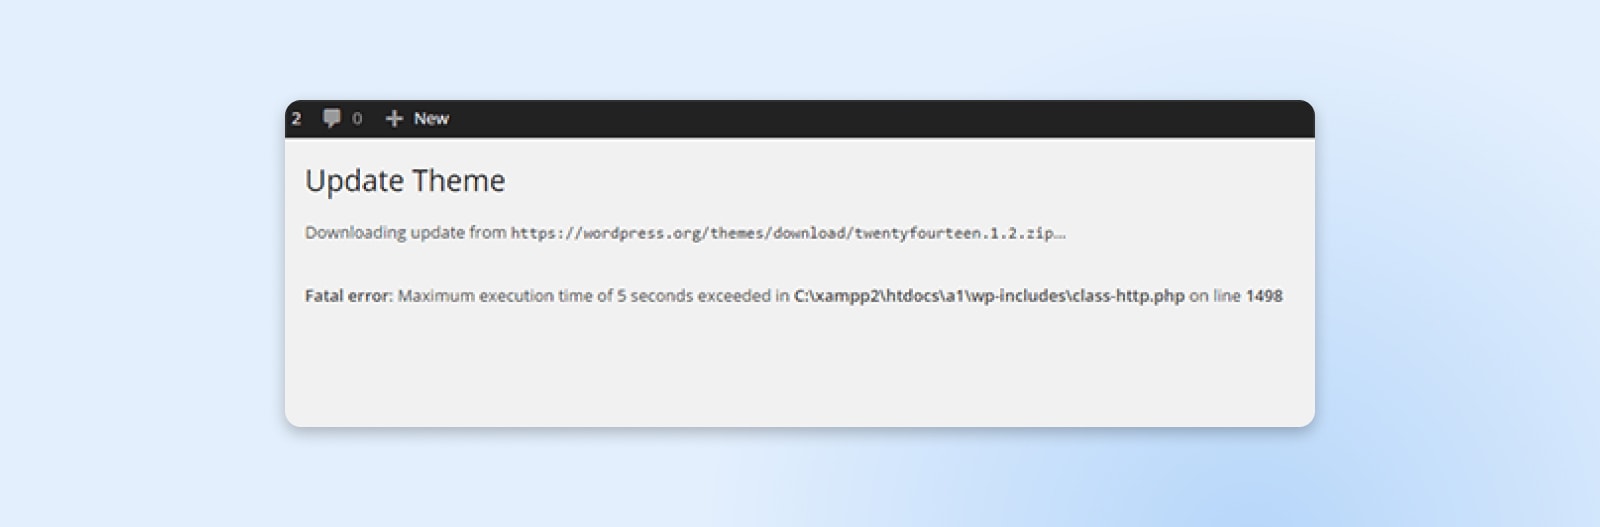
One of the most common PHP errors you’re likely to encounter is related to the time limits set for how long a PHP script can run. These time limits are set by WordPress hosting providers and can vary – some providers set them to higher values, while some set them lower. When a site processes data, if it can’t finish within the maximum time limit, it will time out and display this error: “Fatal error: Maximum execution time exceeded.”
There are two ways to resolve this issue.
The first way is to find the script that’s running too long and remove it. This is likely part of a plugin or theme, so deactivating plugins and reverting to a default theme are good places to start.
The simpler way may be to increase your maximum time limit. To do this, add the following code to your php.ini file:
max_execution_time = 300
You can also contact your hosting provider to ask about their maximum and if they can increase it for you.
Get Content Delivered Straight to Your Inbox
Subscribe to our blog and receive great content just like this delivered straight to your inbox.
4. White Screen Of Death (WSoD)
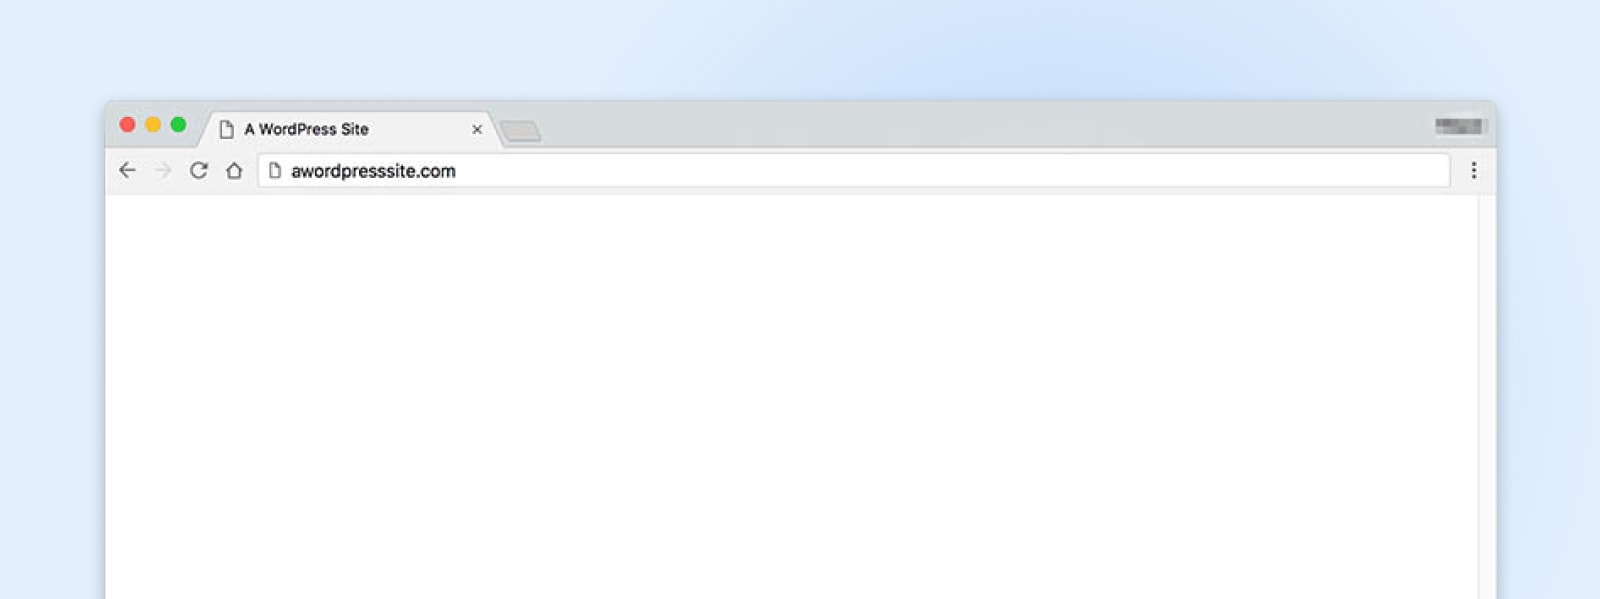
One of the most infamous and cryptic errors is the dreaded WordPress White Screen of Death (WSoD). This error replaces your entire site with a blank, white nothing. You get no error messages or further assistance.
This problem can occur for many different reasons, but it usually means your site couldn’t be loaded properly. Since there isn’t much information to go off, there are several methods for troubleshooting it.
We’ve covered how to fix the WSoD in-depth on this blog, so we recommend checking out that tutorial if you encounter this error. However, here’s a quick summary of the steps you can take when you encounter this particularly tricky problem:
- Disable your plugins. The most likely culprit behind the WSoD is a faulty plugin, so try disabling them all and see if that fixes the problem.
- Disable your theme. Your WordPress theme can also cause this issue, so use SFTP to replace it with one of WordPress’ default themes.
- Activate WordPress debug mode. This is a useful feature that lets you see errors directly on each page, which can help you pinpoint the underlying cause of the WSoD.
- Purge your cache. Your site’s caching solution could cause you to see outdated files, even if the WSoD has been fixed. Therefore, you’ll want to clear your cache and see if that resolves the problem.
- Raise your memory limit. It’s possible your site has run out of memory. You can raise your maximum limit by editing your php.ini file.
These methods will fix the WSoD in the vast majority of cases. However, if you’re still experiencing issues, you should contact your hosting provider’s support team for more help.
5. 400 Errors
400 Bad Request
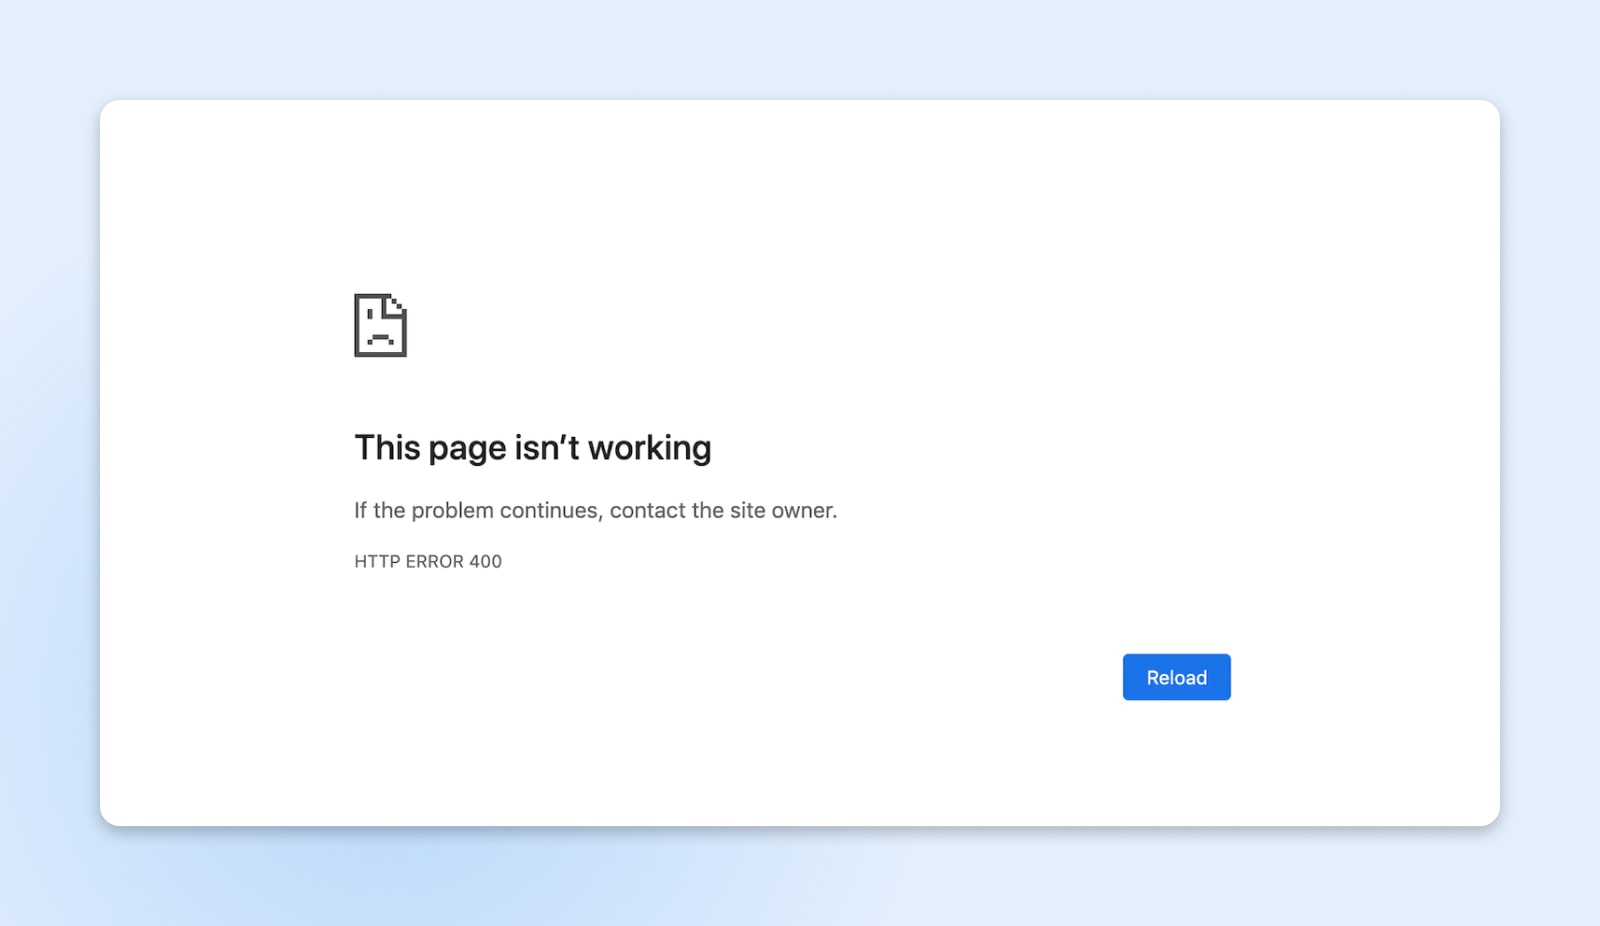
A 400 Bad Request error is kind of a catch-all for when your server has an issue, but it doesn’t fall into a specific category. That means it could have a lot of different causes – and a lot of different solutions. Here are some solutions to try:
- Check the URL for typos
- Clear your browser cache and cookies
- Clear your DNS cache
- Deactivate browser extensions
403 Forbidden
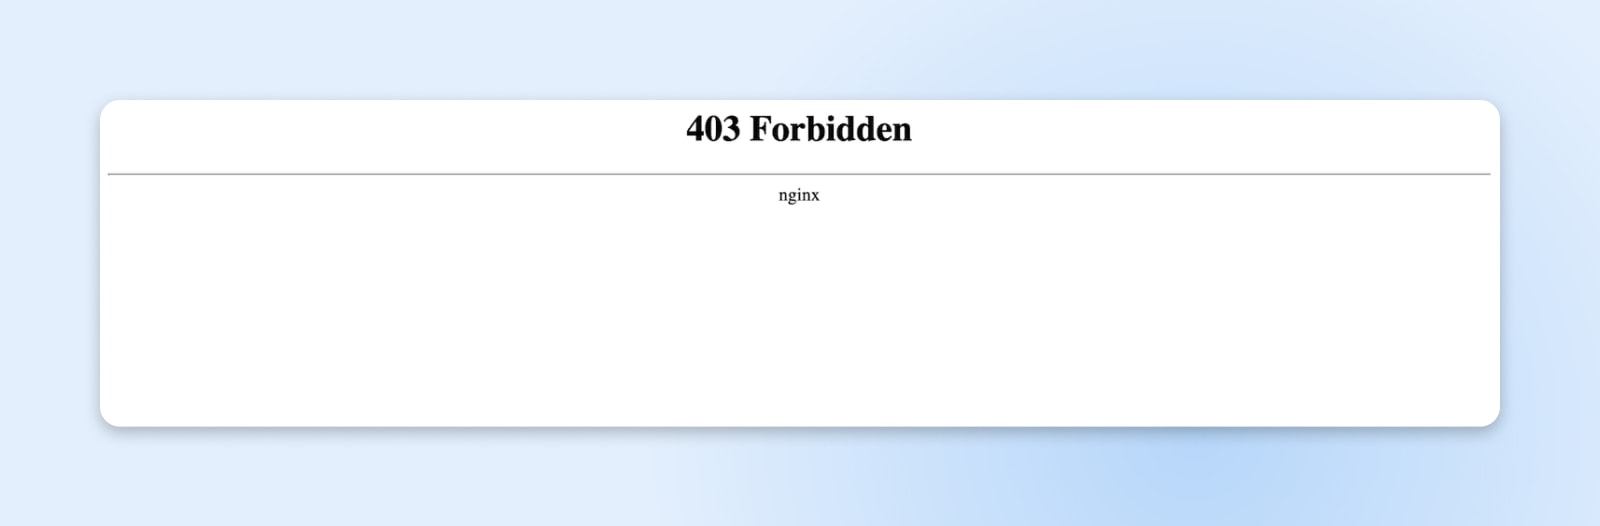
WordPress has a lot of built-in measures that help keep your site safe, including varying levels of “permissions.” These help bar people from accessing your site who shouldn’t, but if the permissions aren’t set correctly, you can get errors like a 403.
The typical cause is the .htaccess file. In simple terms, .htaccess is a file that dictates how your WordPress site communicates with its server. This file can be used to increase your site’s security and override some of the default server settings.
To fix a 403 error, you can reset your permissions. Or, a simpler way may be to generate a new .htaccess file. You can do that by going into your admin dashboard and accessing Settings > Permalinks.
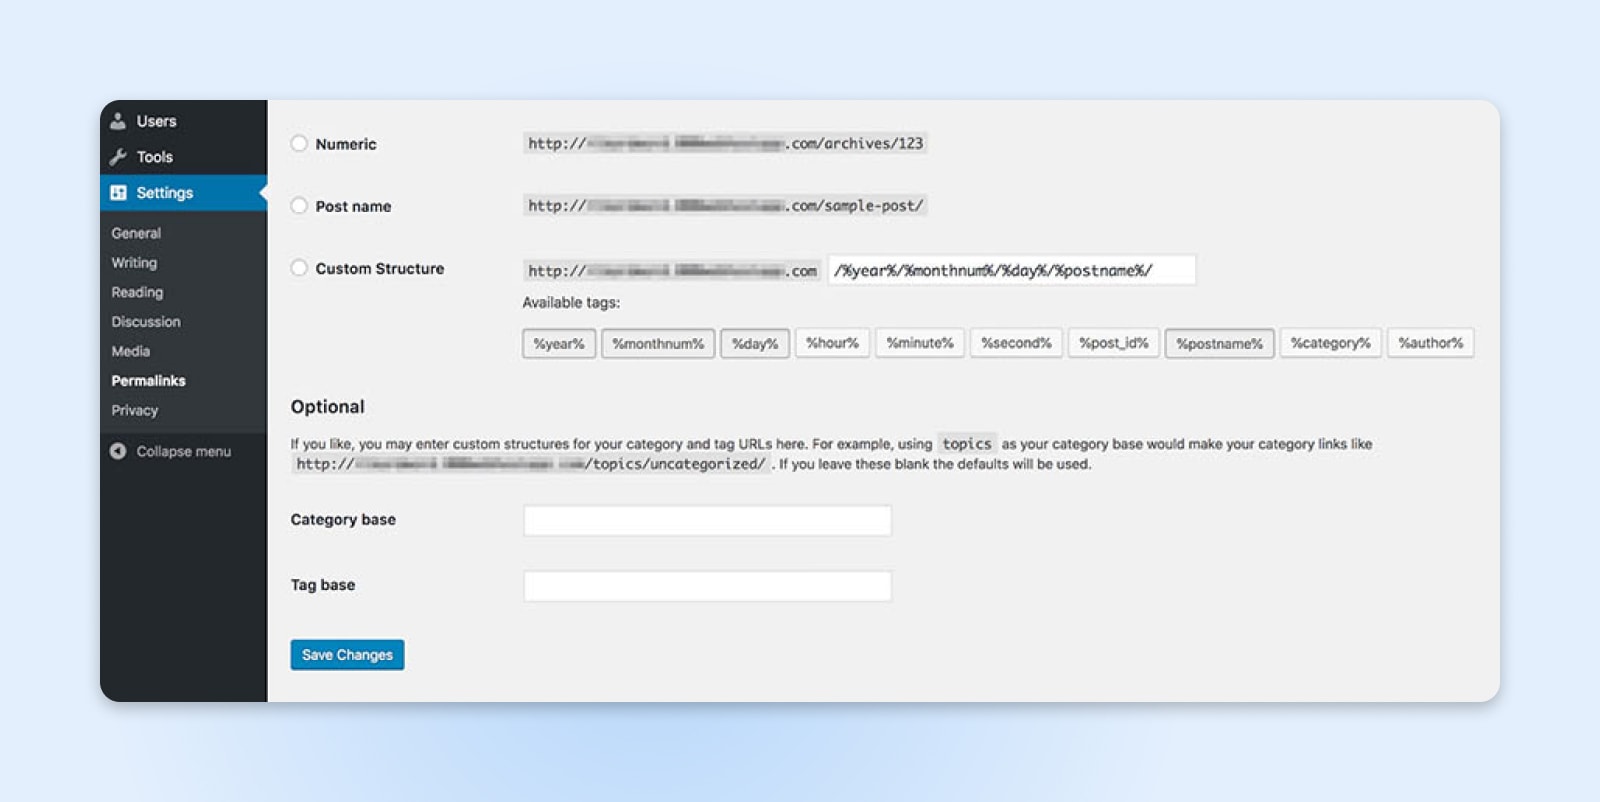
You don’t need to make any actual changes here. Just click on Save Changes to generate a new .htaccess file.
404 Not Found
The 404 Error code should be familiar to most internet users.
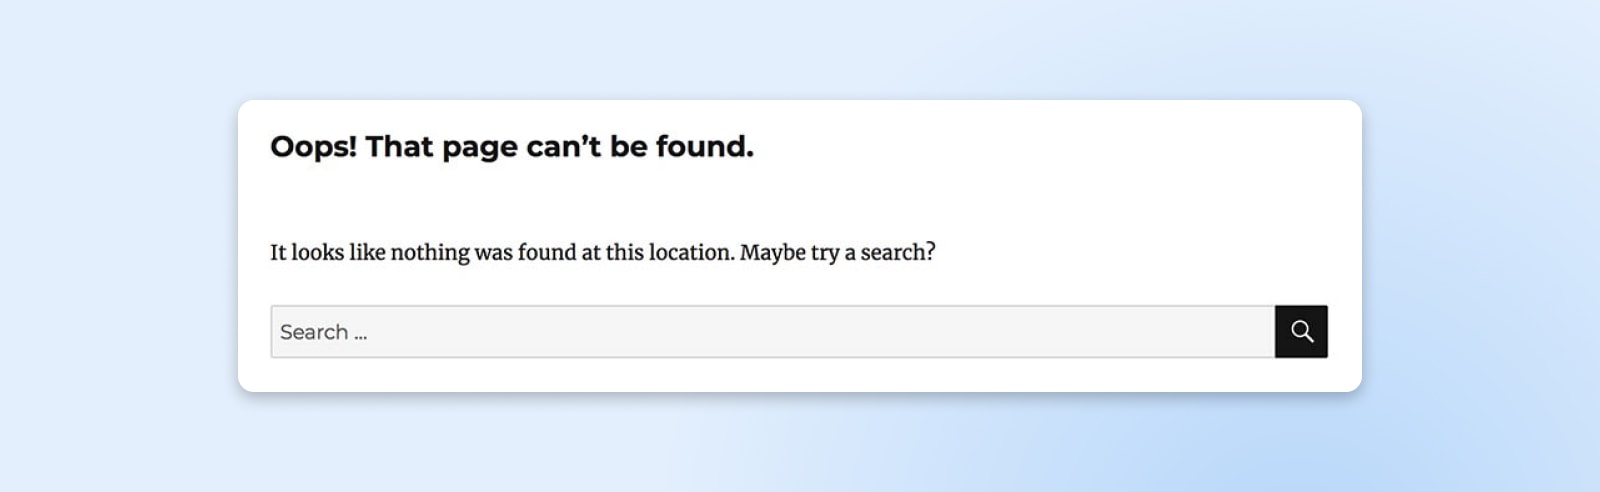
It means the server was unable to find the requested page. This error is most commonly associated with broken links and changed URLs, but it can still occur if the page you’re looking for should be available. It’s an extra frustrating error, since it can negatively affect your site’s user experience and SEO.
When this happens, the most likely culprit is, once again, the .htaccess file. This file also handles your site’s hyperlink structure, so it has the potential to redirect your URLs incorrectly. Your first step is to generate a new .htaccess file using the steps we outlined above.
In the unlikely event that this doesn’t resolve the error, you may need to re-upload .htaccess. The easiest way to do this is to create a new file, name it .htaccess (don’t forget the period, and do not add a file extension), and paste in the following code:
# BEGIN WordPress
RewriteEngine On
RewriteBase /
RewriteRule ^index.php$ – [L]
RewriteCond %{REQUEST_FILENAME} !-f
RewriteCond %{REQUEST_FILENAME} !-d
RewriteRule . /index.php [L]
# END WordPress
Then, upload the file to your site’s root folder. In most cases, this should resolve the 404 error you’re seeing.
405 Method Not Allowed
A 405 error means that your server got a request from your browser but rejected it for some reason. Unfortunately, this can be caused by a lot of things, which means there are a lot of potential solutions. Here are some fixes to try:
- Roll back any recent theme or plugin updates
- Deactivate plugins
- Revert to a default theme
- Check your server’s configuration and error logs
- Debug your application code
6. 500 Errors
500 Internal Server Error
The Internal Server Error is another issue that can be frustratingly opaque about the underlying problem.

Fortunately, this error has fewer potential causes than the WSoD. It will appear when an unknown issue occurs with the server and is generally caused by one of the following:
- There’s a problem with your site’s .htaccess file.
- Your site has reached its memory limit.
To test if your .htaccess file is causing the Internal Server Error, all you need to do is disable the file. You can do this by once again using SFTP. The file is usually located in your site’s root directory, which is often titled public_html.
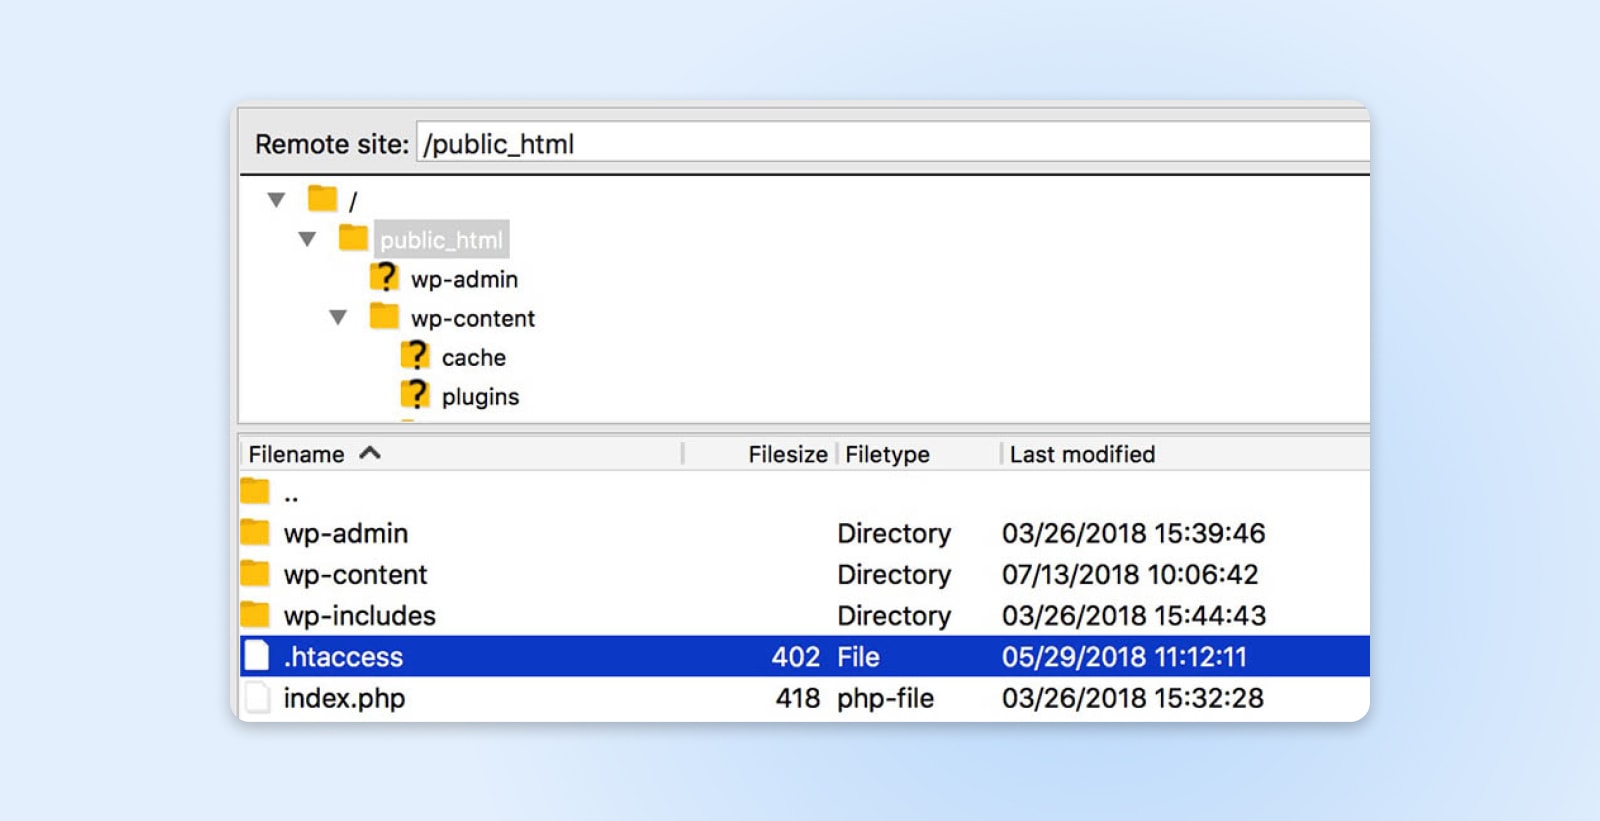
To disable the file, just change its name. For example, rename it .htaccess-disabled, then check your site to see if the issue is resolved.
If this does fix the problem, all you need to do is generate a new, bug-free .htaccess file. Follow the steps outlined above (go into your admin dashboard and access Settings > Permalinks, then click Save changes).
If disabling your .htaccess file doesn’t fix the error, you may need to increase your PHP memory limit – and we have a complete guide on how to do that. If you find that you can’t increase your limit any further, you may want to reach out to your web host about upgrading your current hosting plan.
502 Bad Gateway
Whenever one server acts as a proxy (or “gateway”) for another, there’s a chance that you might run into a 502 error, which happens when the proxy server gets an invalid response from the inbound server.
If you get a 502 error, it’s best to act fast since it can negatively impact your site’s SEO. Start by reloading the page and clearing your browser’s cache. If that doesn’t solve the problem, check for issues with your DNS and try disabling your CDN or firewall. If those don’t solve the problem, you should reach out to your host for help.
503 Service Unavailable
A 503 error means that your server can’t be reached. Even though your site is technically up, users won’t be able to access it until the error is solved.
There are a few reasons this might happen. One of them is simple: routine maintenance. If this is the problem, the error will resolve on its own once maintenance is complete.
Other causes can include high traffic levels or, in rarer cases, a more serious issue with your server. To solve a 503 error, try these fixes:
- Deactivate your plugins
- Switch to a default WordPress theme
- Disable your CDN
- Limit the WordPress Heartbeat API
- Increase your server’s resources
- Enable WP_DEBUG
In almost all cases, one of these will solve the error and make it so users can access your site again.
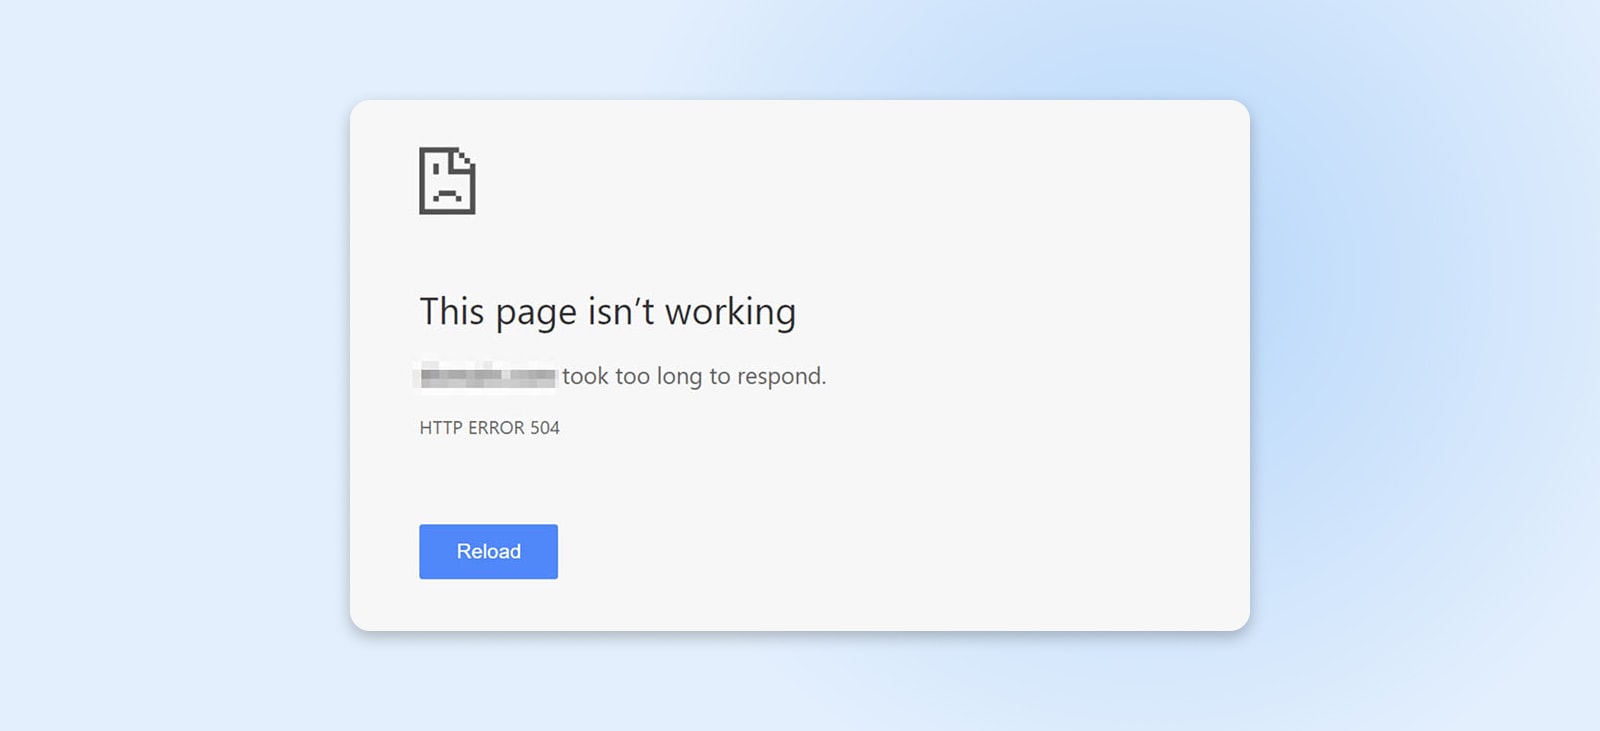
504 Gateway Timeout
Like a 502 error, a 504 error happens when there’s a problem with the communication between a proxy server and an inbound server. This time, though, the error means that the proxy server timed out while waiting for the inbound server to respond to a request.
Generally, one of these actions will solve this error:
- Reloading the page
- Disabling any active proxy settings
- Checking your DNS for problems
- Temporarily disabling your CDN
7. Error Establishing A Database Connection
As the name suggests, this error will appear if your site can’t access its database, which is where all the content, including posts, pages, and user information, is stored. If your site can’t access the database, it won’t be able to function at all.
There are a few reasons this error can occur, but most of them stem from a single file on your site: wp-config.php. This file contains all the information about your site’s database, so it’s the most likely origin for this type of issue.
To repair the database connection, access your site’s wp-config.php file, which should be located in the root folder.
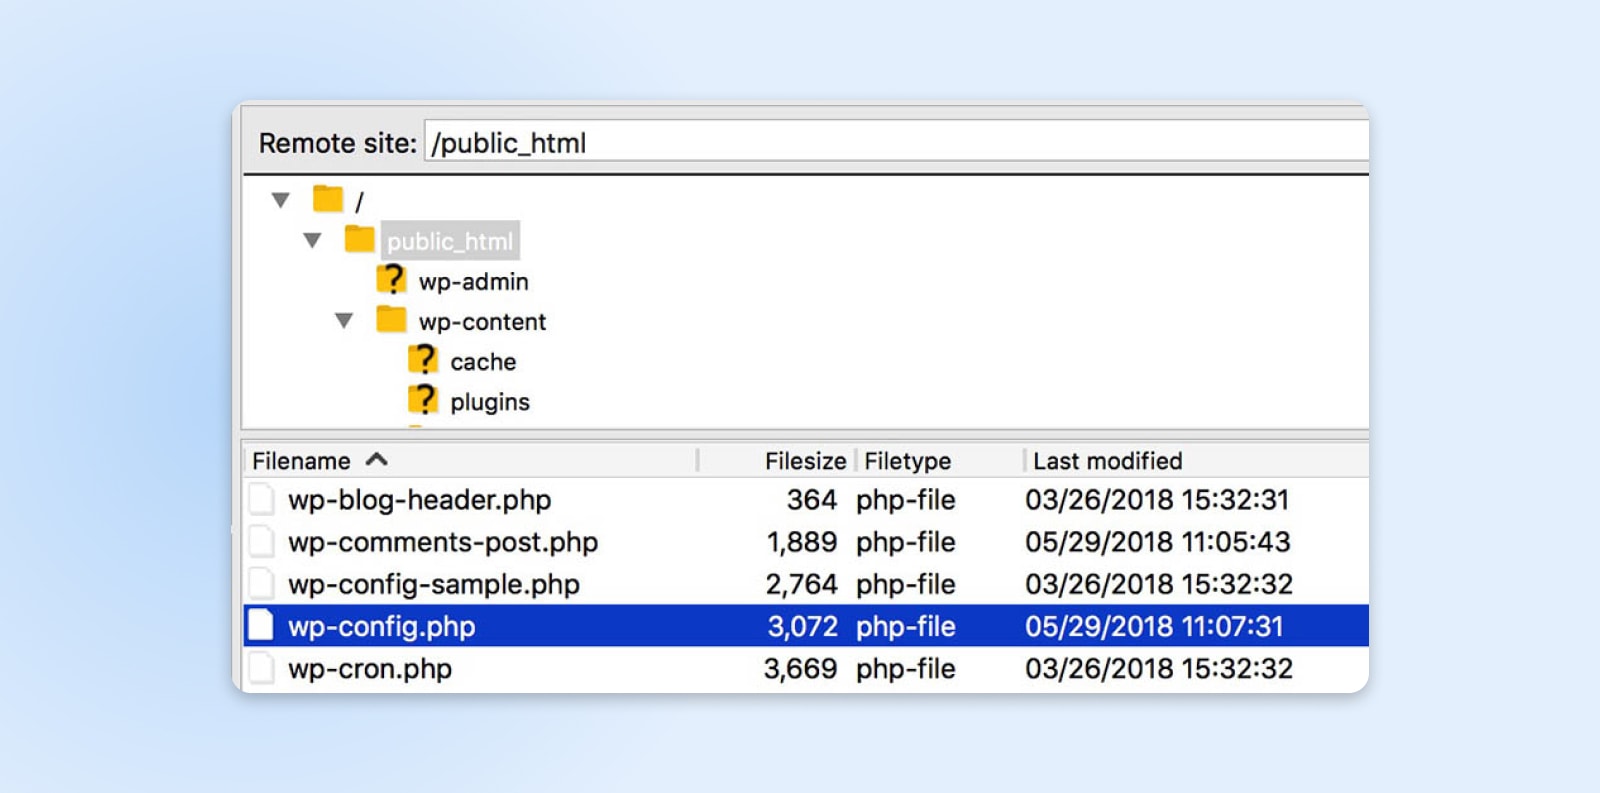
Right-click on the file and select View/Edit. You’ll first want to check that the credentials in the file are correct. To do that, you should access your phpMyAdmin to find the exact details. If the file’s hostname, username, password, or database name are incorrect, replacing them should fix the error.
However, if the error persists, you may need to activate WordPress’ automatic database optimization tool. This feature can be used to repair corrupted databases and can be turned on by adding the following line to your wp-config.php file:
define( ‘WP_ALLOW_REPAIR’, true );
After saving the file and uploading it back to your server, you can run the new script by navigating to https://yourwebsiteurl.com/wp-admin/maint/repair.php in your browser. The resulting page will look like this:

All you need to do is click on either of the buttons to run the repair tool. When the process is complete, the page will reload, and you should see a message telling you that the database tables have been fixed.
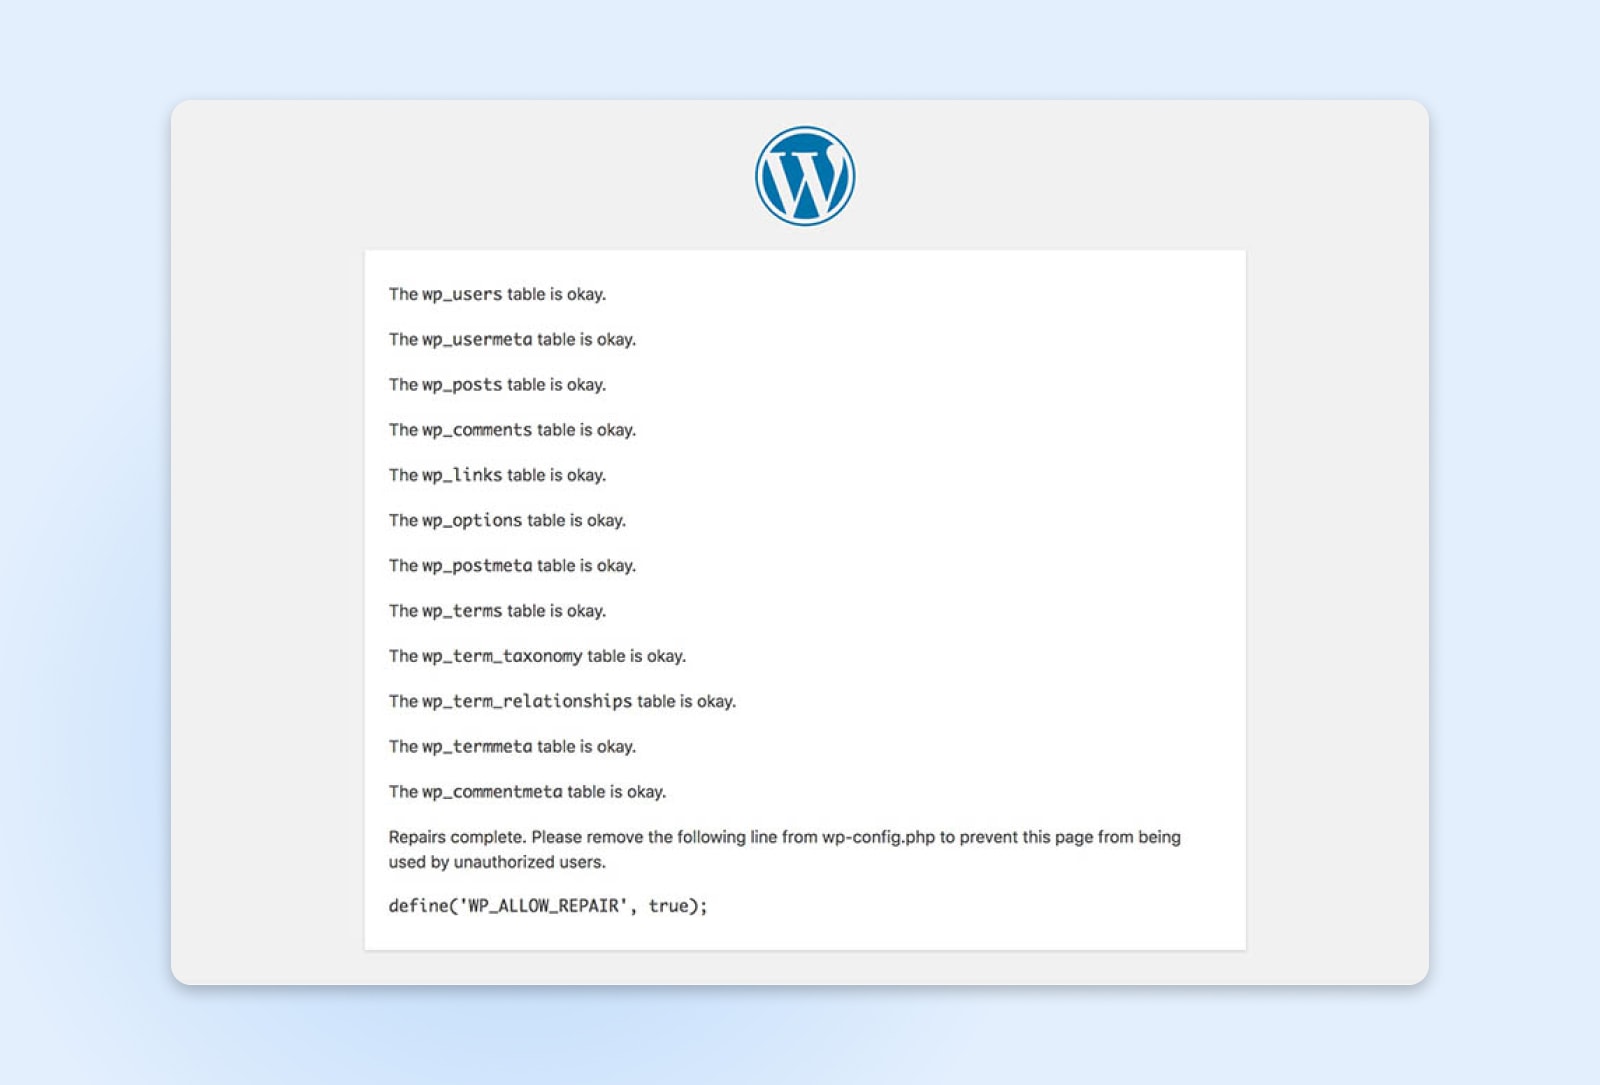
This should resolve your database connection error. Just don’t forget to remove the line WP_ALLOW_REPAIR from wp-config.php when you’re done.
8. Connection Timed Out Error
You’ve probably seen this error appear after a site has tried (unsuccessfully) to load for some time. It means that after struggling to load the site, the server has given up.
This can happen for a variety of reasons. The most common reason is that your site just doesn’t have the resources it needs to function; for example, if you use shared hosting, another site could be hogging your server’s resources. Alternatively, your site may have exceeded its maximum allowed bandwidth.
That’s why you might want to consider upgrading your hosting plan if you see this error occur. A higher-tier plan will help you avoid slowdowns and downtime since your site will have more server resources and won’t be affected if other sites see a surge in traffic.
The ‘connection timed out’ error can also occur if your site is causing a lot of strain on the server. We recommend that you optimize your site for speed, deactivate any resource-hogging plugins, and switch to the default WordPress theme to see if that helps. You might also want to increase your PHP memory limit.
9. Secure Connection Error
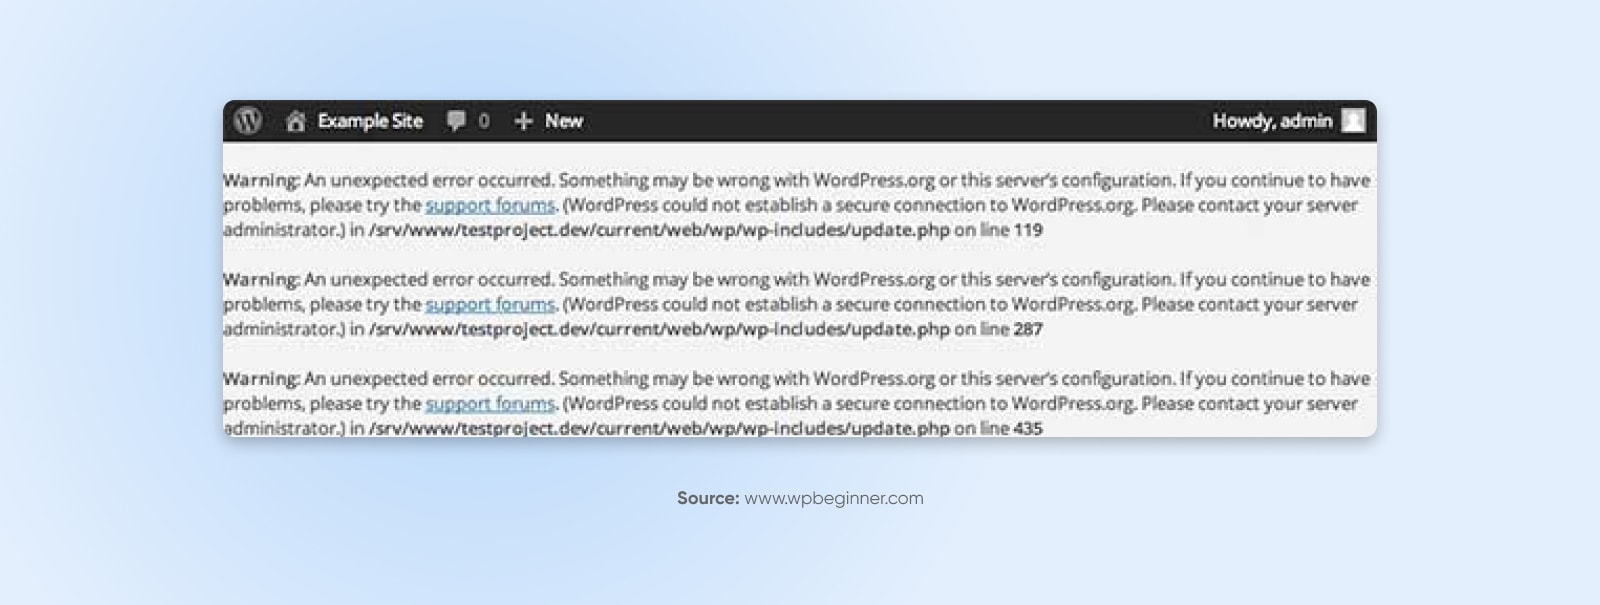
A secure connection error can happen when your server isn’t configured correctly and isn’t able to connect to WordPress.org. This can prevent you from updating your site’s core files.
This can be a tricky one to diagnose and fix. It’s possible to get this error because your server is under a DDoS attack, in which case the error should resolve on its own in a little while. It’s possible to solve the problem yourself in some cases by pointing your server toward WordPress.org through Secure Shell Protocol (SSH), but if you’re a beginner and aren’t comfortable with SSH, you should contact your host instead.
10. Your Site’s Sidebar Appears Below The Main Content
Ever loaded your site and found the sidebar has moved to the bottom of each page, under the content?
This error is almost always the result of an issue with your theme’s HTML or CSS code, so the first question to ask yourself is if you’ve made any recent changes to your theme. If you have, try reverting them to their previous states and see if that resolves the problem.
If that doesn’t work, you can dig a little deeper and look for the two main culprits that are usually behind this error:
- Leftover <div> tags: These tags are used to add HTML elements, and if one is not opened or closed correctly, it can cause the sidebar to move.
- Incorrect margins in CSS: If the margins are not set correctly in your style.css file, the sidebar may not have the space it needs to fit beside your main content.
Check your theme for these issues and you should be able to find the source of the problem. You can also run the affected page through the W3C Markup Validation Service to help you find the source of the error a little quicker.
11. You’re Unable To Upload Images
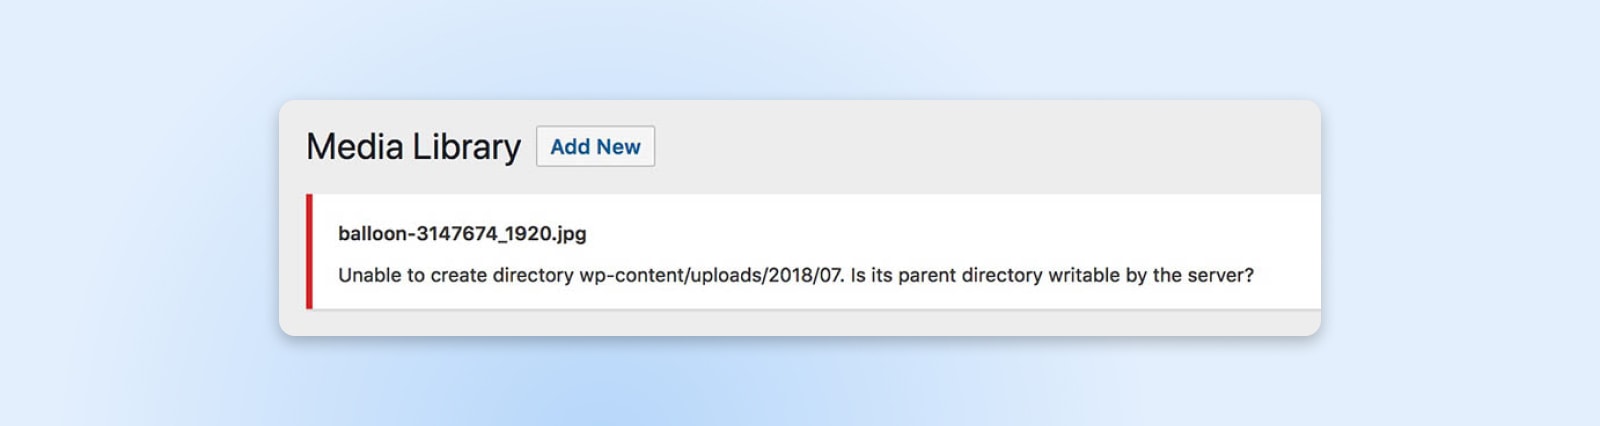
There are a few different ways images can ‘break’ on your WordPress installation. They may appear incorrectly after you upload them, or you might not be able to upload them at all. Either way, the issue most likely stems from incorrect file permissions.
This means the site doesn’t know that you’re allowed to add and access the files you’re trying to work with. This can happen if your site gets hacked, or if a plugin interferes with WordPress core or accidentally rewrites your permissions. Fortunately, there’s an easy fix.
Once again, you’ll want to access your site using SFTP. This time, you’ll want to find the uploads folder, which is located in the wp-content directory.
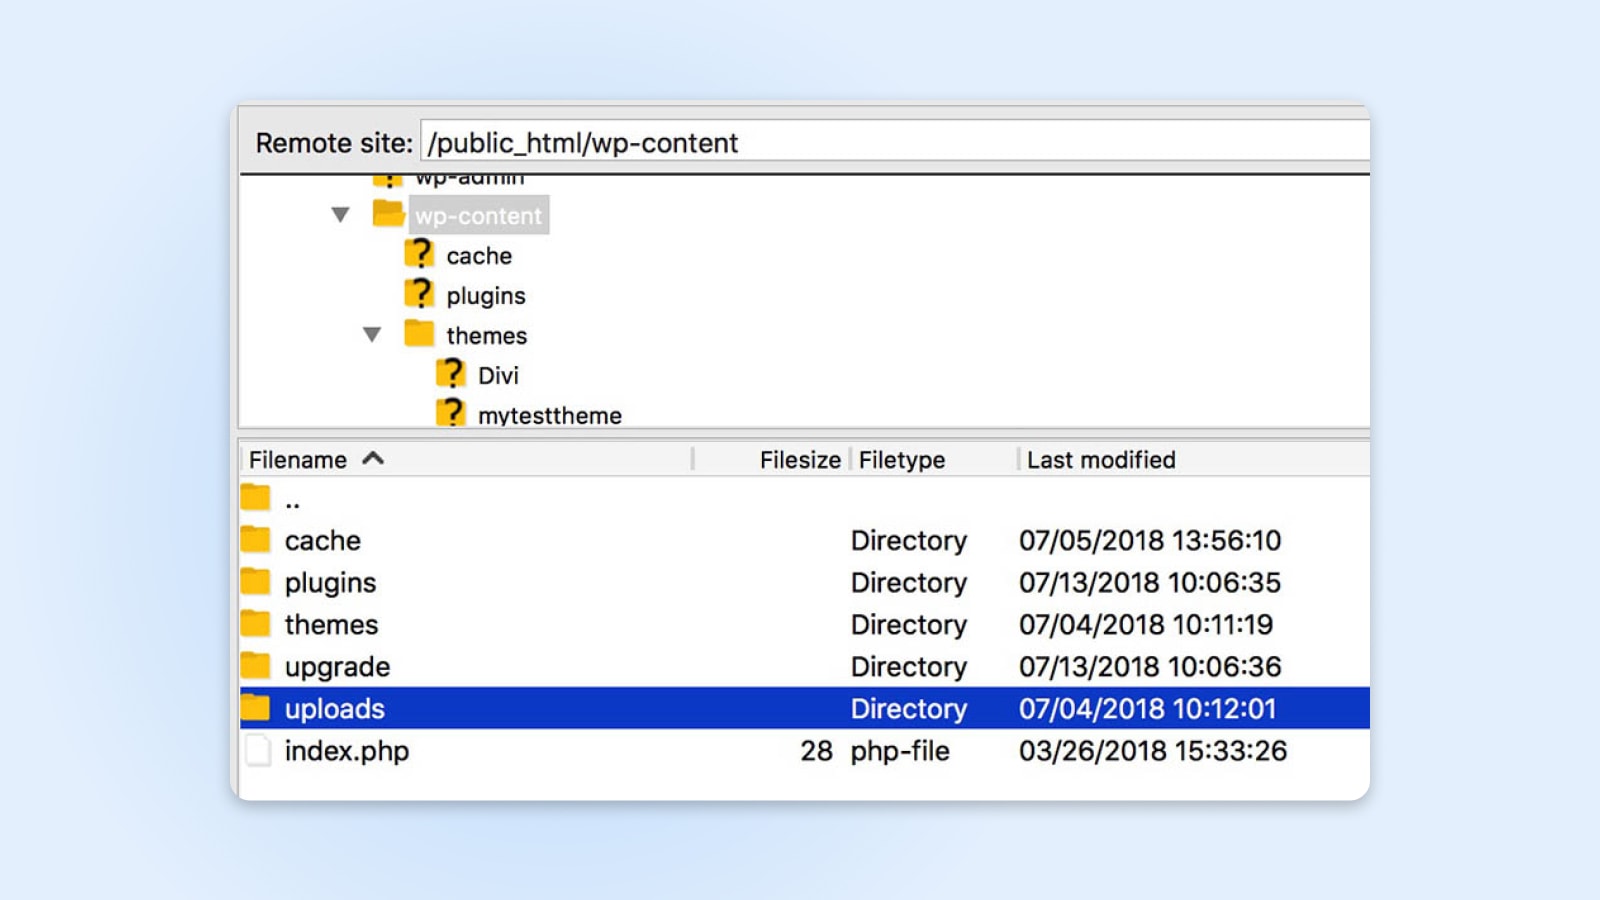
However, don’t open this folder. Instead, right-click on it and select File permissions.
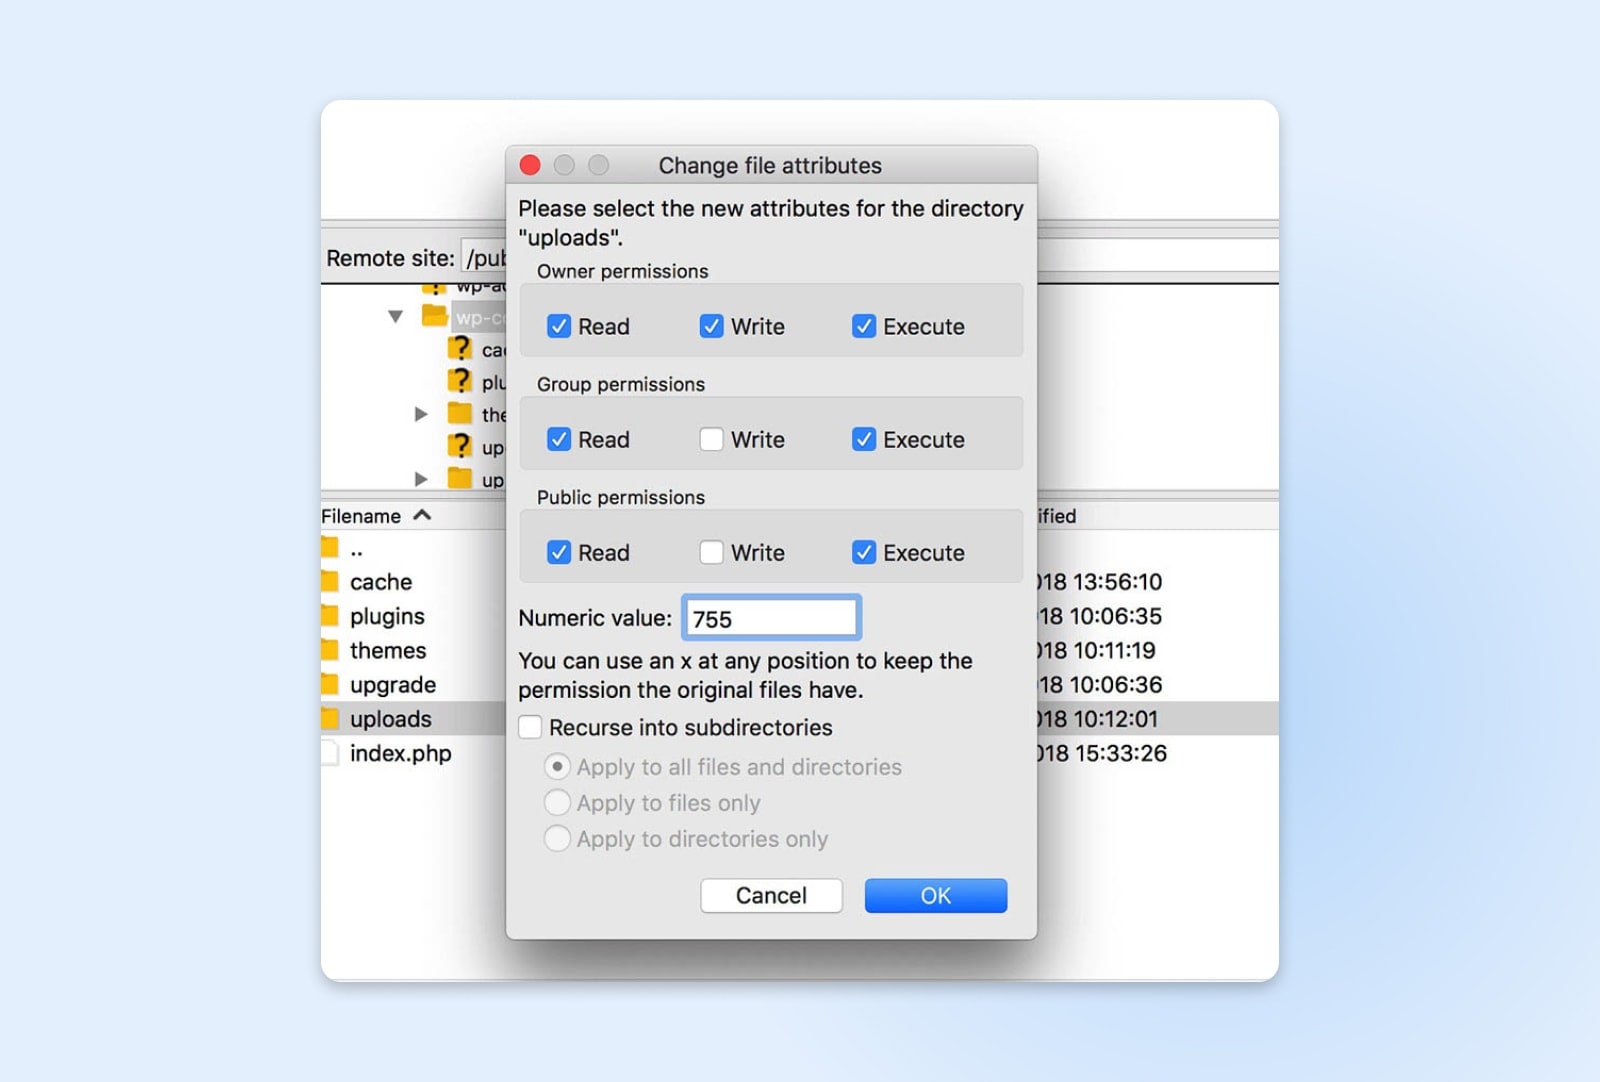
Set the Numeric value to 744. This will let the owner (i.e., you) read and write uploads. Click OK, and the new permissions will be applied.
You’ll need to repeat this process for all files inside the folder, so right-click on uploads and select File permissions again. This time, set the value to 644 and check the Recurse into subdirectories option. You also need to select Apply to files only.
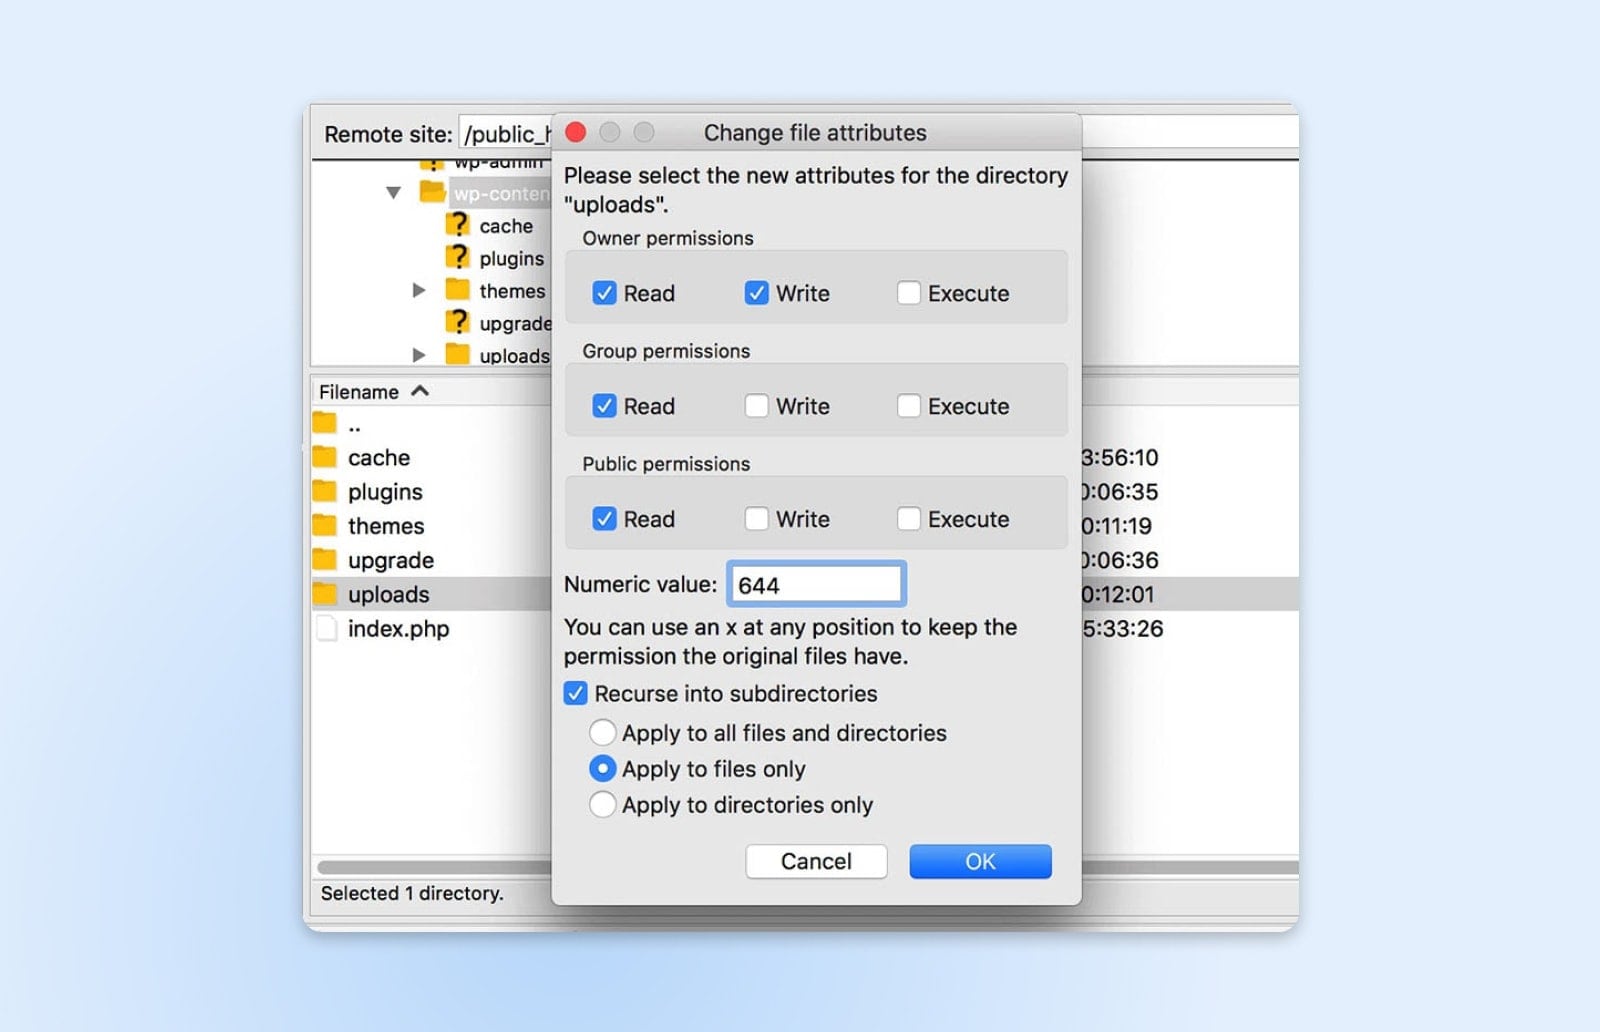
When you save your changes, your site’s Media Library should once again work as normal, allowing you to add new images. You can check this by uploading an image in your admin dashboard. If there are still issues, you can repeat the above process, but set the uploads folder’s permission value to 755 instead of 744.
12. Changes Aren’t Visible On Your Live Site
You’ve been working hard on your site, but then you switch to live mode – Suddenly you realize that you can’t see any of the changes you’ve made! Well, don’t panic! This can be one of the most frustrating errors to encounter, but usually, it’s very simple to fix because it’s almost always the result of a caching issue.
The first thing to try is clearing your browser cache. If that doesn’t work and you’re using a caching plugin, check its documentation and clear its cache, too. This should solve the issue.
13. You’re Unable To Access The WordPress Admin Area
The errors we’ve discussed so far have all been due to technical issues. However, getting locked out of your WordPress dashboard is a little different – it generally only happens when you forget your password.
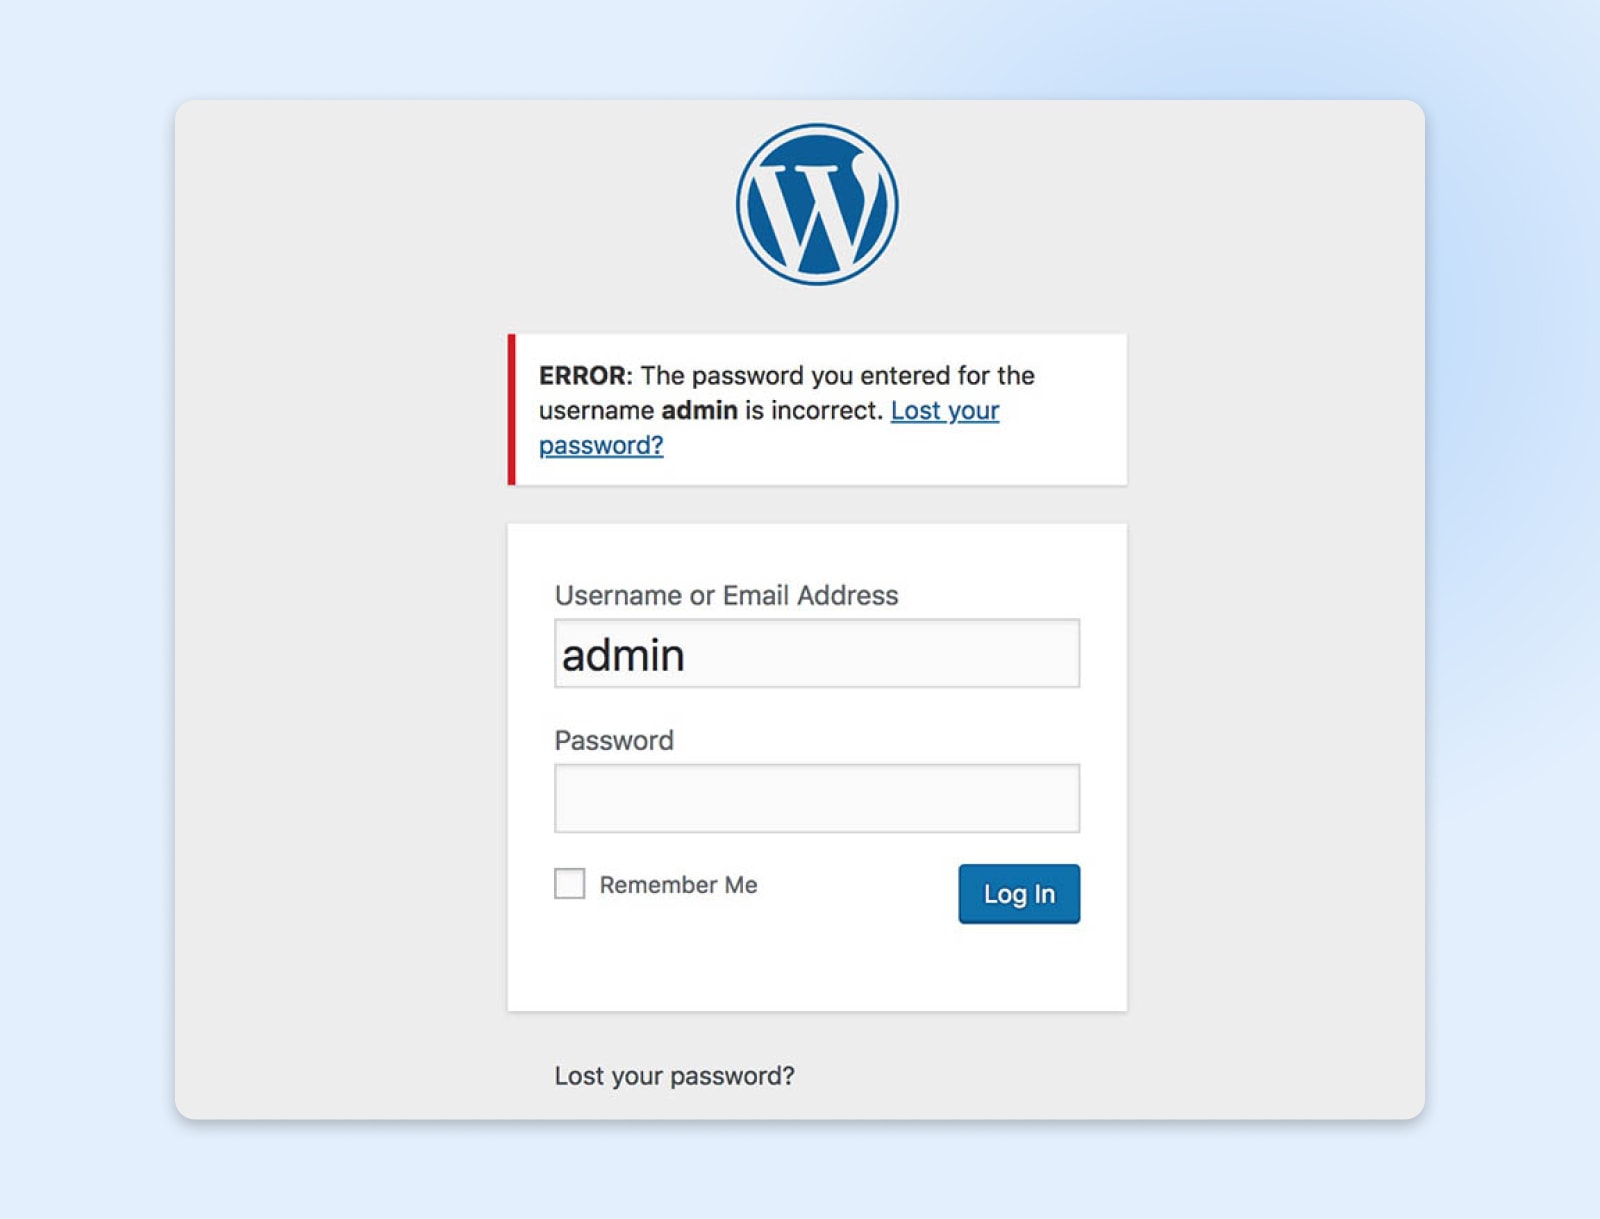
There’s no need to panic if this happens to you. Just click the Lost your password? link on the login page. This will help you recover your password by entering your username or email address.
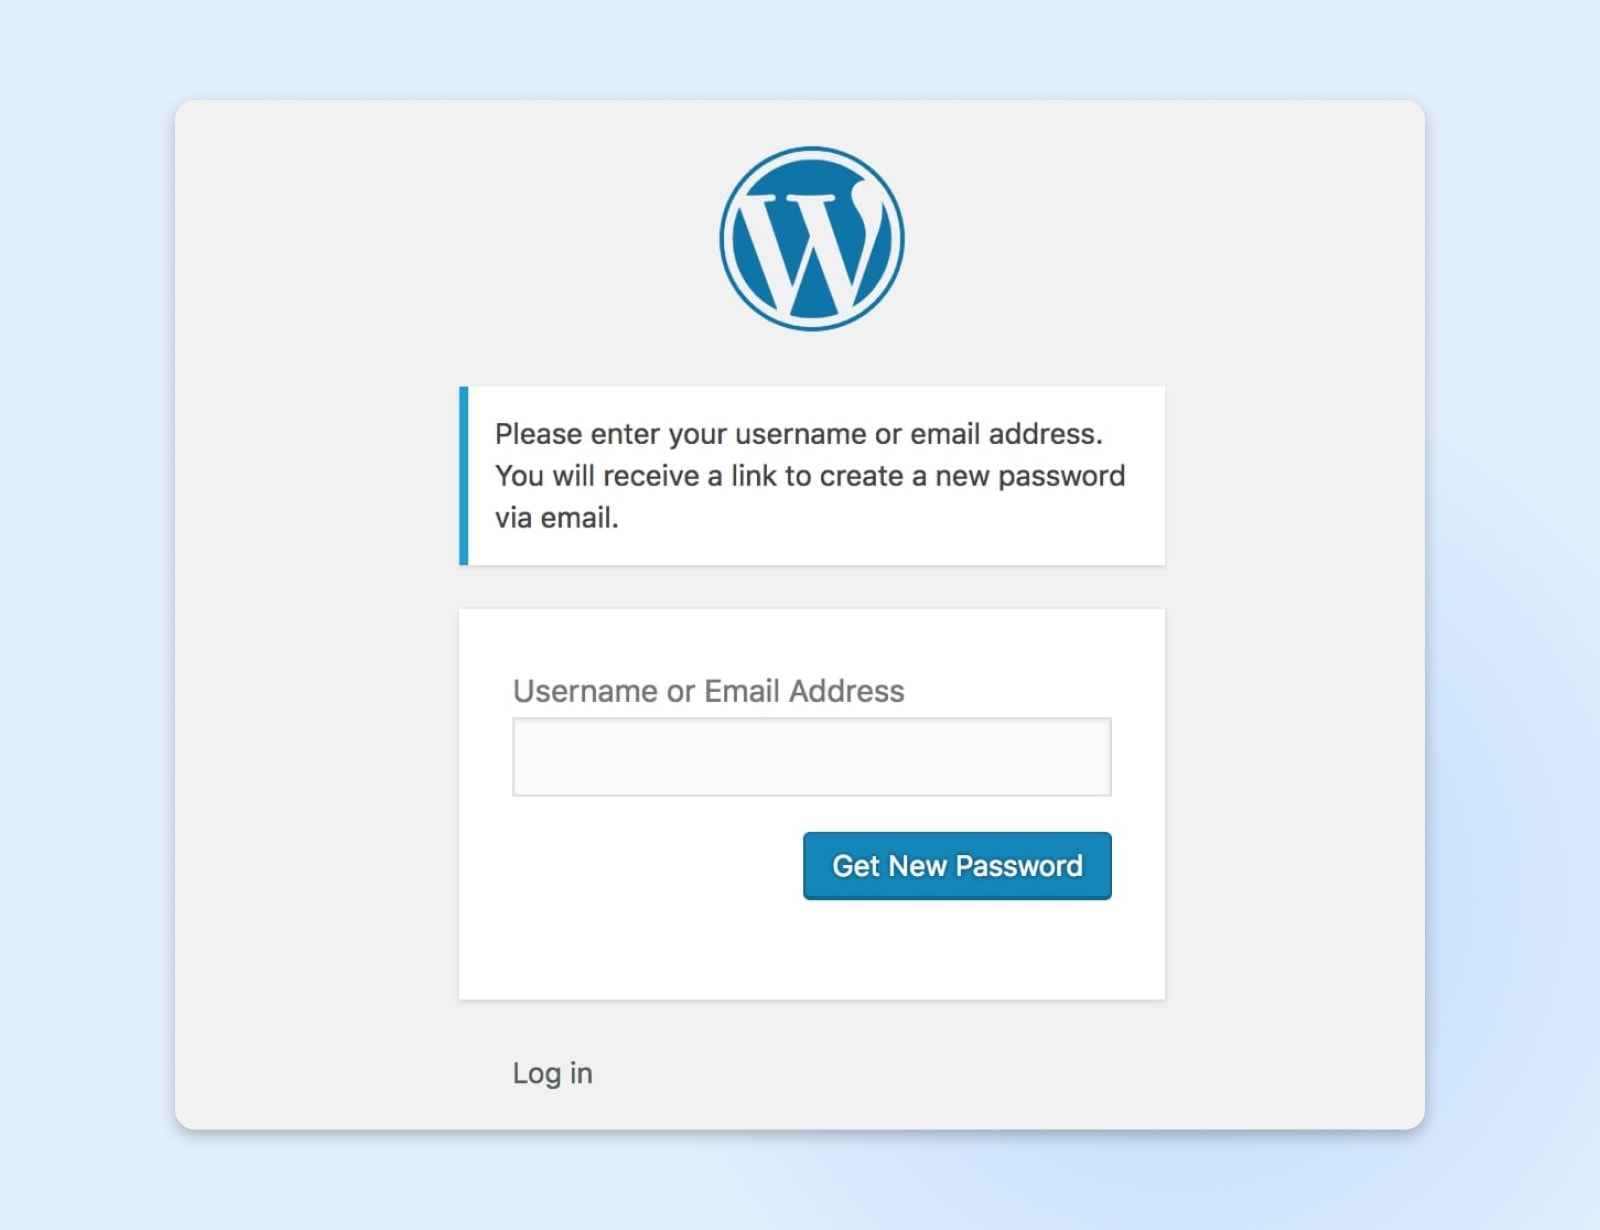
In most cases, this is all it takes to regain access. However, in rare cases, this may not be enough to get you back into WordPress, especially if you don’t have access to the email address you signed up with.
If that’s the case, it is possible to use phpMyAdmin to reset your password. However, using this method can be risky as it can accidentally cause problems with your site or database, so it should only be a last resort. The process itself will vary depending on your web host and setup.
14. WordPress Is Stuck In Maintenance Mode
Maintenance mode is an automatic feature that temporarily disables your site while it’s being updated. This avoids situations where users try to engage with your site during an update, which could cause problems.
Usually, updates happen so quickly that you don’t even notice the downtime. However, if the update has to cancel before it’s complete, your site can get stuck in maintenance mode indefinitely.
The good news is that this is a very easy problem to fix. All you need to do is fire up SFTP or cPanel, access your site’s root folder, and delete the .maintenance file.
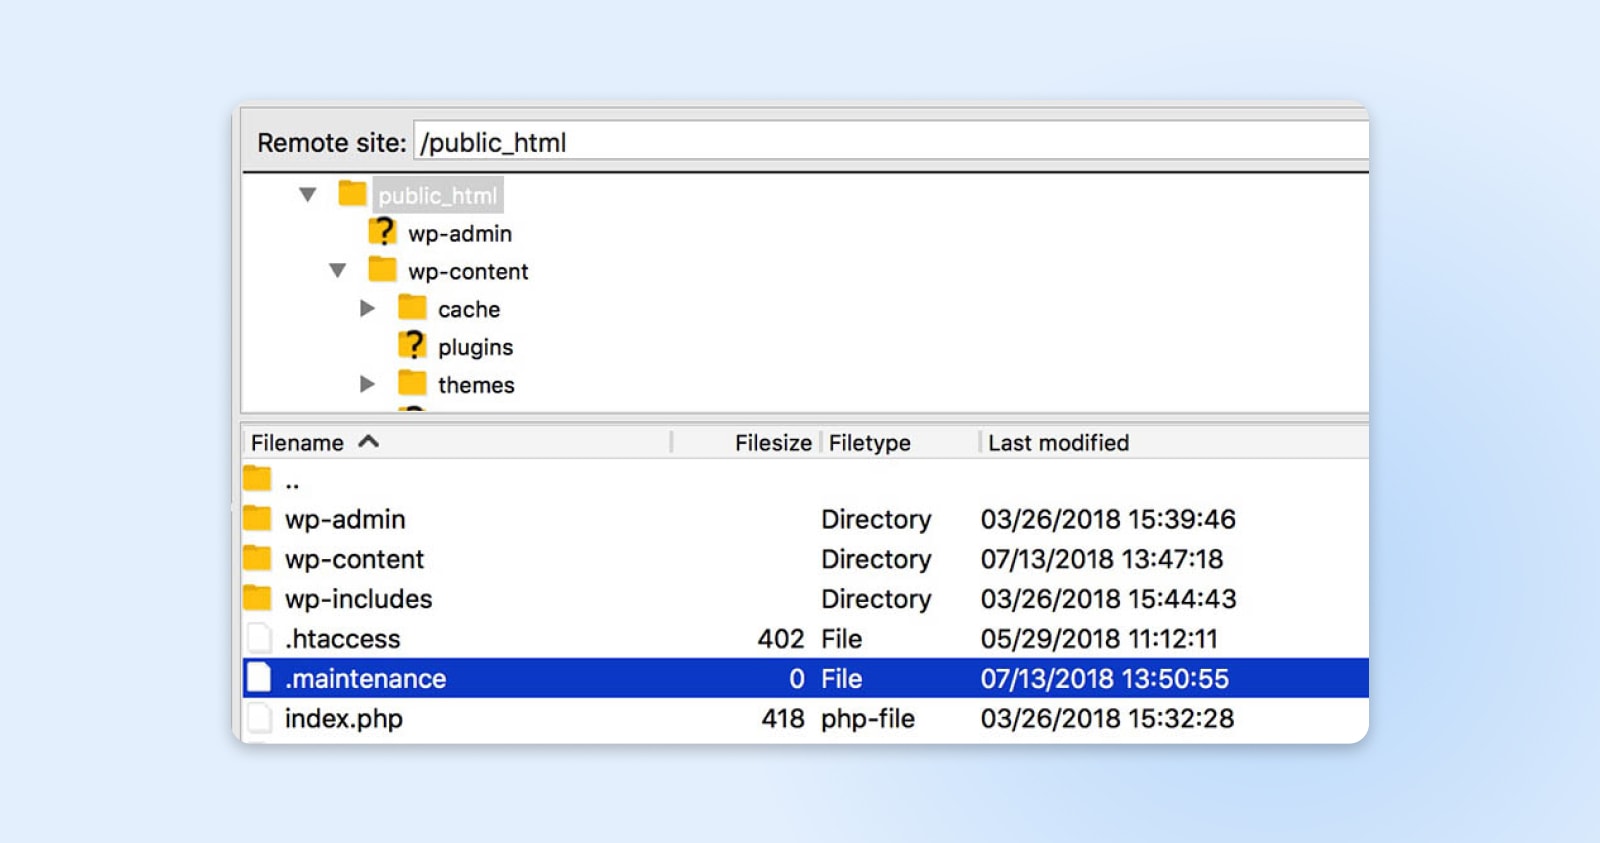
This file is what activates maintenance mode, so removing it will revert your site back to normal. However, you’ll also need to retry any failed updates since this error means the your update wasn’t successfully completed.
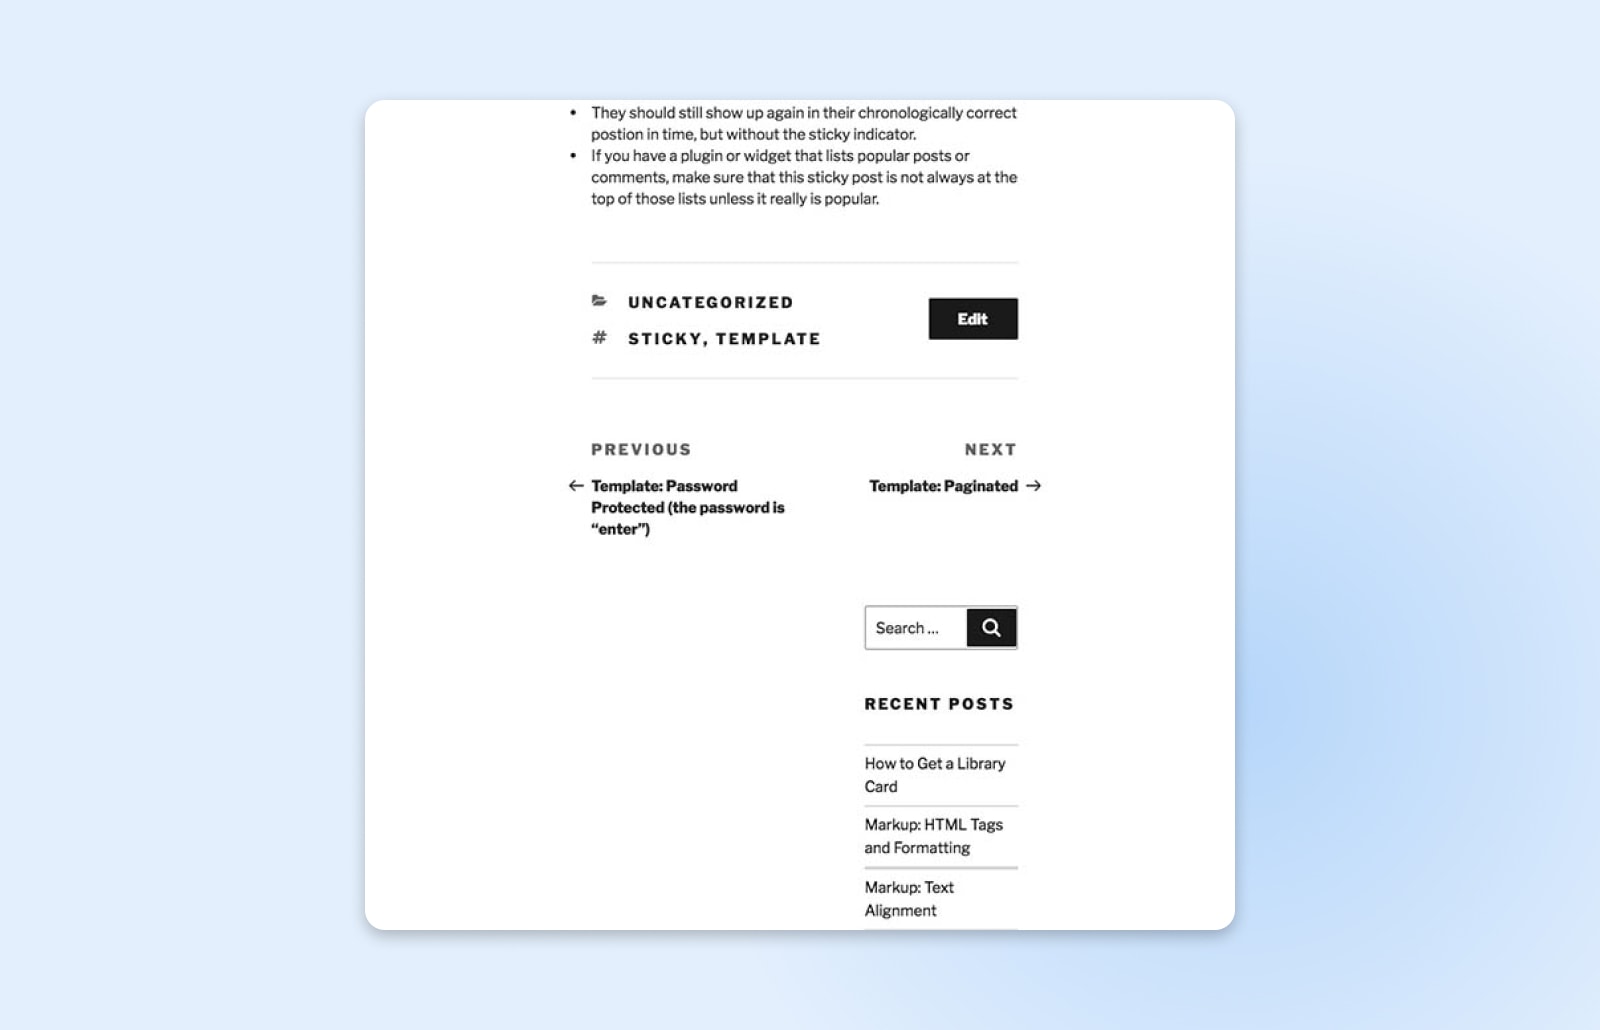
15. Missed Scheduled Post Error
The ability to schedule posts ahead of time is one of WordPress’ most useful features. You can line up posts in advance and have content automatically published at the times you choose.
However, sometimes this system fails, and you’ll notice a Missed schedule error next to a post.
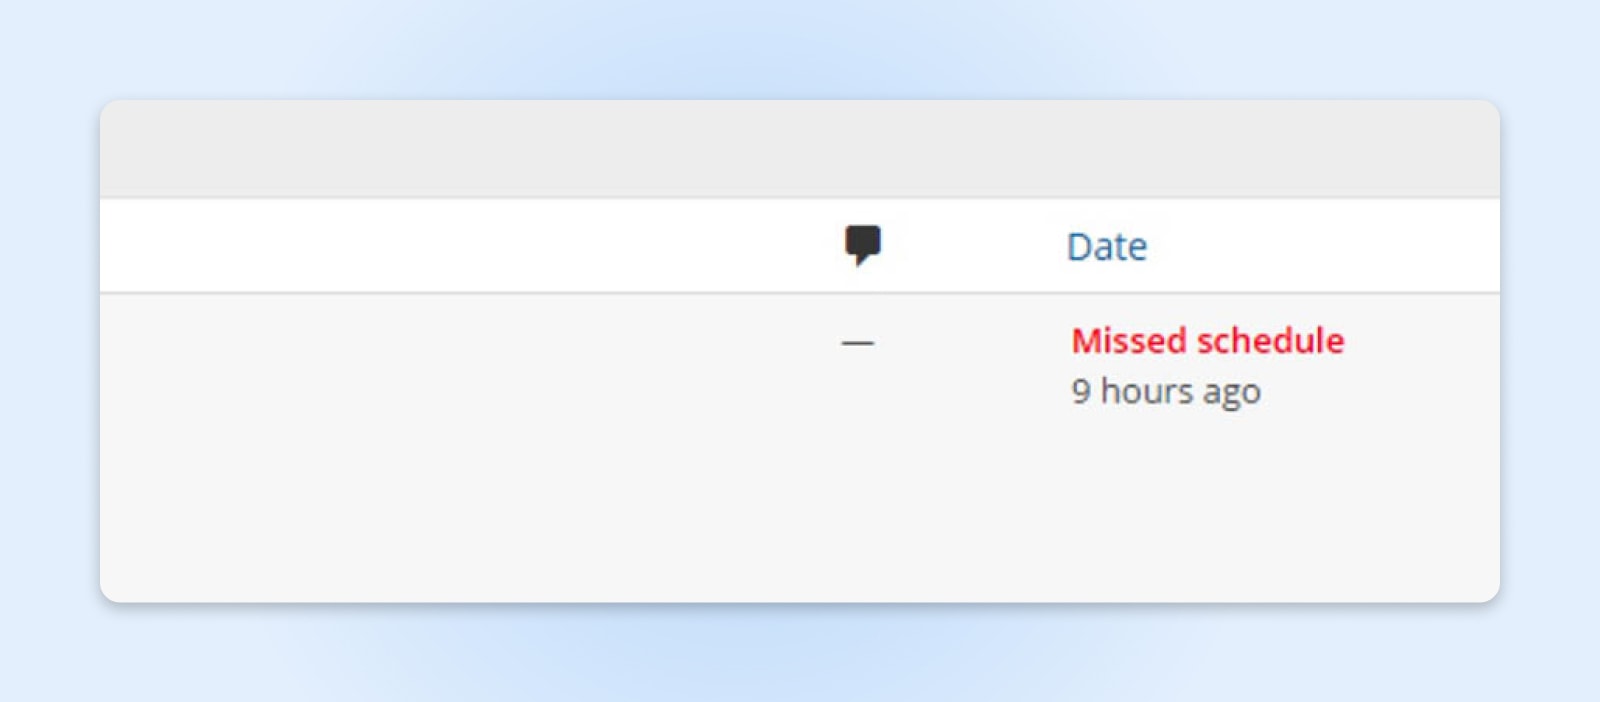
Without getting too technical, this problem is due to something called ‘cron jobs,’ which are tasks that WordPress uses to automate certain processes. If the appropriate cron job doesn’t trigger when your post is scheduled, it will fail to publish and remain in your admin dashboard until you publish it manually.
The best way to avoid this error is to use a WordPress plugin. We recommend Scheduled Post Trigger, because it’s free, lightweight, and reliable, always making sure your scheduled posts go live when you want them to.
16. WordPress Failed To Auto-Update
It is absolutely vital to keep your WordPress site updated at all times.
If you have a managed WordPress hosting plan, you usually don’t need to update WordPress yourself – it will be done automatically for you. However, occasionally something goes wrong, and automatic updates fail.

This isn’t common, but it can happen. It’s usually due to a glitch in the server’s connection with your WordPress files, incorrect file permissions, or an unreliable internet connection.
If WordPress fails to auto-update, you may be hit with the WSoD, or notice warning errors when you try to access your site. To fix this, you’ll need to manually update WordPress by downloading the latest version of the software and installing it on your site using SFTP.
If your site is hosted with DreamHost, this process is much easier because you can upgrade your site straight from your dashboard. Once you manually update, everything should be back to normal.
17. The Site Ahead Contains Harmful Programs
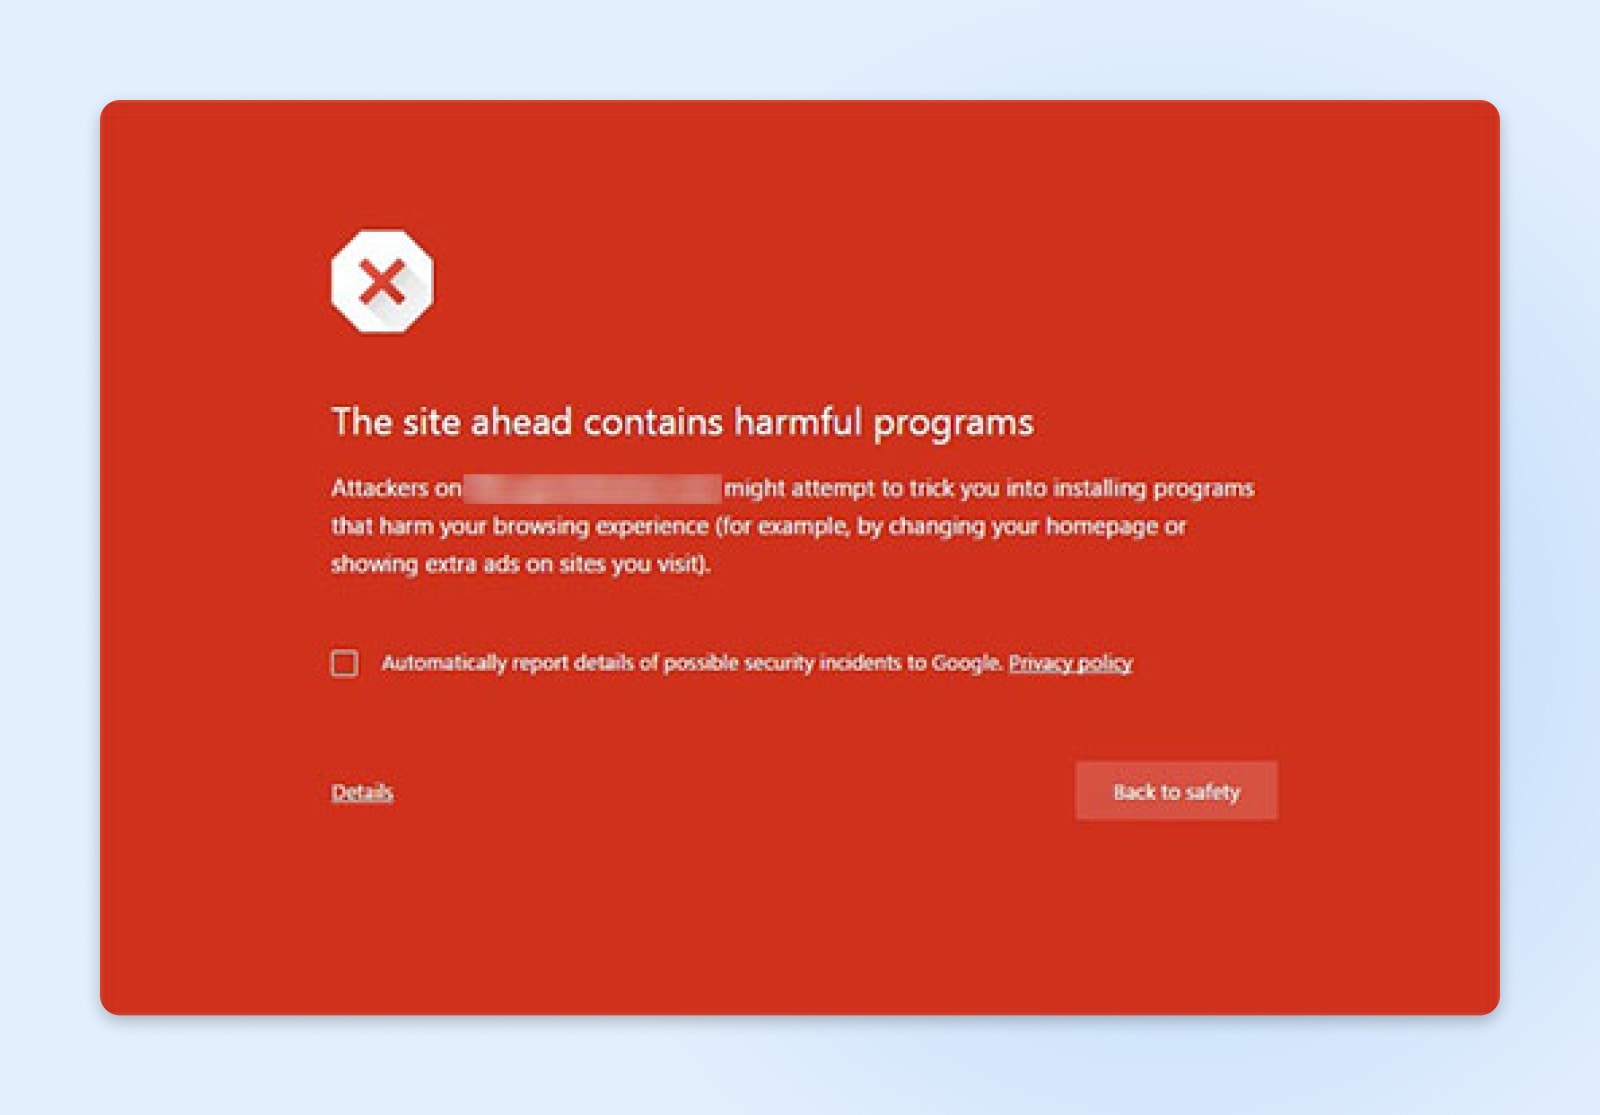
Google marks sites with this warning if they have any suspicious code that it suspects to be malware or trojan. This could mean your site has been hacked and is now being used to distribute malicious code. If you see this error, it’s important to act fast – you could lose content or risk your site visitors’ personal information.
The easiest way to fix this error is to restore your site from a backup. If you have a plugin-enabled plan, you should already have automatic, real-time backups from Jetpack. All you have to do is go to your WordPress dashboard and go to Jetpack > Backup to see your full list of available backups. You can restore your site from before any specific action, so look for anything suspicious, like logins or changes that you don’t remember.
Jetpack
Jetpack is a WordPress plugin created by Automattic, the company behind WordPress.com. It’s a plugin that gives you access to features that are usually only available on WordPress.com sites.
Read MoreIf you don’t have a plugin-enabled plan, reach out to WordPress support. They can clean malware from your site and help you secure it so the error gets removed as quickly as possible.
18. Your Connection Is Not Private
If you’re trying to access your site and you get an error message that says your connection is not private, your SSL certificate is most likely to blame.
SSL stands for Secure Sockets Layer. It’s a type of technology that keeps your internet connection secure and protects all the sensitive data you send and receive online. SSL certificates validate the identity of a website and establish a secure connection between the server and any device accessing the site, preventing hackers from gaining access to any information sent or received via that connection.
There are a lot of things that could be wrong with your site’s SSL certificate (we outlined nine of them in a comprehensive guide to “Your Connection Is Not Private” errors, so check that out if you want the details). The important thing to know is what you should do to fix it. You have a few options:
- Check your SSL certificate’s expiration date: Your SSL certificate may need to be renewed. To check its expiration date, go to the SSL certificate section in your web hosting account or contact your SSL certificate provider.
- Confirm that the certificate was issued properly: Make sure your SSL certificate was issued to the right domain name (and make sure it’s spelled correctly on the certificate!) Also check the certificate chain to make sure all intermediate certificates are installed correctly.
- Run an SSL server test for your website: This will help you identify any issues with your SSL certificate or server configuration. There are many free SSL scan tools online – check out SSL Labs or Qualys SSL Server Test.
- Contact your web hosting provider for support: With this error, there’s only so far WordPress users can go alone. If the above steps don’t resolve the error, it may be an issue with your web hosting provider’s server configuration that they’ll need to fix. Reach out to their support team to let them know.
SSL/TLS
SSL stands for Secure Sockets Layer. In short, it’s a protocol for maintaining a secure connection and protecting sensitive data. Transport Layer Security (TLS) is the successor to SSL. It is a cryptographic protocol that provides a safe connection over any given computer network.
Read MoreTrial And Error
WordPress errors are blissfully rare, but they still happen sometimes. Luckily, fixing most of the problems you’re most likely to encounter is easier than you might think.
Are you ready to up the ante on your WordPress website? Consider DreamPress, our managed WordPress hosting solution. With automatic updates and strong security defenses, DreamPress takes server management off your hands, meaning less for you to troubleshoot. Learn more about plan options today!
Skip the Stress
Avoid troubleshooting when you sign up for DreamPress. Our friendly WordPress experts are available 24/7 to help solve website problems — big or small.